Search
Sign up for my Newsletter
Tasha's Playground Fan Page
Find me on Facebook
Followers
Monday, April 30, 2012
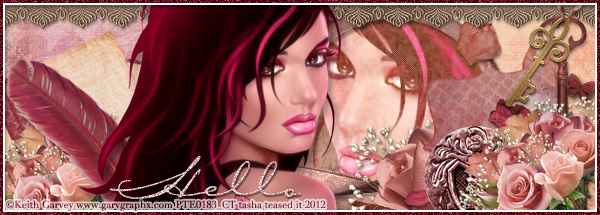
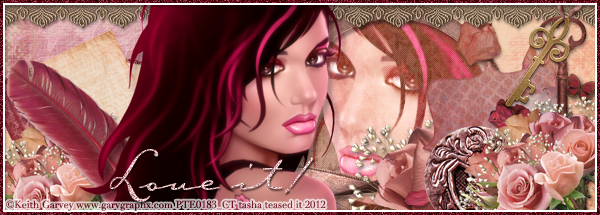
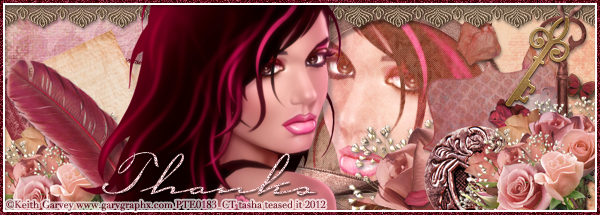
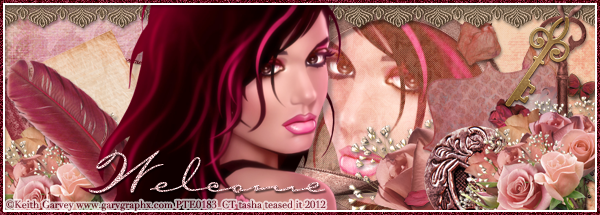
Run on over to PTE and check out Keith Garvey's beautiful newest Color Series releases!!! I got to play with his Pink tube, and made some extras for you all to snag :) Just click the tag to view full size, then right-click save to your computer. Do not alter these tags in any way please..that includes adding names to them. Thanks and enjoy!!!!
Labels:PTE,snaggable | 1 comments
Here are some of the latest tuts from my rockin' CT!!!! Thanks ladies :)
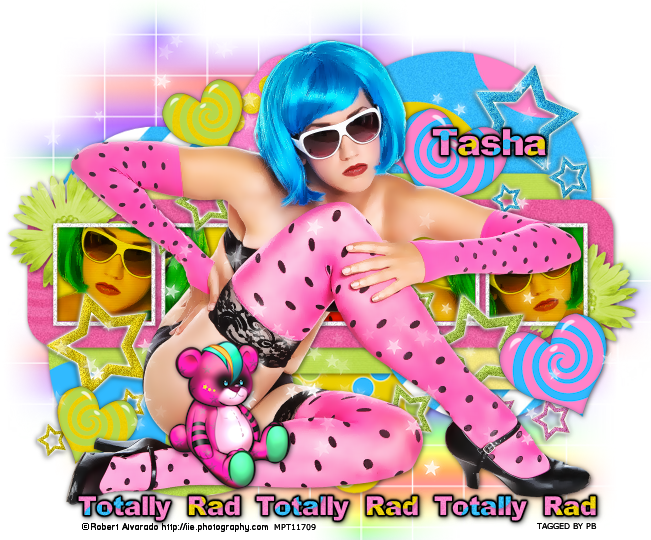
Totally Rad by Precious Beauties
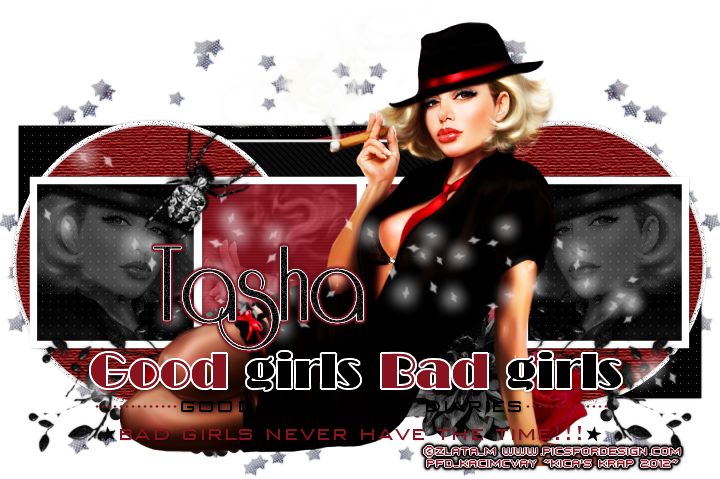
Bad Girls by KrazyTaggerGrrl Designs
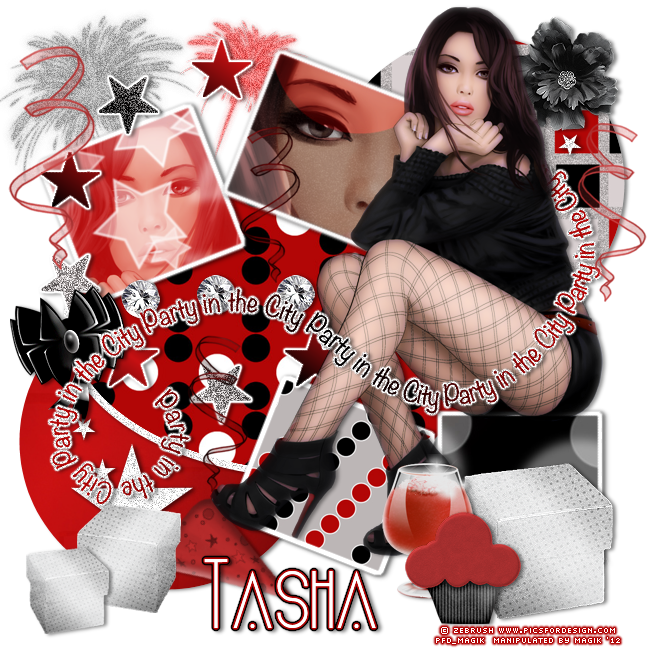
Party in the City by Manipulated by Magik
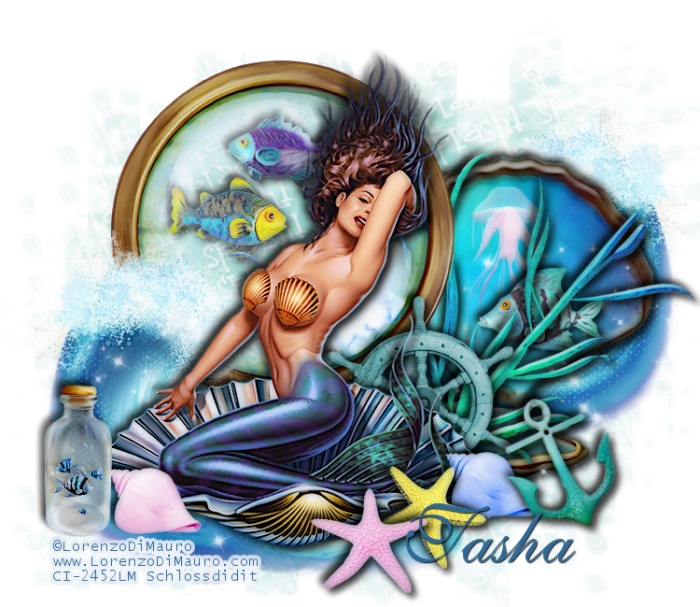
Waterworld by Stef's Tutorials
Amazed by You by Amy of Amy & Leah's Gimptastic Tuts
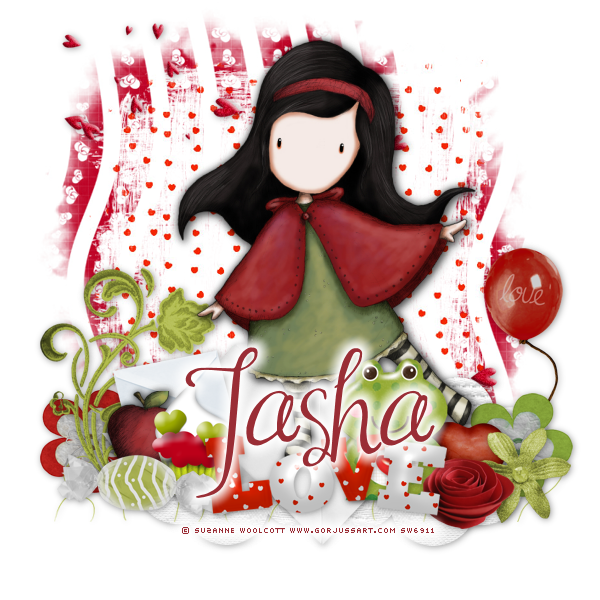
Lovely Love by Stef's Tutorials
Goth Beauty by Manipulated by Magik
Labels:tags with my kits,Tasha's CT | 0
comments
Thursday, April 26, 2012
Supplies-
Kit- Flowers & Showers by A Taggers Scrap. You can find here to purchase this great kit here.
Tube- Mia by Lielman. This tube can be purchased at PFD
Grass Hopper or font of choice
Photoshop CS5 or program of choice
I'm on a Mac so when I use Command, you may need to use Ctrl
Here we go :)
Open a new canvas 700x700
Place and resize frame of choice. I used Frame 1.
Below the frame, resize and place tube close up and paper of choice ( I used paper 22).
Click inside the frame using your magic wand tool (w).
Select>Modify>Expand by 5 px. Select>Inverse.
Hit Delete on the paper and close up tube layers. Deselect.
Command+J to duplicate tube layer. Change bottom tube's Blend Mode to Luminosity.
Change top tube's Blend Mode to Hard Light.
Open Layer Styles by double clicking on frame layer and add drop shadow to frame only.
Below your paper layer, add Leaves 4 and place to left of frame.
Duplicate. Edit>Transform>Flip Horizontal. Reposition behind right side of frame.
Repeat the above steps with the Cloud element.
Above frame, open Rainbowlight and resize so the left side lines up with the frame.
Add Flowers 3. Duplicate a few times and reposition to create a line in front of the frame.
Merge your flowers together to one layer and add drop shadow.
Add Bow 6 to top of frame, drop shadow.
Open and resize Flowers 2. Duplicate and place on each top corner of the frame.
Now open your Grass element and place at bottom of frame.
Add some elements from the kit to decorate your tag. I used:
Watering Can
Rubber Boots 3
Butterflies
Lens flare
Heart
Add drop shadow to everything but the lens flare.
Now add your main tube and drop shadow.
Crop and resize your tag.
Add license and copyright info.
Add name and any text.
Merge, save as PNG and enjoy :)
Thank you for trying my tut. If you have any questions or would like to show me your results, feel free to email me: bananas_68@yahoo.com
Labels:A Tagger's Scrap,PFD,Photoshop tut,PTU tut | 0
comments
Wednesday, April 25, 2012
Here are some snags using a cute new tube by Gina King called Jubilee. You can purchase her at PTE with a valid license :)
To use your snags, click on the tag to make it full size, then right-click save to your computer. Please do not alter these in any way, and that includes adding names to them. Thanks!
Labels:PTE,snaggable | 0
comments
Here are 3 new tuts from some of my ever so talented CT!!!! These girls rock! Make sure you are following their blogs so you can stay up to date with all of their posts :)
Got the Look by Sugar Coated Tags N Tuts here
Summer Sunset by Precious Beauties here
Sweet for Denim by Guilty Pleasures here
Labels:tags with my kits,Tasha's CT | 0
comments
Tuesday, April 24, 2012
Here are some recent tuts from my amazing CT :o) Thanks girls!!!
Splash by Schloss here
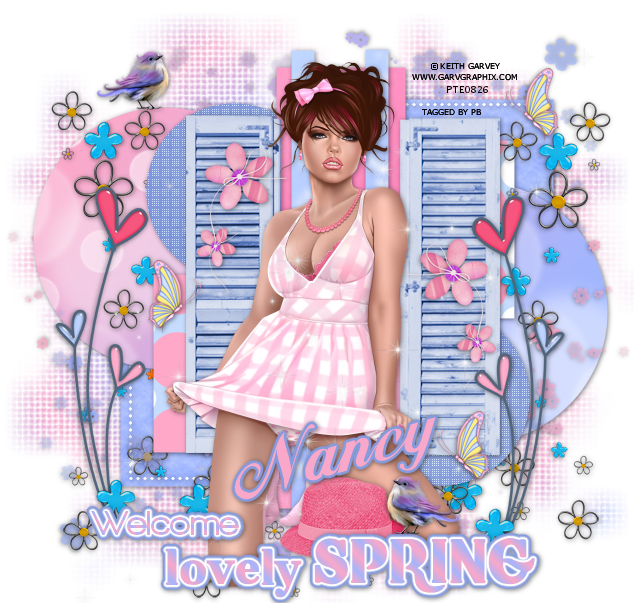
Lovely Spring by Precious Beauties here
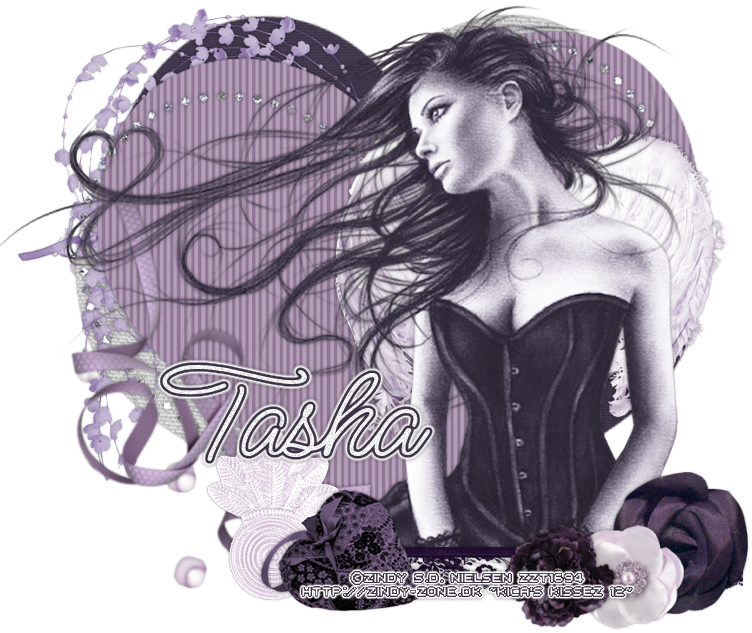
Heavenly Dreams by Kaci here
And then I received this tut result today..Dixie tried out my Golden Kiss tut here and her's her beautiful result! Thanks hun :)
Monday, April 23, 2012
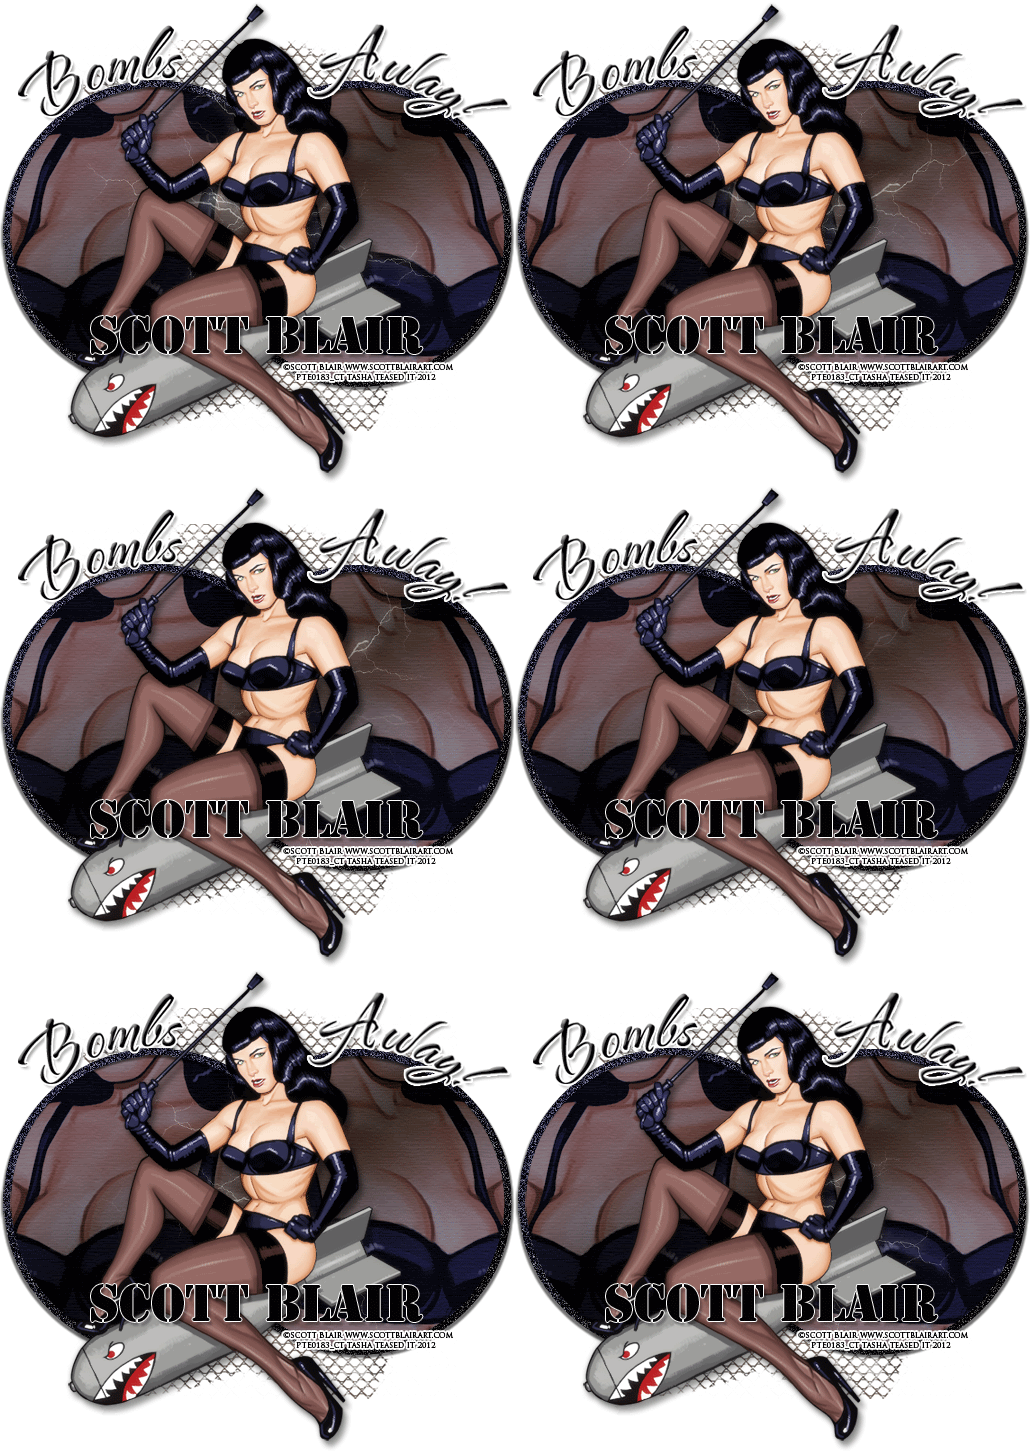
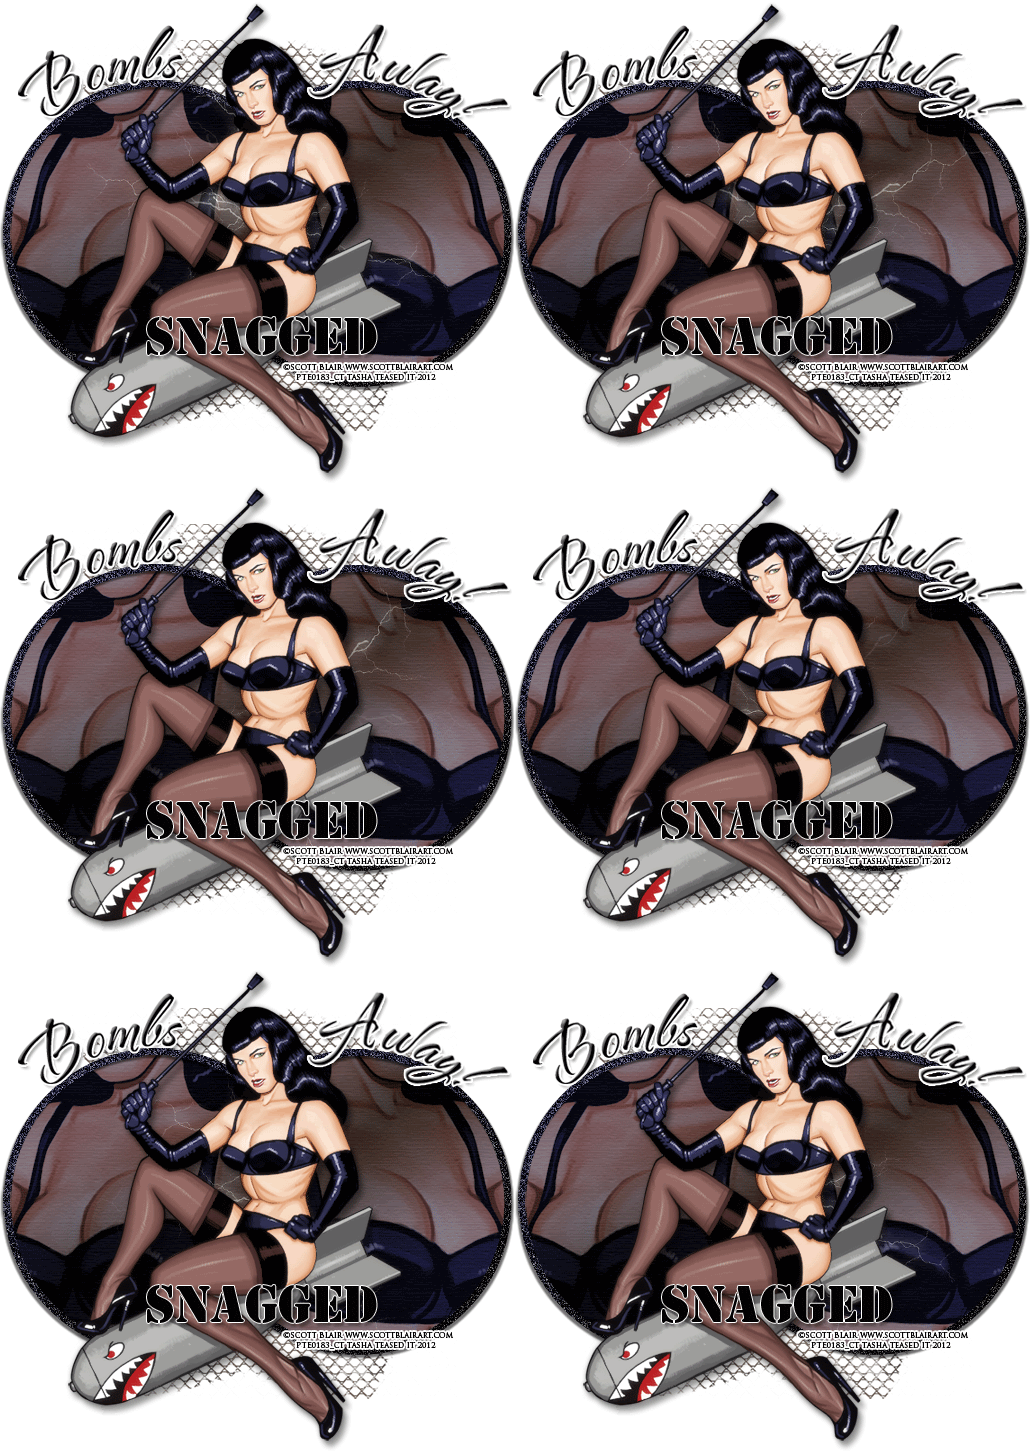
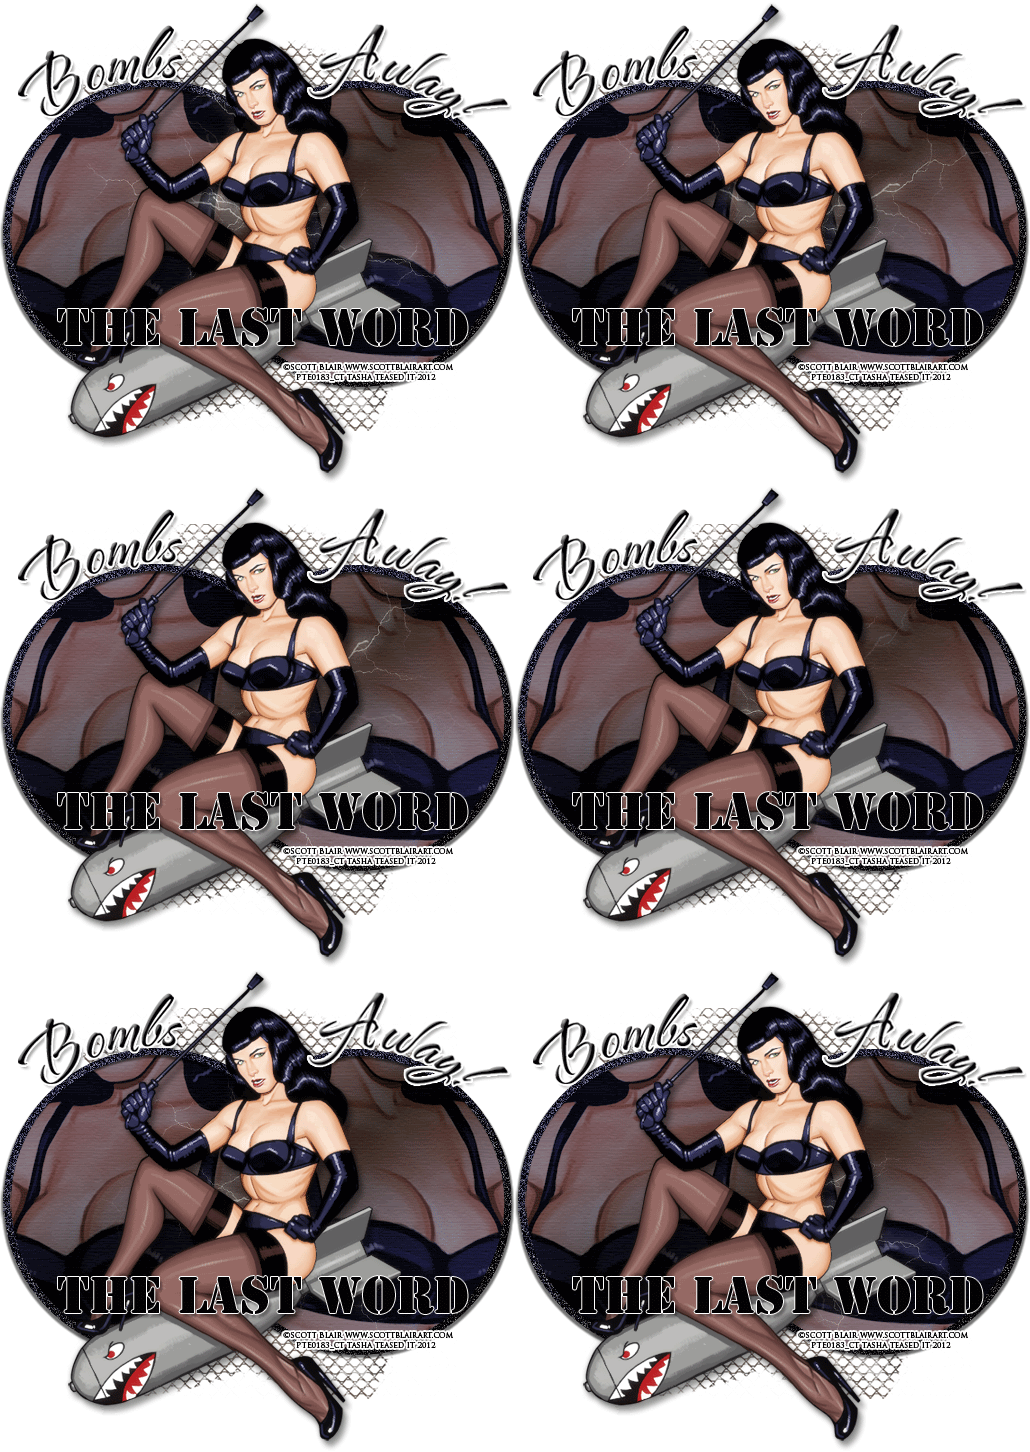
Scott Blair just released this fun tube at PTE so I made some snags with it :) You can use her with or with the bomb and she comes with a great close up layer!
To save your snags, just click the tag to view full size, then right-click save to computer. Please do not alter these in any way, that includes adding names to them. Thank you!
Labels:PTE,snaggable | 0
comments
I would like to say a big thank you to everyone who applied for my recent CT call!! It was a tough choice but I now have my new girls added in :) I'd like to welcome:
Audrey of Sugar Coated Tags N Tuts
Kaci of Krazy Tagger Grrl Designs
Nancy of Precious Beauties
Stef of Stef's Tutorials
Welcome girls, now get to work ;p
Stef has already created a great banner with my Skullz N Stripez kit called Scary Teddy. You can find it on her blog here. Thanks girl!!!
Labels:tags with my kits,Tasha's CT | 0
comments
Saturday, April 21, 2012
I was playing around in photoshop and made some Bokeh effect papers. Feel free to use these CU or PU, just not CU4CU! They come in separate layers so you can play with the blend modes, opacity..leads to all kinds of outcomes!! Hope you have fun with them and leave me some love so I know ya like them :) Please be sure to read the TOUs included in the zip!!
Templates are 1000x1000, 300dpi and in PSD form.
Download here.
Labels:freebie,FTU CU | 11
comments
Here are some snags I made with a newly release tube from Unholy Vault Designs. You can find this tube and many others now at PTE!! Kit used is City Girl by A Taggers Scrap, which you can find on her blog here.
To save your snags, just click to view full size and then right-click save to computer. Please do not alter these in any way...that includes adding names to them. Thanks and enjoy :o)
Labels:A Tagger's Scrap,PTE,snaggable | 1 comments
Friday, April 20, 2012
I had a few people try my Oh Bug Off tut, and here are their results. Love the different tube choices, thanks ladies!!! It's always nice seeing these :o)
Labels:tut result | 1 comments
Supplies-
Kit: I'm using a great kit by KiKeKa Kits which you can find at SATC here
Tube: You'll want a tube with a close up. I'm using Marina by Serg Grafik.
This tube is exclusive to SATC and can be found here
Template: EI_Template78_pooker here
Font: Some Weatz Swashes or font of choice
Photoshop CS5 or program of choice
I'm on a Mac, so when I use Command you may need to use Ctrl
Here we go :)
Open your template. Image>Duplicate. Close out original.
Resize your template (Image>Image Size, make sure all 3 boxes are ticked), and then increase your canvas size (Image>Canvas size) so you have room to work.
Delete CR Info, Grey Strip Layer 1 and 2 and Drk Grey Strip Layer 1 and 2.
We're going to work with each layer from bottom to top now.
Command+Click on the Black Circle layer to select it.
Add Paper 5 as a new layer above it.
Select>Inverse. Hit delete on the paper layer. Deselect. Delete original template layer.
Double click the Grey Corner Circle2 layer to bring up Layer Styles.
Choose Color Overlay and pick a color that compliments your tube. I used #141d44.
Command+Click the circle layer to select it. Add close up of tube in selection.
Select>Inverse. Hit delete on tube layer. Change blend mode to Soft Light.
Duplicate tube, change top copy blend mode to Screen, Opacity 15%.
Repeat with Grey Corner Circle1 layer.
For the remaining template layers-
Lg White Circle layer- Color Overlay with #c2cddb
Frame back 5- paper 5
Frame 5- Filter>Add Noise>25% gaussian, monochromatic
Frame back 4- paper 5
Frame 4- Command+F to repeat same noise as before
Frame back 3- paper 4
Frame 3- Repeat noise
Frame back 2- paper 4
Frame 2- Repeat noise
Frame back 1- paper 7
Frame 1- repeat noise
Merge the remaining circle layers together.
Open Layer styles and add a Gradient Overlay-
Then add a 3px White Stroke and Drop Shadow.
Add a couple of tube close ups above this layer using the method shown before.
Duplicate tubes. On bottom tube layer- Blend Mode, Luminosity.
On top tube layer- Blend Mode, Screen.
Now add your main tube choice to the center of the tag. If you'd like to add a soft glow like I did-
Duplicate tube layer. On top layer apply Filter>Blur>Gaussian blur 2px. Blend mode, Screen.
Drop Shadow the bottom tube layer.
Now just add some elements from the kit to your tag.
Resize, angle and drop shadow as needed. From bottom to top I used:
Flower 04- Duplicate, flip, reposition
Leaves 05
Branch 03- Duplicate, flip, reposition
Scatter 02
Flower 06- Duplicate, flip, reposition
Bow 03
Box- Duplicate, flip, reposition
Elephant
Vase
Bottle 01
Butterfly 01
Now create a selection around your tag using your Rectangle Marquee tool.
Image>Crop. This will get rid of any drop shadows around the edges.
Image>Trim>Top Left Pixel corner. This gets rid of that extra space.
Resize if needed.
Add your copyright and license info.
Add name and any text of choice.
Merge, save as PNG, enjoy :)
Thank you for trying my tut. If you have any questions or would like to show me your results, feel free to email me: bananas_68@yahoo.com
Labels:Photoshop tut,PTU tut | 0
comments
Thursday, April 19, 2012
Supplies-
Tube- Sweet Cherry by Robert Alvarado which you can purchase at PTE with a valid license.
Template- Temp125 by Leah here
Fonts- Lithos Pro, PP Hip 20s, Milk&Cereal
Photoshop CS5 or program of choice
I use a Mac, so when I use Command you may need to use Ctrl
Here we go :)
Open template. Image>Duplicate. Close out original.
Delete credits and circles layer.
Increase canvas size to 650x500 so you have room to work.
Command+Click on the BG layer to select it.
Add a new layer above it and flood fill with color or gradient of choice.
I used a reflected gradient with these settings (red color is #a80001):
Rename this layer "Background".
Command+J to duplicate this layer. On the copy layer-
Filter>Sketch>Reticulation with these settings:
Change blend mode to Soft Light.
Alternatively, you could use a texture instead of applying this filter :)
Delete BG layer.
Add close ups of your tube in various places on canvas.
Once happy with placement, merge those tube layers together.
Command+Click on your Background layer to select it.
Select>Inverse. With merged tube layer active, hit delete on keyboard. Deselect.
Change blend mode on tubes to soft light, or whatever you choose.
Now using your Rectangle Marquee tool (m), draw out rectangles from top to bottom along
your banner. No particular pattern, just where you want them.
Make sure you have Add Selection toggled so you can make more than one rectangle.
You're canvas should look something like this, depending on where you draw your rectangles:
Now hit Command+J to duplicate. You will notice that the areas you selected have been
promoted to their own layer! Change that layer's blend mode to Screen. Deselect.
Above Line 3, choose Lithos Pro font and write out your text of choice.
Add a small drop shadow to Line 1, 2 and 3 and Black Border-
Opacity 50, Angle 130, Distance 1, Spread 0, Size 1.
On white border Filters>Noise>Add Noise:
25%, gaussian, monochromatic checked.
Now with your Red Hot font, type out your font of choice in the left corner.
Open layer styles and add a bevel with these settings:
Before you close out Layer Styles, also add a 2px White Stroke and a drop shadow.
Add your main tube and duplicate it.
On copy layer, Filter>Blur>Gaussian blur 2px
Change blend mode to Screen, Opacity 35%
Add a drop shadow to bottom tube.
Crop your canvas to get rid of any excess stuff along the edges.
Go to Image>Trim>Transparent Pixels to get rid of all the extra space.
Add copyright and license info.
Add name and any additional choice.
Merge, save as PNG, enjoy :)
Thank you for trying my tut! If you have any questions or would like to show me your results, feel free to email me: bananas_68@yahoo.com
Labels:Forum Set,FTU tut,No Scrap,PTE | 0
comments
Wednesday, April 18, 2012
I played a beautiful Buttercup tube by Emerald Eyez and made some snags :) This tube will be available at PTE on April 19, 2012. To save your snags, just click the tag to view full size then right-click save to your computer. Please do not alter these in any way, that includes adding names to them. Thanks!
Labels:PTE,snaggable,tag show off | 1 comments
Subscribe to:
Posts
(Atom)
Leave me some love
Labels
- A Space Between
- A Tagger's Scrap
- Abstract Creations
- Alena Lazareva
- Andreea Cernestean
- animated
- Announcement
- Autumn
- Autumn Blaze
- Autumn Breeze
- awards
- Birthstone Series
- blog train
- Cartoon Pink
- CDO
- Christmas
- Cluster Frame
- CT call
- Ct Tag
- Ct Team
- Cuddly Rigor Mortis
- dark/goth
- Designer Scraps
- Digital Chaos
- Dirk Richter
- DSI
- Elias Chatzoudis
- Enys Guerrero
- FB Timeline Cover
- Fluff
- Forum Set
- FourXDesigns
- freebie
- FTU CU
- FTU kit
- FTU tut
- Full Size Kit
- Gimptastic Scraps
- Gorjuss
- Halloween
- IB kit
- Keith Garvey
- KiwiFireStorm
- Lollipops N Gumdrops
- Molly Harrison
- New Years
- No Scrap
- PFD
- Photoshop tut
- Pimpin PSPers
- Previously Released
- PTE
- PTU CU
- PTU kit
- PTU tut
- quick page
- Rebecca Sinz
- Rosanna Castellino
- sale
- Sarah's Tags N Things
- Scrap-U-Nique
- Shawli
- Sheena Pike
- snaggable
- Soxsational Scraps
- Spazzd Art
- spring
- St. Patrick's Day
- Standalone kits
- summer
- Summer Haze
- tag show off
- tags
- tags with my kits
- tags with my templates
- Tasha's CT
- template
- Thanksgiving
- TPP
- tut result
- Twilight Scraps
- Valentine
- Whispered Bliss
- Wicked Princess Scraps
- Winter
- wordart
Blog Archive
-
▼
2012
(213)
-
▼
April
(45)
- New Garv snags!!!!!
- New tuts from my CT!!!!
- Flowers & Showers
- Gina King Snags!!!
- New CT tuts!!
- New CT tuts and a tut result :)
- Scott Blair snags!
- New CT and tut!!!
- FTU CU Paper Templates!!
- UVD tag and snags :)
- Tut Results!
- Lady in Blue- PTU
- Red Hot- No scraps banner
- Emerald Eyez tag/snags!
- Tut Results
- Some CT Goodies!!!
- CT Call!!!! April 18- April 25
- Creeped- PTU
- Gold Rush- FTU
- Golden Kiss- PTU
- Wanted! Extras
- Oh Bug Off- PTU
- Beach Babe- FTU tut
- New tuts, tags and a freebie Facebook cover!!
- Broken- FTU tut
- Freebie Alert!!! Facebook Timeline Cover!
- CT tut and tag show offs!
- Tut Results
- FTU CU Grab Bag!!!
- Roman Zaric tag & snags
- City Gurl- PTU tut
- Summer Heat- FTU tut
- New CT tut!!
- A Midnight Kiss- PTU
- Juicy Snapshot- PTU
- I've joined a new CT :D
- CT tags and tuts!!
- Tut Result
- Bunny Luv- FTU
- Denim Daze- PTU
- New CT tuts!!
- SWAK- PTU tut
- FTU CU Texture Pack
- New PTU kit!!
- O'Scrap Blog Train Has Left the Station!!!
-
▼
April
(45)


