Search
Sign up for my Newsletter
Tasha's Playground Fan Page
Find me on Facebook
Followers
Sunday, August 26, 2012
Supplies-
Kit: Sweet Heart by Rieneke Designs which you can find at Twilight Scraps here
Tube: I'm using the work of Nocturne which you can find at PFD here
Mask: WSL_Mask 330 here
Font: Sloop Script
Photoshop CS5 or program of choice
Here we go :)
Open a new canvas 750x750
Place element 29 in center of canvas. Place paper 1 under that.
Using the Magic Wand Tool, click inside the frame.
Select>Modify>Expand. Select>Inverse. Hit Delete on the paper layer.
Deselect and add a drop shadow to the frame.
Behind the paper layer, add element 36 to the right side.
Duplicate and flip, reposition to the left side.
Add element 34 and place on top of the frame, near the middle right. Duplicate
Resize the copy and move to the lower left of the frame.
Add element 43 to the right side and line it up so the string on element 34 is flush with it.
Refer to my tag for placement if needed.
Add element 2 to both sides of the frame, towards the bottom.
Add element 47 to the left of the frame.
Now add your tube of choice. Duplicate.
On top copy, change blend mode to Soft Light, Opacity 50%.
Add element 59 directly above the tube copy layer.
Now from bottom to top, left to right, add the following:
30
68
23
53
17
Add drop shadows to all the elements except 59.
Now let's get our mask ready! Open your mask on a new canvas.
Add a new layer above it, and flood fill with color of choice,
or use a paper from kit (I just picked a blue from one of the hearts and filled the layer with that).
Make sure your mask layer is activated and Command+A to Select All, Command+C to Copy.
Activate the paper layer, hit Q to turn on Quick Mask mode.
Command+V to paste the mask..it should now be tinted red.
Hit Q to turn off Quick Mask mode and there should now be marching ants on your canvas.
Hit the Add Layer Mask button at the bottom of the layer palette (rectangle with the circle in it)
Right click- convert to smart object
Right click- Rasterize layer
Drag completed mask to your tag canvas as the bottom layer
Resize it if needed.
With your Rectangular Marquee Tool (m), draw out a selection around the entire
tag, just slight smaller than the canvas. Image>Crop.
This will get rid of any stray pixels or drop shadows you don't see.
Image>Trim>Top Left Pixel Corner to remove the excess space.
Add your license and copyright info to the tag.
Add name and any other text of choice.
Merge, save as PNG and enjoy :)
Thank you for trying my tut. If you have any questions or would like to show me your results, feel free to email me (bananas_68@yahoo.com) or post them on my Facebook :)
Labels:PFD,PTU tut,Twilight Scraps | 0
comments
Friday, August 24, 2012
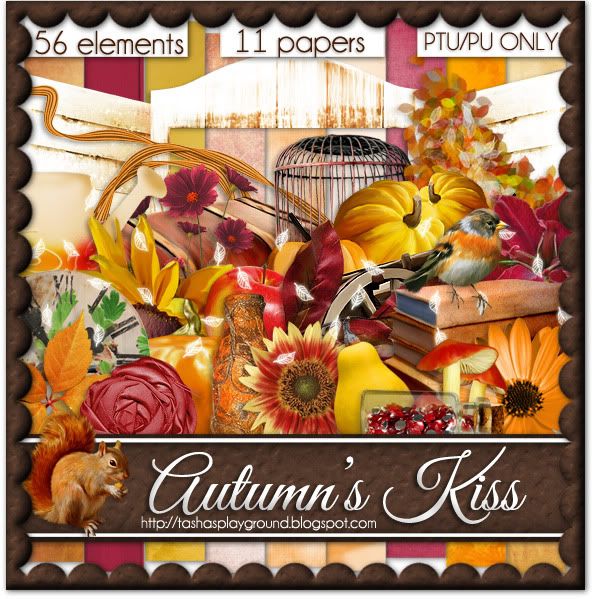
I have a bright, fun autumn kit ready to be scooped up!!! Autumn's Kiss has gorgeous shades of red and orange with lots of fall foilage to adorn your beautiful tags. This is a tagger sized kit has 56 elements and 9 papers...the preview says 11 papers, but I made a mistake.. This kit is for Personal Use only, do not share...have fun :)
Check the left side of my blog for where you can purchase this great kit!
Labels:PTU kit | 0
comments
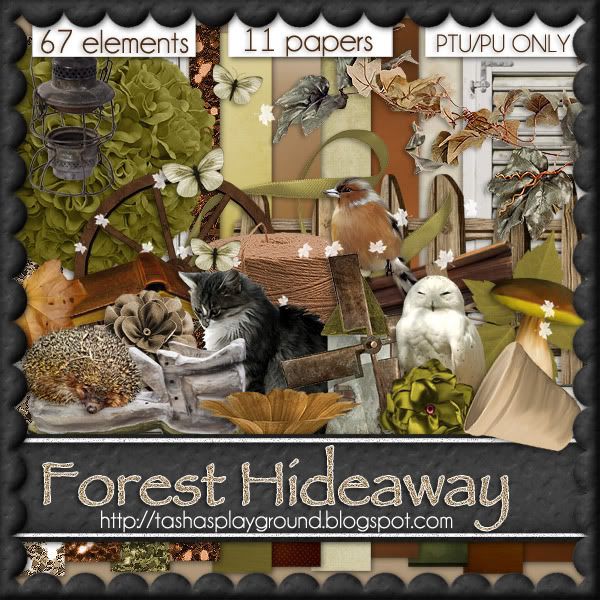
Hey everyone :) I have a new fall kit ready...my very first fall kit, and I decided to veer off course a little with it. This kit will take you to a secret hideaway deep in the forest--a nice, relaxing escape..because I'm sure we could all use one!!! I hope you find many uses for this kit all year round and make sure to email me any taggies you make with it, I'd love to see them :D Check the left side of my blog for stores where I sell. Thanks!!
Labels:PTU kit | 0
comments
Tuesday, August 21, 2012
Supplies:
Kit- Hibiscus by Gimptastic Scraps. Visit her blog here to get it.
Tube- I'm using the amazing work of Danny Drake, which was purchased at CDO. He has now retired, so feel free to use any tube of choice.
Mask- Mask 1 by Leah here
Font- PP Hip 20s
Photoshop CS5 or program of choice
I'm on a Mac so when I use Command, you may need to use Ctrl
Here we go :)
Open a new canvas 750x750
Place Frame 1 in center of canvas.
Add paper of choice under it (I chose paper 3).
Using the rectangle marquee tool (m), create a selection slightly smaller than the
size of the frame. Make sure the selection doesn't go in any of the frame openings.
Now Select>Inverse. Hit Delete on the paper layer. Deselect.
Double click the frame layer to bring up layer styles. Add drop shadow to frame.
Add palm tree to tag. Command+J to duplicate. Edit>Transform>Flip Horizontal.
Command+T to bring up Free Transform. Resize palm tree copy and reposition.
Make sure to click the chain link between the W&H on the tool bar to maintain proportions
while resizing (or just hold the shift key while you resize).
Place Leaf 1 on right side of frame. Duplicate, flip and reposition to left side.
Place Branch along bottom of frame.
Now cluster some of the flowers along the bottom of your tag.
From left to right I used:
Flower 1
Flower 2
Flower 5
Flower 7
Flower 8
Flower 2
Flower 1
Add tube of choice in the middle of the tag. I placed mine right above the Branch layer.
Decorate the tag with elements from the kit. I used:
Drum
Pineapple
Parrot
Add drop shadows to each of your layers.
Now let's get our mask ready! Open your mask on a new canvas.
Add a new layer above it, and flood fill with color of choice,
or use a paper from kit (I used paper 6).
Make sure your mask layer is activated and Command+A to Select All, Command+C to Copy.
Activate the paper layer, hit Q to turn on Quick Mask mode.
Command+V to paste the mask..it should now be tinted red.
Hit Q to turn off Quick Mask mode and there should now be marching ants on your canvas.
Hit the Add Layer Mask button at the bottom of the layer palette (rectangle with the circle in it)
Right click- convert to smart object
Right click- Rasterize layer
Drag completed mask to your tag canvas as the bottom layer
Resize it if needed.
With your Rectangular Marquee Tool (m), draw out a selection around the entire
tag, just slight smaller than the canvas. Image>Crop.
This will get rid of any stray pixels or drop shadows you don't see.
Image>Trim>Top Left Pixel Corner to remove the excess space.
Add your license and copyright info to the tag.
Add name and any other text of choice.
Merge, save as PNG and enjoy :)
Thank you for trying my tut. If you have any questions or would like to show me your results, feel free to email me (bananas_68@yahoo.com) or post them on my Facebook :)
With the move and new baby, I have gotten waaaayyy behind in posting tags my CT make. So I'm going to upload in batches when I get time :o) Make sure to stop by their blogs and follow them to stay up to date with all their newest goodies!!!
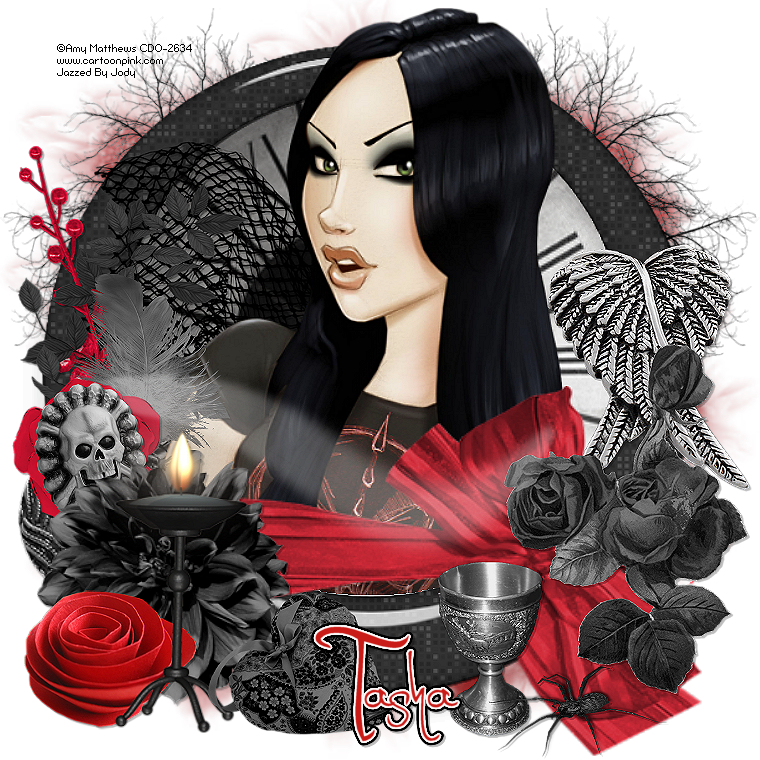
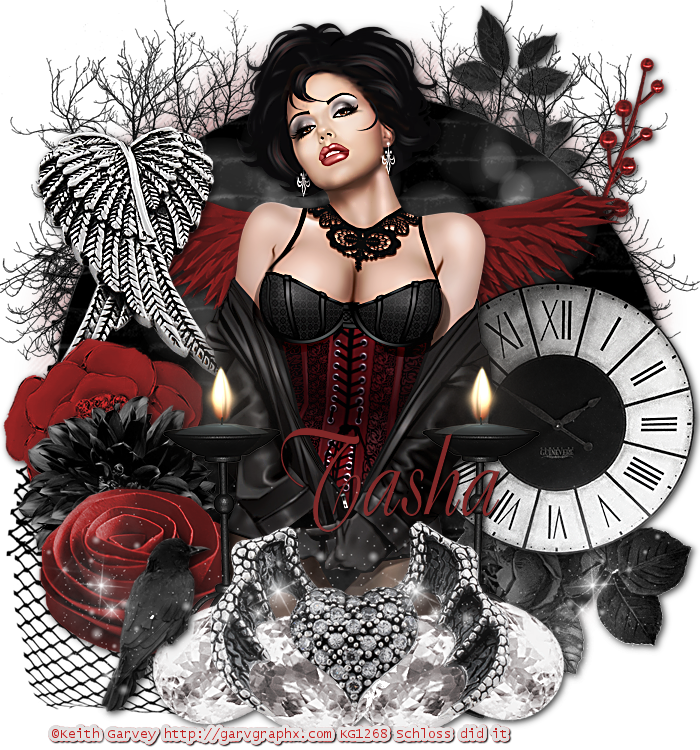
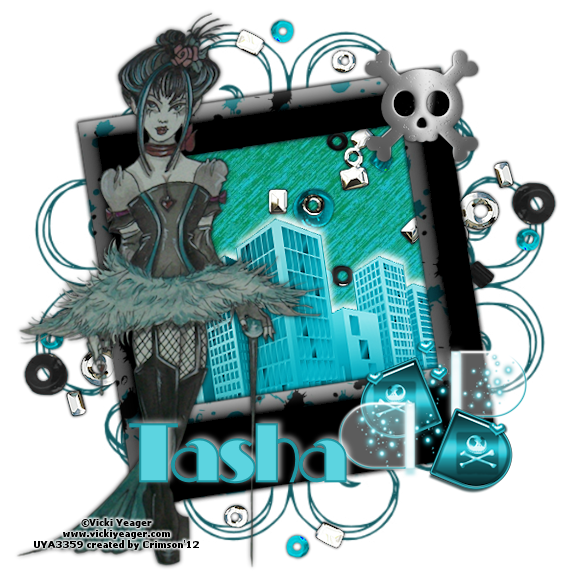
Darkside by Jazzed Up Junk
Sorrowful You by Sugar Coated Tags N Tut
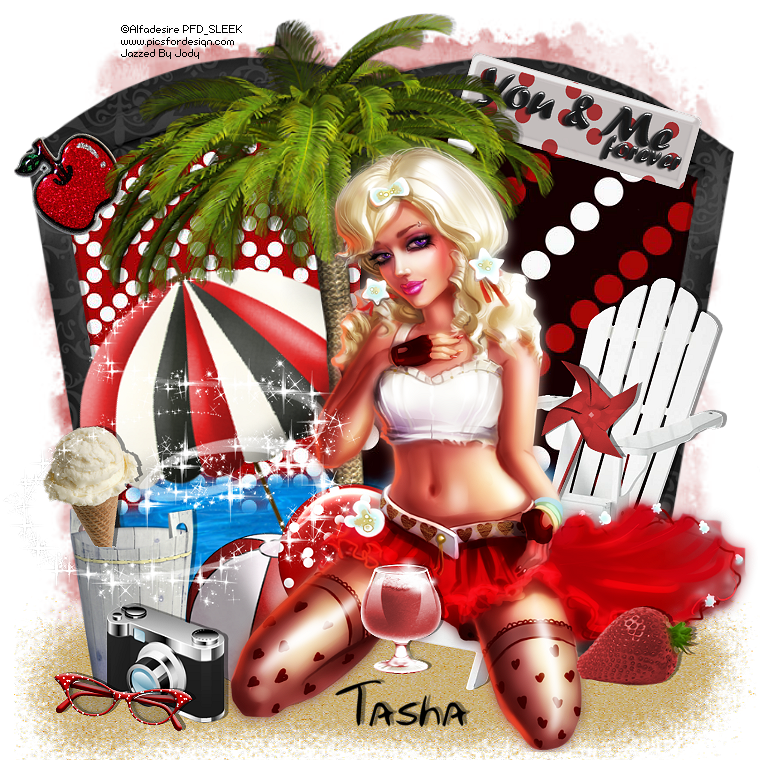
Red, White and Black by Jazzed Up Junk
Sophisticated Burlesque by Tutz by Baby Dragon
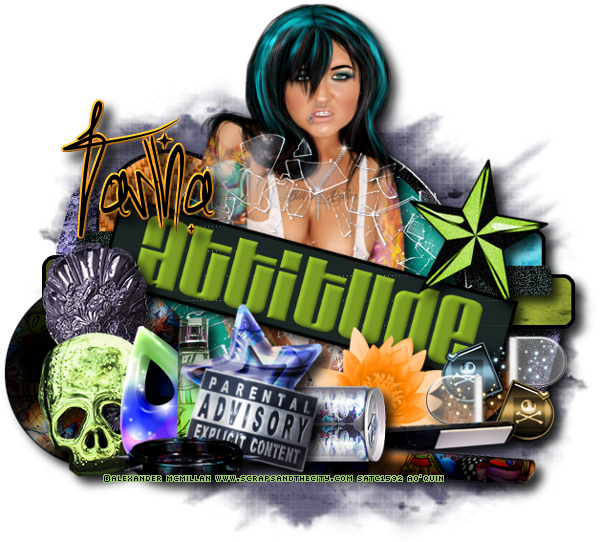
Attitude by Amy from Amy & Leah's Gimptastic Tuts
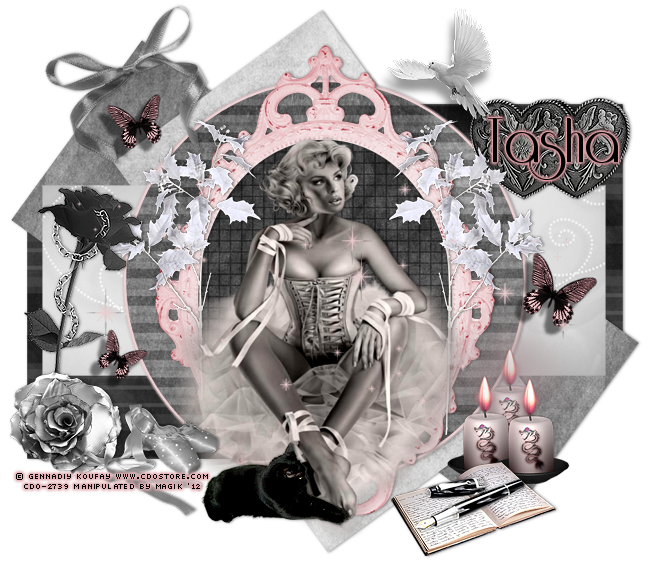
Subtle Blush by Manipulated by Magik
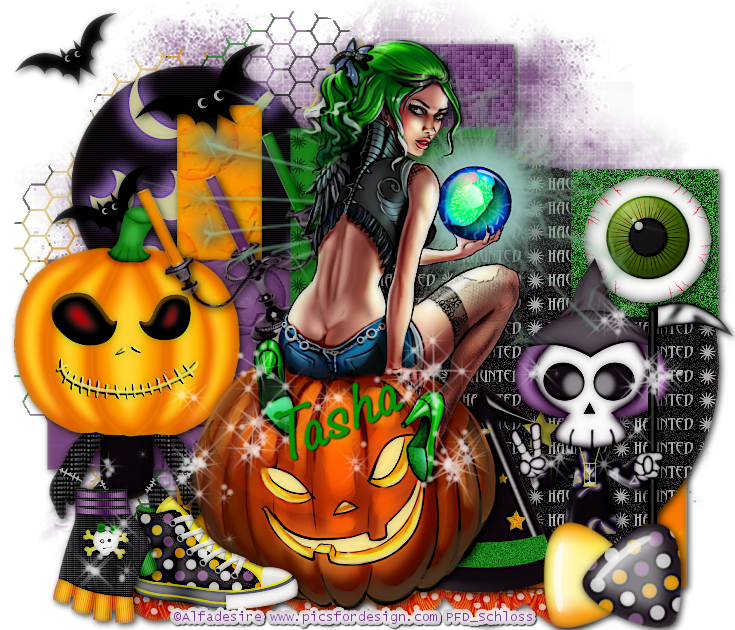
2 Cute 2 Spook by Sugar Coated Tags N Tuts
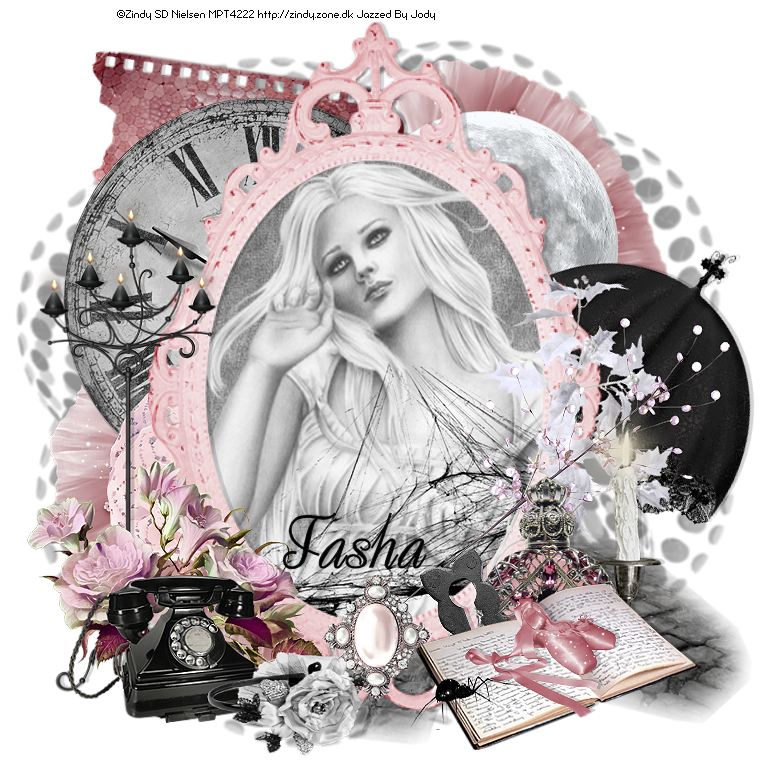
Far Away by Jazzed Up Junk
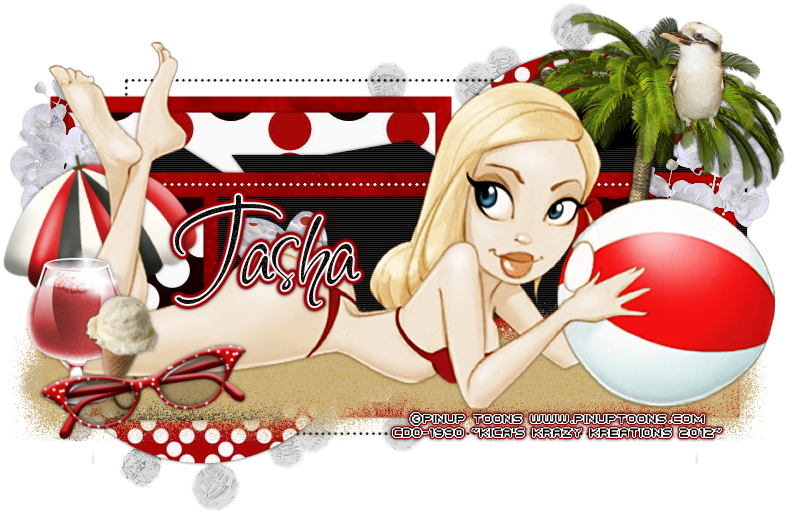
Beach Bum by Krazy Tagger Grrl Designs
Labels:tags with my kits,Tasha's CT | 0
comments
Monday, August 20, 2012
Supplies:
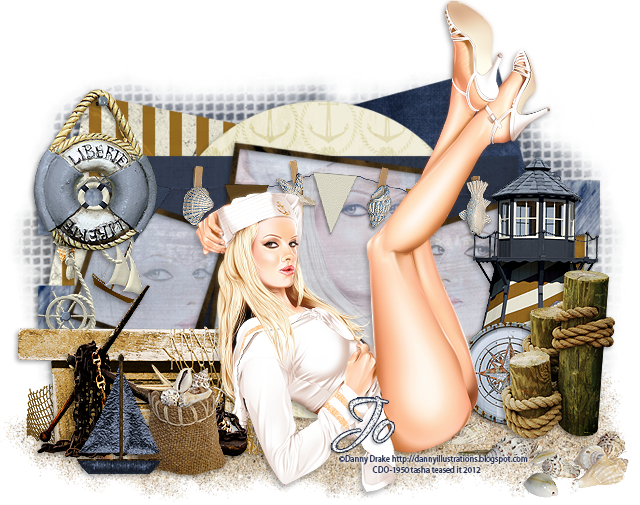
Kit- Sea Spray by A Taggers Scrap. This kit has 97 unique elements and 25 great papers...loads of possibilities! Visit her blog here for more info on the kit.
Tube- I'm using the art of Danny Drake available for purchase at CDO here
Mask- AR315_Mask083 by Aqua here
Template- Template 131 by Rosey here
Font- TheNautiGal or font of choice
Photoshop CS5 or program of choice
Here we go :)
Open your template. Image>Duplicate. Close out original.
Image>Resize to desired size. Image>Canvas Size, I like to increase this to have room to work.
Delete Raster 13, 9 and 10.
Working from the bottom up on the template, lets replace each layer with papers from the kit.
To do this in PS, simply drag your paper of choice as a new layer above the template layer you want to replace. Right click on the paper layer and choose "Create Clipping Mask". This will clip your paper to the layer. Easy, huh? Then just add your drop shadow to the original template layer.
I used:
Raster 2- Paper 16
Raster 7- Paper 24
Raster 5- Paper 13
Raster 6- Paper 10
Raster 4- Paper 1
Raster 8- Paper 20
Raster 3- Paper 12
Raster 12- Paper 20
Raster 11- Paper 2
Now, above the paper that you clipped to Raster 8, add a copy of your tube close up.
Position how you like on both sides, and then clip to the paper.
Change blend mode to Hard Light, opacity around 30%.
Repeat above steps with your tube close up, but above Raster 12 this time.
Now add elements from the kit to your tag. Resize as you go along.
Refer to my tag for placement, or just do your own thing :)
From bottom to top I used:
sand- duplicate/reposition
net
rope
flags
lighthouse 2
bench
preserver
compass 2
shells
pier
anchor
shells 3
yacht 2
Add drop shadows to everything except the net and shells.
Add your main tube choice. Duplicate.
On top copy- filters>blur>gaussian blur 2px. Change blend mode to Soft Light, Opacity 70%.
Drop Shadow bottom copy.
Now let's get our mask ready! Open your mask on a new canvas.
Add a new layer above it, and flood fill with color of choice,
or use a paper from kit.
Make sure your mask layer is activated and Command+A to Select All, Command+C to Copy.
Activate the paper layer, hit Q to turn on Quick Mask mode.
Command+V to paste the mask..it should now be tinted red.
Hit Q to turn off Quick Mask mode and there should now be marching ants on your canvas.
Hit the Add Layer Mask button at the bottom of the layer palette (rectangle with the circle in it)
Right click- convert to smart object
Right click- Rasterize layer
Drag completed mask to your tag canvas as the bottom layer
Resize it if needed.
With your Rectangular Marquee Tool (m), draw out a selection around the entire
tag, just slight smaller than the canvas. Image>Crop.
This will get rid of any stray pixels or drop shadows you don't see.
Image>Trim>Top Left Pixel Corner to remove the excess space.
Add your license and copyright info to the tag.
Add name and any other text of choice.
Merge, save as PNG and enjoy :)
Thank you for trying my tut. If you have any questions or would like to show me your results, feel free to email me (bananas_68@yahoo.com) or post them on my Facebook :)
Labels:A Tagger's Scrap,Photoshop tut,PTU tut | 0
comments
Saturday, August 18, 2012
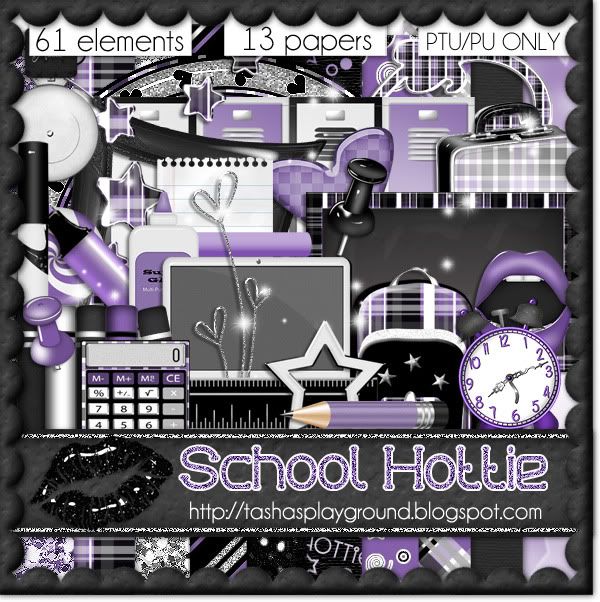
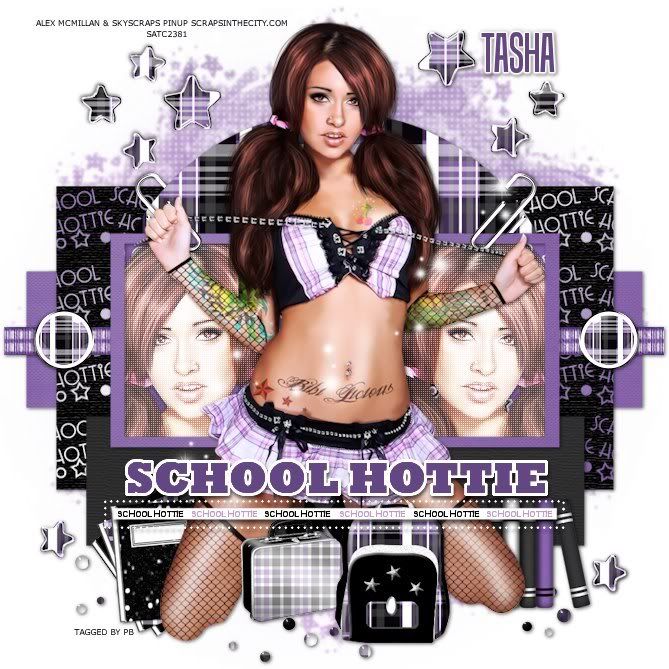
I have a new back to school kit ready to be played with!!! I just couldn't do a regular back to school kit...I had to have fun with it :D Hope you enjoy it!! You can find this great taggers kit at SATC, The PSP Project and PFD f :o) Thanks!!!
School Hottie by BKC Designs here
School Hottie by Sugar Coated Tags N Tuts here
School Hottie by Precious Beauties here
Labels:PTU kit,tags with my kits,Tasha's CT | 0
comments
Hey all :) I packaged up a few random files and decided to make them available for free!! These are CU OK..not CU4CU please!! Free to use doesn't mean free to share so please direct people back to this blog for download. In this pack you will find all tagger sized items: 3 chain link frames, 1 CD, 2 Glamorous word arts, 5 different sparkles, 1 PSD martini glass and 1 PSD layered paper. Hope you enjoy, and make sure to read the TOUs included in the zip file!!
Download here
Labels:freebie,FTU CU | 15
comments
Monday, August 6, 2012
Supplies:
Kit- Autumn in the Park, a cute new kit by Sarah's Tags-N-Things. Visit her blog here for info on where you can get this beauty!!
Tube- I used a Pin Up Toon in the example above. They are available for purchase at CDO with a valid license. In the example below, I used the work of Vinegar, but don't know where you can find her work at the moment.
Mask- WSL_Mask 308 here
Font- Roskrift Clean or font of choice
Photoshop CS5 or program of choice
I use a Mac, so when I use Command you may need to use Ctrl.
Here we go :)
Open a new canvas 750x750
Place Frame 1 in center of canvas.
Behind that, place paper of choice, I used Paper 3.
Using your Magic Wand Tool (w), click inside the frame.
Select>Modify>Expand by 5px. Select>Inverse.
Activate paper layer and hit Delete on keyboard. Command+D to deselect.
Position element 24 at the base of the frame.
From bottom to top, add and arrange the following elements:
6
26
9
23
18
17
13
36
40
1
25
Open Layer Styles by clicking on each layer, and add drop shadow of your choice
to each of the elements. A fast way to do this, is add your first DS, then right click that layer and Copy Layer Style. Then go to the next layer, right click and Paste Layer Style.
Add tube of choice as the top layer and position on tag.
I like to add a soft glow to my tubes so:
Command+J to duplicate.
On top copy, Filter>Blur>Gaussian Blur. Change blend mode to Soft Light, Opacity 60%.
Play with the blend mode and opacity to suit your tube :)
Now let's get our mask ready! Open your mask on a new canvas.
Add a new layer above it, and flood fill with color of choice,
or use a paper from kit.
Make sure your mask layer is activated and Command+A to Select All, Command+C to Copy.
Activate the paper layer, hit Q to turn on Quick Mask mode.
Command+V to paste the mask..it should now be tinted red.
Hit Q to turn off Quick Mask mode and there should now be marching ants on your canvas.
Hit the Add Layer Mask button at the bottom of the layer palette (rectangle with the circle in it)
Right click- convert to smart object
Right click- Rasterize layer
Drag completed mask to your tag canvas as the bottom layer
Resize it if needed.
With your Rectangular Marquee Tool (m), draw out a selection around the entire
tag, just slight smaller than the canvas. Image>Crop.
This will get rid of any stray pixels or drop shadows you don't see.
Image>Trim>Top Left Pixel Corner to remove the excess space.
Add your license and copyright info to the tag.
Add name and any other text of choice.
Merge, save as PNG and enjoy :)
Thank you for trying my tut. If you have any questions or would like to show me your results, feel free to email me (bananas_68@yahoo.com) or post them on my Facebook :)
Labels:Photoshop tut,PTU tut | 0
comments
Subscribe to:
Posts
(Atom)
Leave me some love
Labels
- A Space Between
- A Tagger's Scrap
- Abstract Creations
- Alena Lazareva
- Andreea Cernestean
- animated
- Announcement
- Autumn
- Autumn Blaze
- Autumn Breeze
- awards
- Birthstone Series
- blog train
- Cartoon Pink
- CDO
- Christmas
- Cluster Frame
- CT call
- Ct Tag
- Ct Team
- Cuddly Rigor Mortis
- dark/goth
- Designer Scraps
- Digital Chaos
- Dirk Richter
- DSI
- Elias Chatzoudis
- Enys Guerrero
- FB Timeline Cover
- Fluff
- Forum Set
- FourXDesigns
- freebie
- FTU CU
- FTU kit
- FTU tut
- Full Size Kit
- Gimptastic Scraps
- Gorjuss
- Halloween
- IB kit
- Keith Garvey
- KiwiFireStorm
- Lollipops N Gumdrops
- Molly Harrison
- New Years
- No Scrap
- PFD
- Photoshop tut
- Pimpin PSPers
- Previously Released
- PTE
- PTU CU
- PTU kit
- PTU tut
- quick page
- Rebecca Sinz
- Rosanna Castellino
- sale
- Sarah's Tags N Things
- Scrap-U-Nique
- Shawli
- Sheena Pike
- snaggable
- Soxsational Scraps
- Spazzd Art
- spring
- St. Patrick's Day
- Standalone kits
- summer
- Summer Haze
- tag show off
- tags
- tags with my kits
- tags with my templates
- Tasha's CT
- template
- Thanksgiving
- TPP
- tut result
- Twilight Scraps
- Valentine
- Whispered Bliss
- Wicked Princess Scraps
- Winter
- wordart


