Search
Sign up for my Newsletter
Tasha's Playground Fan Page
Find me on Facebook
Followers
Thursday, February 28, 2013
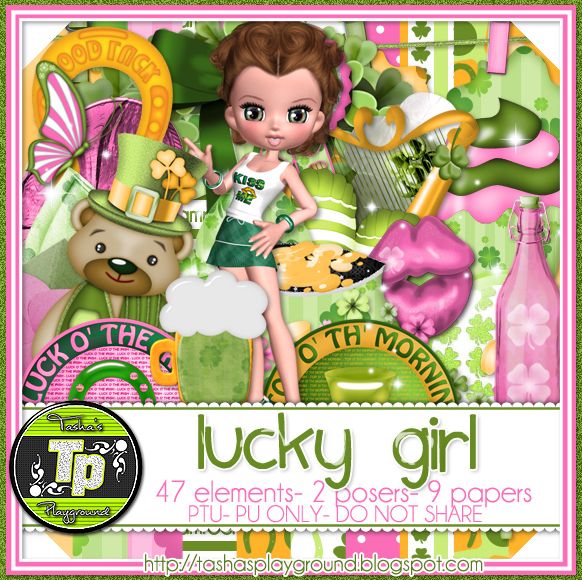
Lucky Girl is a fun St. Patrick's Day themed kit with bright shades of greens, pinks and orange. This tagger sized kit has 47 elements, 2 posers and 9 papers. Please read the TOUs included in the zip file for crediting info on the posers. Thanks and enjoy!!!! Visit here for my FTU CU papers used in the kit :)
Labels:PTU kit | 0
comments
The March 2013 O'Scrap Blog Train has taken off!! My contribution is a pack of CU OK papers which I made for my new kit, Lucky Girl. Please read the TOUs in the zip file, and as always, please do not share :o)
Download here.
Follow the rest of the train below!!! Don't forget to leave some love ;o)
Labels:blog train,freebie,FTU CU | 5
comments
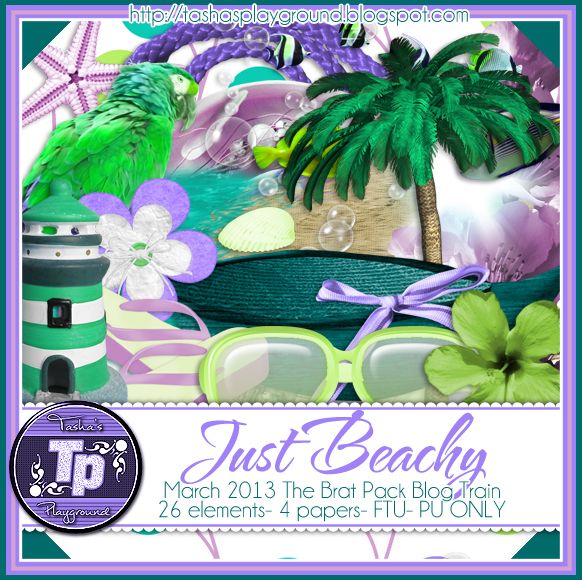
Take a ride on the Crazy Train this month with The Brat Pack Blog Train!! This month there were 2 palettes and an open theme, so things really got crazy!! I decided to go with the lighter palette and chose a beach theme because everyone just wants to get away sometimes :) You can download this kit here. Please do not share. Thanks for stopping by!


Pam: Crazy Cat Creations
Labels:blog train,freebie,FTU kit,summer | 10
comments
Sunday, February 24, 2013
Hey everyone :) A quick note about one of my kits.
It was brought to my attention that a few items in my Skullz N Stripez kit may not be ok to use. If you have purchased this kit, please remove the following elements:
8 ball
bear
spider charm
USB
I purchased and/or downloaded these as CU OK items from other designers in good faith and included them in my kit. I just don't have the time right now to see if this claim is false as one of the items led to a designer who isn't even scrapping anymore and I'm not chasing this all over the internet.
Anyway, I have deactivated the kit in stores until I can replace those items with 4 others. After I do that, I will be more than happy to provide those new elements to anyone who purchased the kit and has their receipt :)
Before anyone asks...I don't know if you need to delete these elements in other kits by other designers. I don't have the time or energy to fully investigate the claim, so I am just erring on the side of caution and using the "when in doubt, take it out" rule. Hope you understand :)
If you have any questions, feel free to email me at bananas_68@yahoo.com.
Labels:Announcement | 2
comments
Thursday, February 14, 2013
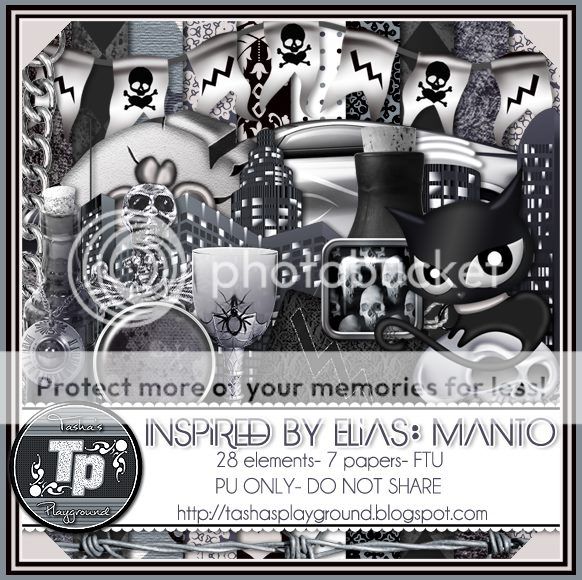
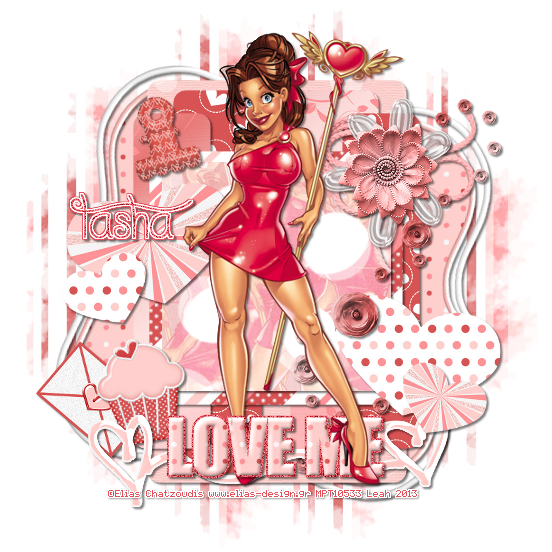
Choo Choo!! It's that time again for the Fantastically Free Blog Train to leave the station!! This month we each picked a tube from Elias Chatzoudis for inspiration and let our creativity run loose!!! I chose Manto for my inspiration..I just love her and haven't really seen many scrap kits that match so thought it would be fun :o)
You can download the kit here. Please don't upload this and share it..just direct people here so they can check out my other freebies ^_^ Thank you's are always appreciated!
Be sure to follow the rest of the train and pick up all the goodies!! Because we are all in different time zones, if someone doesn't have theirs up yet just check back later :o)
-------------------------------------
Labels:blog train,freebie,FTU kit | 15
comments
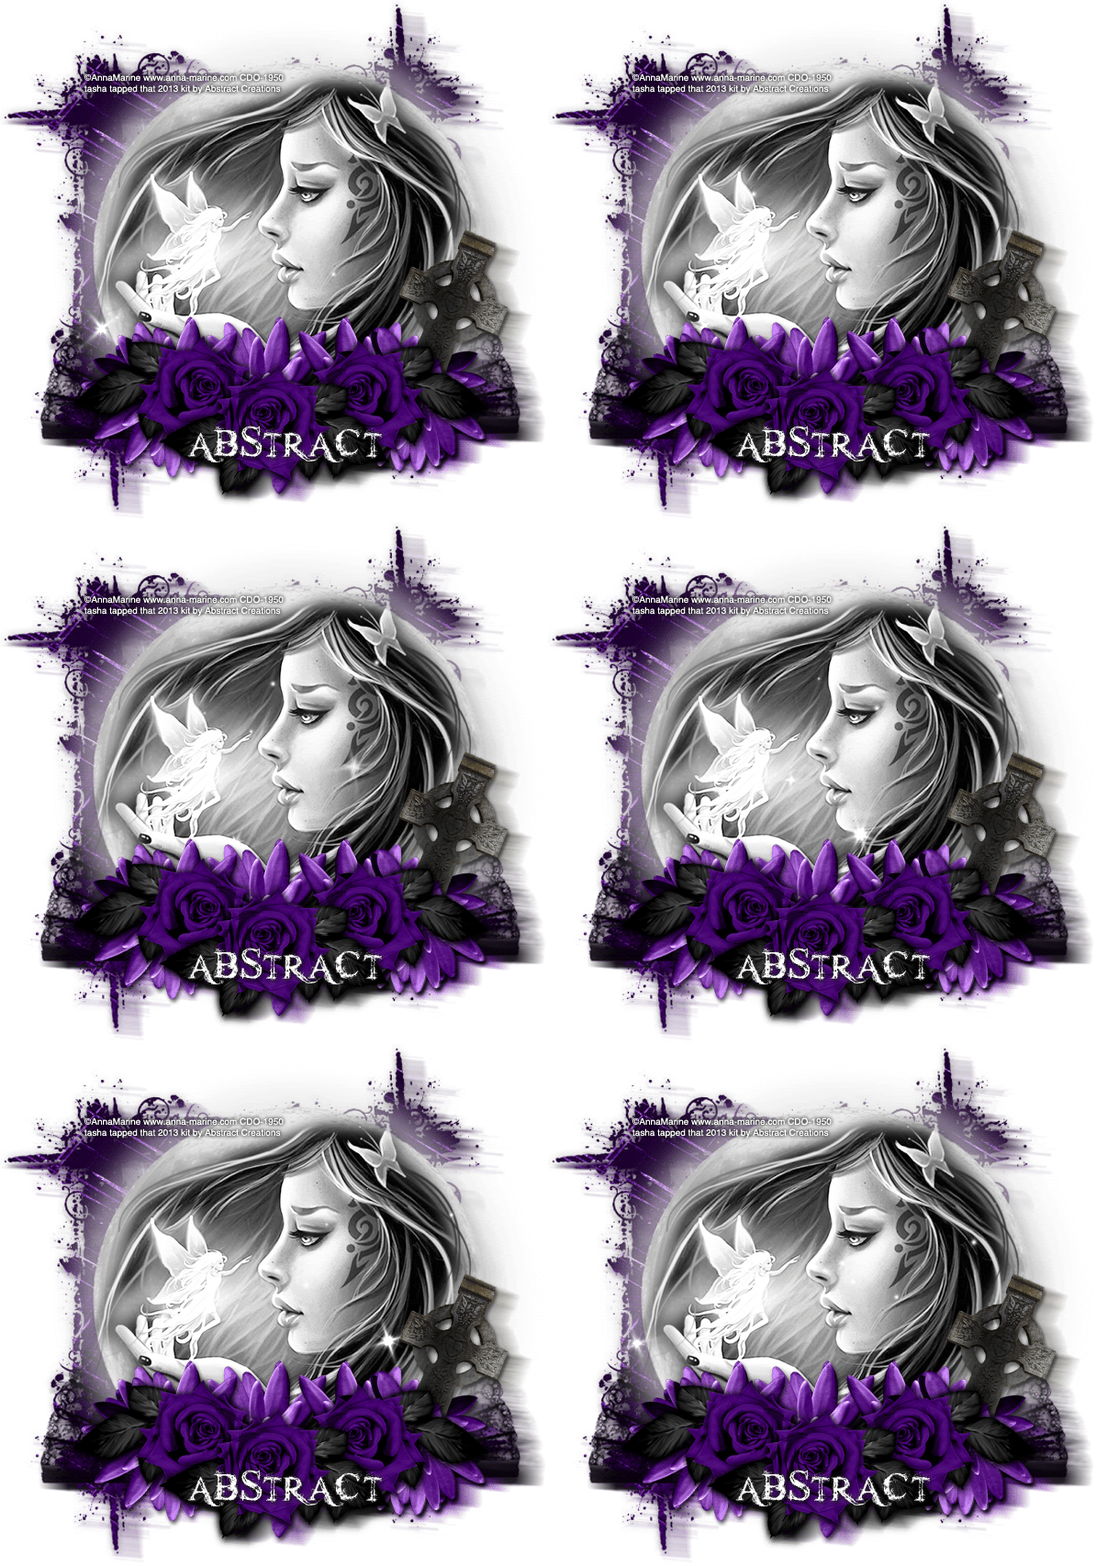
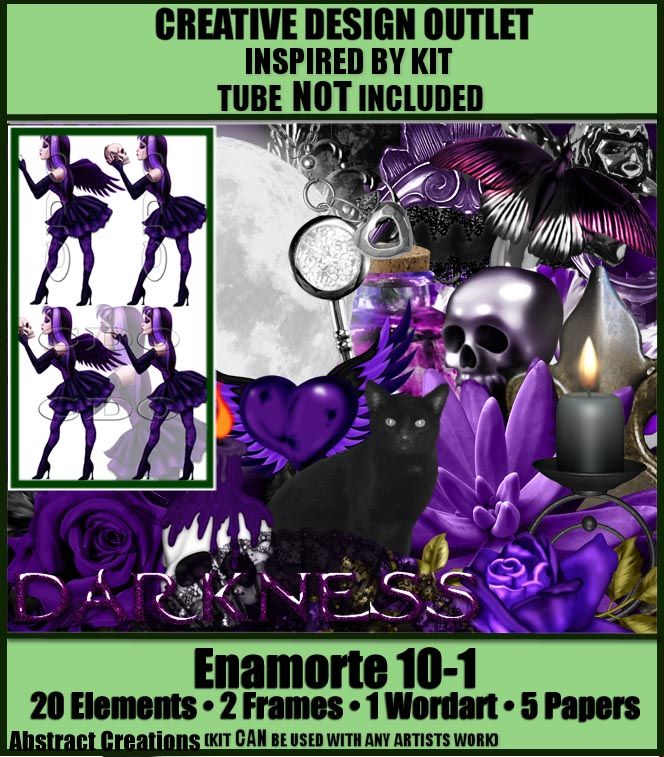
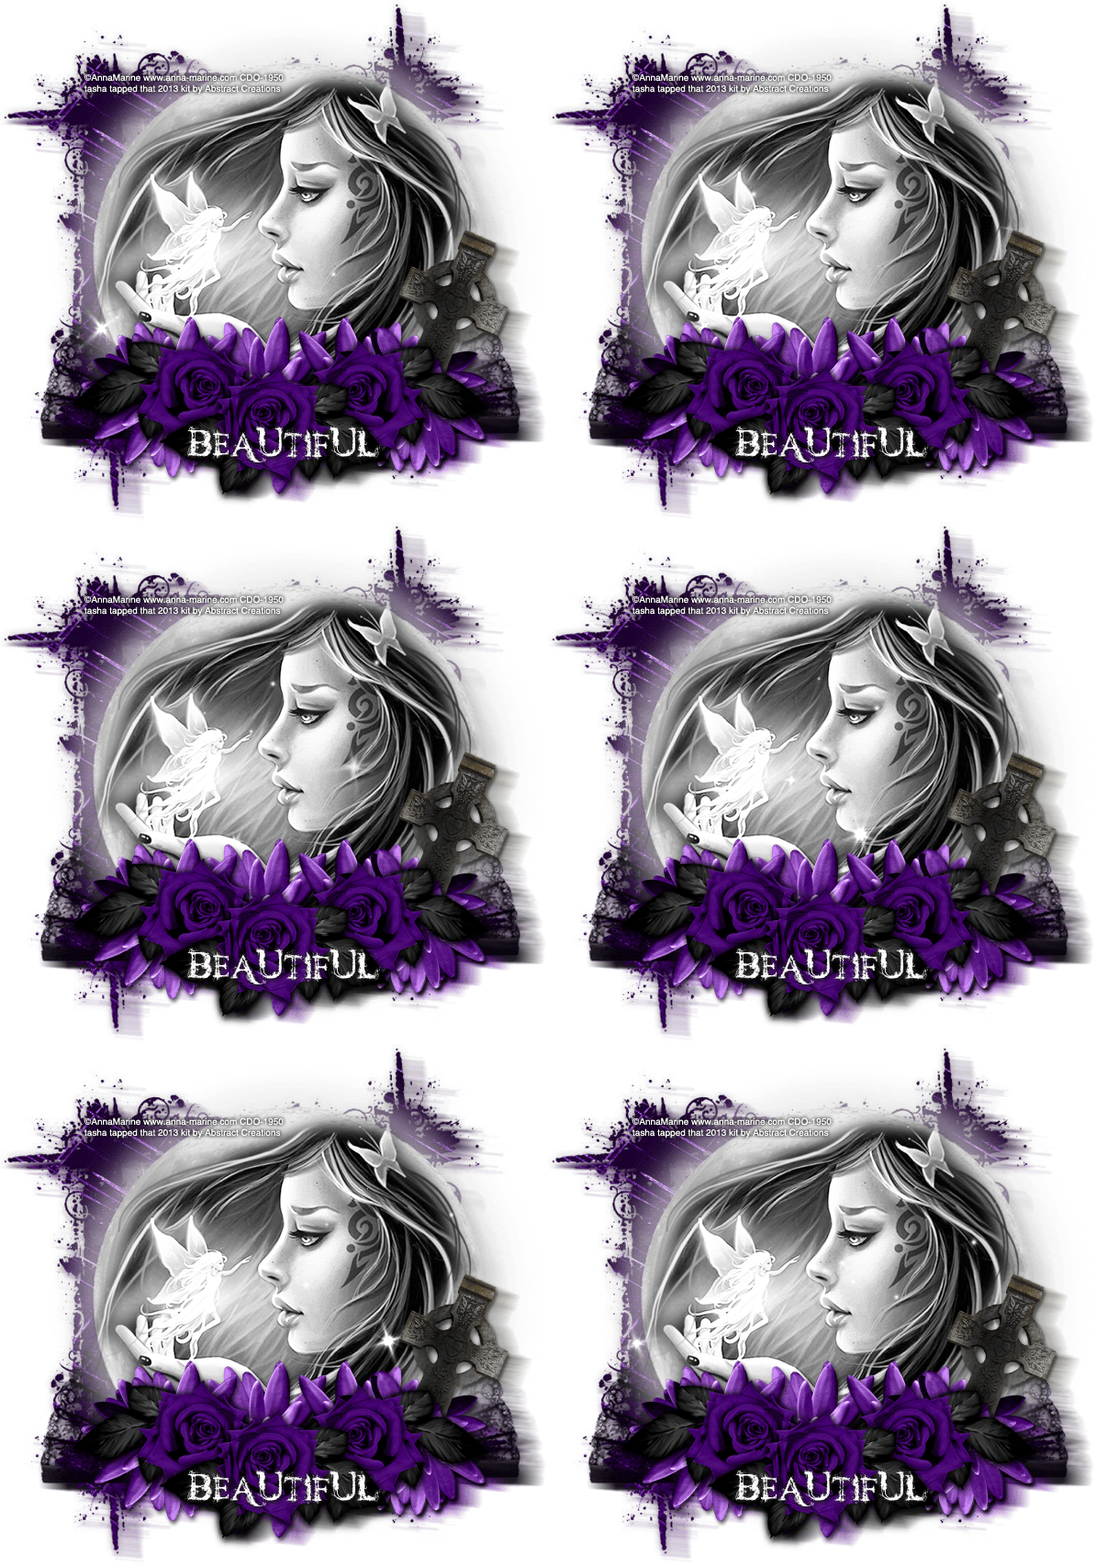
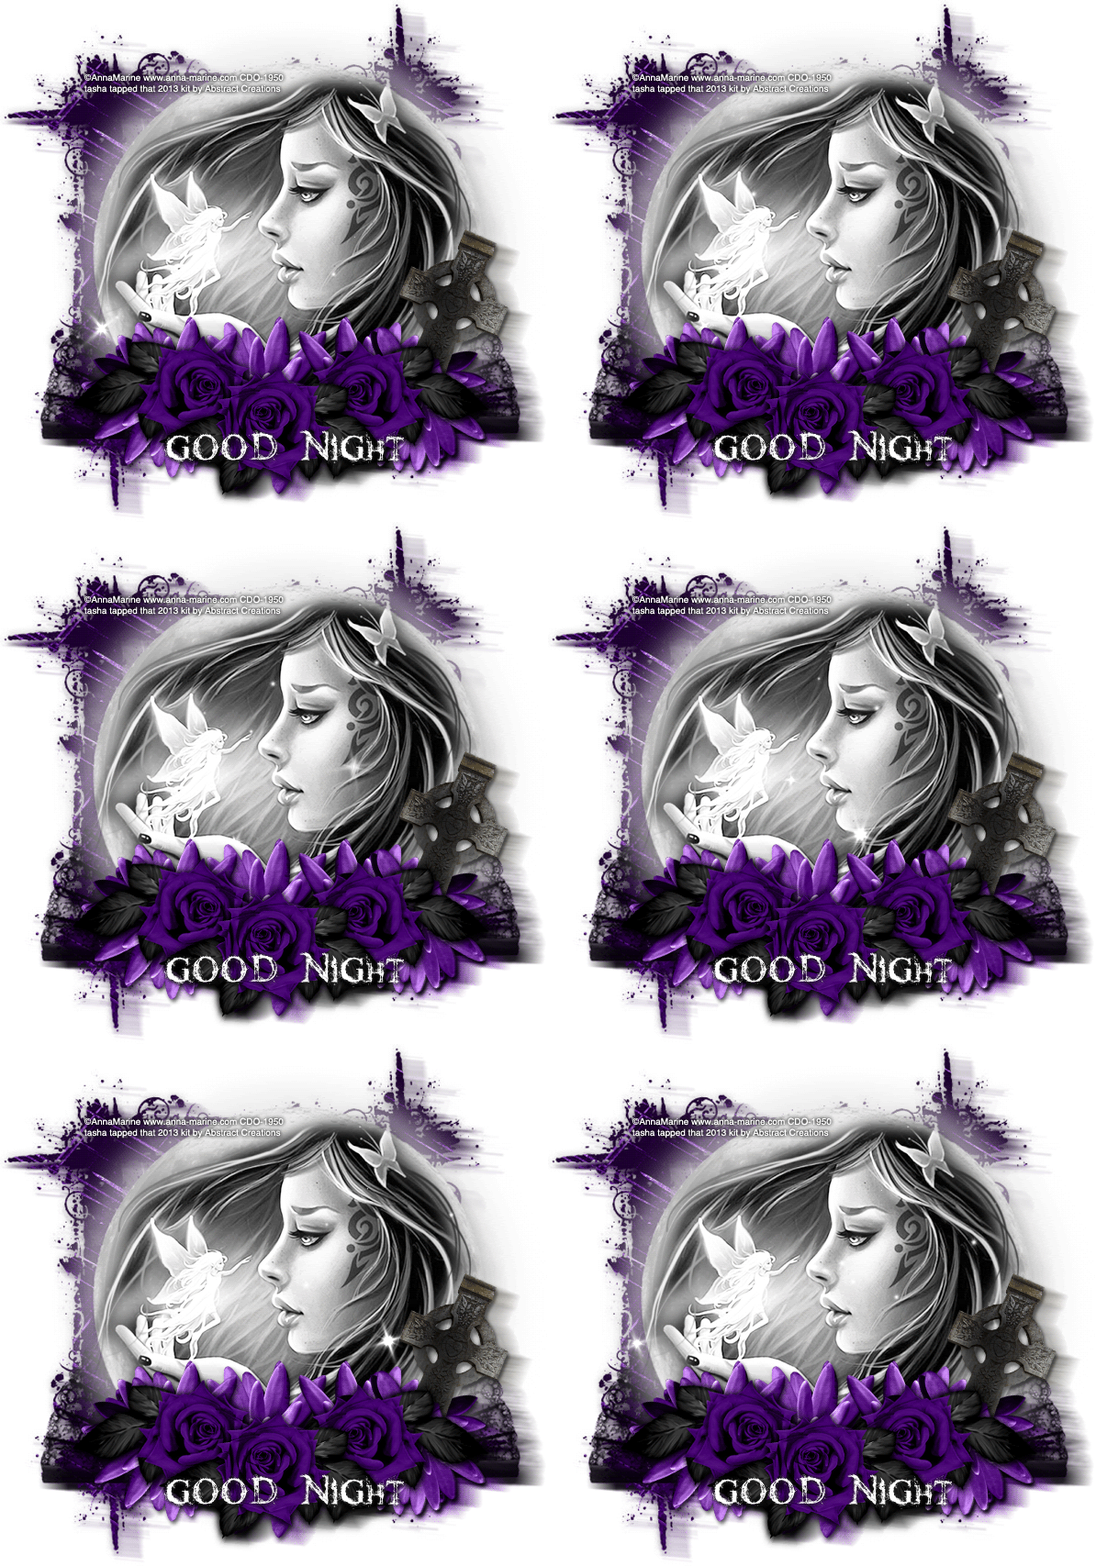
Hello :) Today I played with a beautiful kit by Abstract Creations which will be available at Creative Design Outlet on Feb 15, 2013. This kit is part of the Inspired By series and was made to compliment Enamorte 10-1, but can be used with any artist. I paired it with Anna Marine :)
The animation is one by Scrappy Bit of Fun.
Below are some extras for you to snag. Please click them to view full size, then save to your computer. You will need to upload them to a photo hosting site for the animation. Do not alter, add to, change or resize these in any way!! Thank you :)
Labels:Abstract Creations,CDO,freebie,snaggable | 0
comments
Monday, February 11, 2013
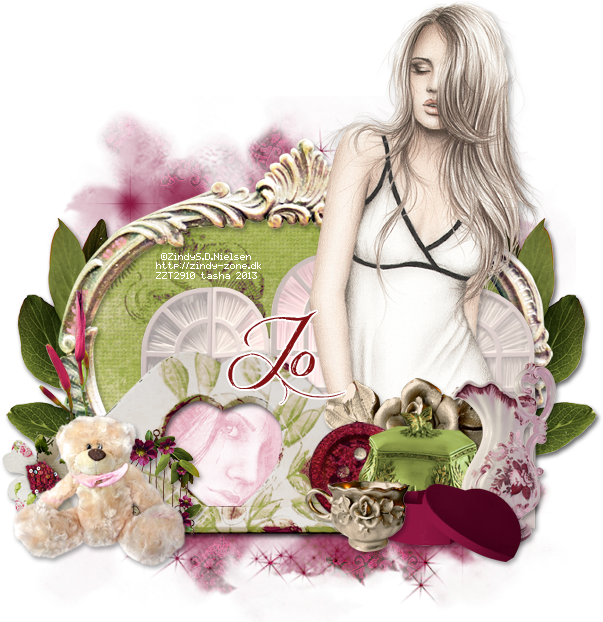
Supplies:
Kit- Vintage Romance by A Taggers Scrap. This beautiful kit comes with a freebie add-on. Visit Jo's blog here for details.
Tube- I'm using the art of Zindy Nielsen which you can purchase from her store here. You need to have a valid license to use her work.
Mask- Mask 69 from Scrappy Bit Of Fun here
Font- Jellyka Delicious Cake
Photoshop CS5
I'm on a Mac, so when I use Command you may need to use Ctrl
Here we go :)
Command+N to open a new canvas 700x700
Place frame 1 on canvas, and place paper 26 below it.
Click in the frame with the magic wand tool.
Select>Modify>Expand by 5px. Select>Inverse.
Hit delete on the paper layer.
Add frame 10 to bottom of frame 1.
Place paper 19 below it in the heart using the method above.
Add tube above paper so it shows in the heart. Right-click tube and create a clipping mask.
Desaturate tube and change blend mode to Screen.
Add main tube to top of frame. Drop shadow using Layer Styles.
Add some elements from the kit to your tag.
From bottom to top I used:
leaves 1
flower 5
screen
flower 9
birdcage
flower 4
button 3
teddy
trinket box
jug
box
cup 1
Now for the mask!! There are a few ways to do this...this is how I like to :)
Open your mask and add paper of choice above it.
With the mask layer highlighted, Select>All, Edit>Copy.
On paper layer, hit Q to activate Quick Mask Mode. If you see red, you're doing it right! Edit>Paste. Hit Q again to turn off Quick Mask Mode. The red should disappear and be marching ants.
Now click the Add Layer Mask button at the bottom of your layer palette box.
Rasterize the layer and drag it over to your tag canvas.
Resize and postion as needed.
Image>Trim>Top Left Pixel Color. This will get rid of any excess space on your tag.
Image>Resize if needed.
Add name and any text of choice.
Add your license and copyright info.
Merge, save and enjoy :)
Thanks for trying my tut. If you have any questions or would like to show me your results, feel free to email me at bananas_68@yahoo.com or friend me on facebook!
Labels:A Tagger's Scrap,Photoshop tut,PTU tut | 0
comments
Sunday, February 10, 2013
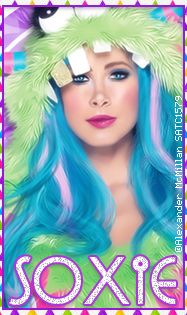
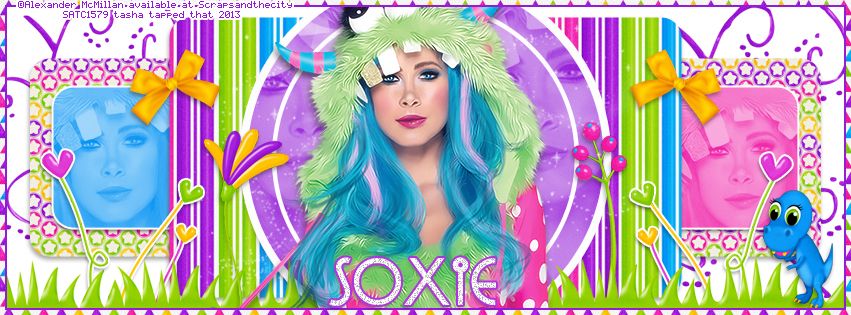
*click to view full size*
Supplies-
Kit- Rawr! by Soxsational Scraps. Visit Soxie's blog here to find where you can get this super cute and fun kit!
Tube- I'm using the work of Alexander McMillan which you can purchase from SATC. You need a valid license to use this tube.
Template- Timeline template from Millie here
Font of choice
Photoshop CS5
I'm on a Mac, so when I use Command you may need to use CTRL
Here we go :)
Open your template. Image>Duplicate. Close out original. Delete credits and layer 2.
Add paper 15 above Layer 1. Right-click paper and Create Clipping Mask.
Double click Layer 1 and add a drop shadow using Layer Styles.
Clip papers 8 and 10 to Layer 3. Clip tube to each paper.
Desaturate tube (Image>Adjustment>Desaturate) and change blend mode to Screen, Opacity 60%.
Open layer styles on Layer 3 and add a 2px white stroke and drop shadow.
Clip paper 4 to layer 4. Drop shadow.
Clip paper 9 to layer 5. Add tube close ups. Desaturate, blend mode Screen, Opacity 60%.
Add an 8px white stroke and drop shadow to layer 5.
Add your tube and elements of choice. I used:
*from bottom to top*
19
57
54
82
12
62
59
33
Now choose a paper that you'd like to use for the border.
Edit>Define as Pattern. Name it whatever you want :)
Add a new layer to the very top of your layer palette window.
Select>All. Edit>Stroke: 10px, color of choice, outside.
Open Layer Styles, choose the paper pattern you just did-
Add your copyright and license info. Add name and any text of choice.
Merge and save as JPG.
To do the avi, I just cropped part of the banner and redid the border with a smaller px width :)
Thanks for trying my tut! If you have any questions or would like to show me your results, feel free to email me at bananas_68@yahoo.com or friend me on facebook.
Saturday, February 9, 2013
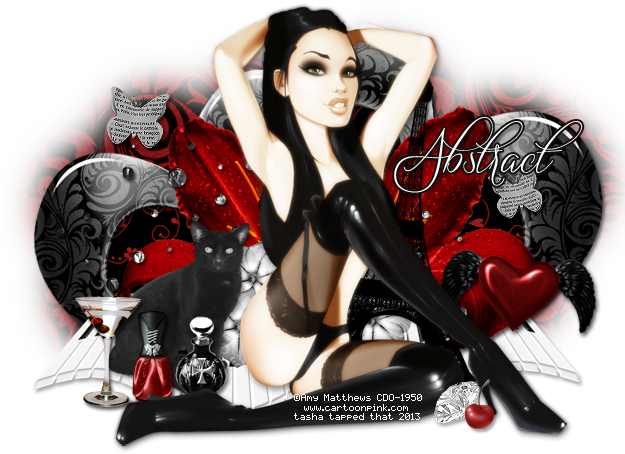
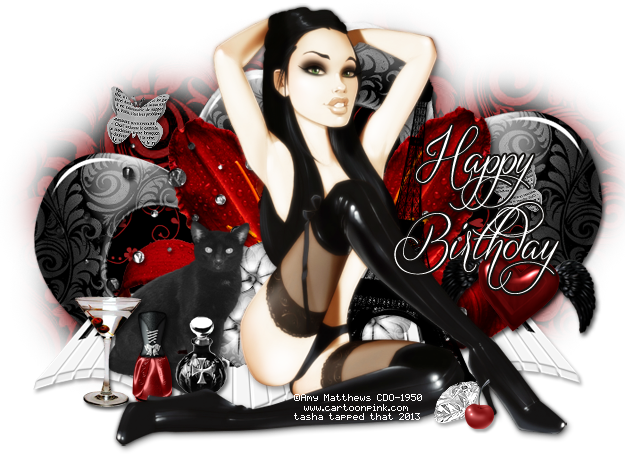
First, I'm happy to say I've joined the CT of Abstract Creations :) You can find her fab kits exclusively at Creative Design Outlet. Thanks for having me Abs!!! The first kit I chose to work with is called Serenity. I love a good black and red kit, and this one jam packed with goodness!! Make sure to check it out :o)
The first tag I made with Serenity is using a sexy tube by Amy Matthews. You can find her work at CDO here. You need a valid license to use this tube, and it must be purchased from the store.
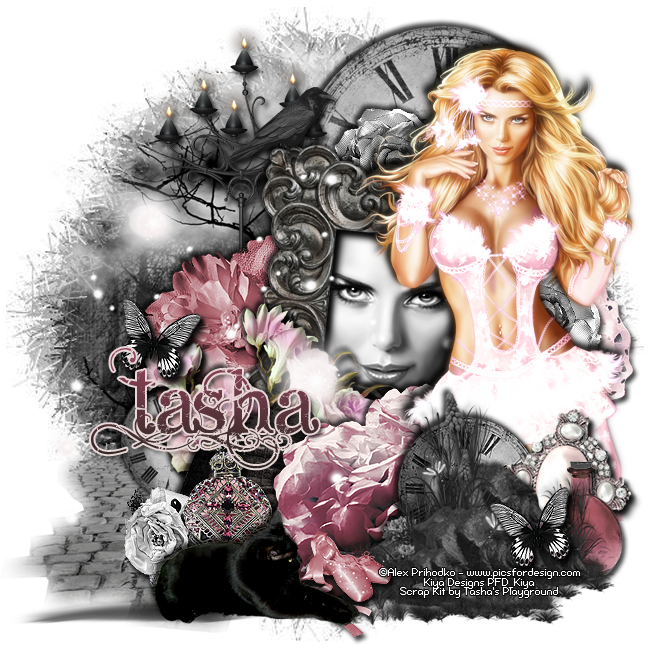
The second tag was made using the work of Alex Prihodko. You can find his work at Pics For Design. Again, please purchase his artwork and have a valid license prior to using it.
And here are a few snags from both tags. These are not to be altered in any way. This means no adding names, sayings, elements or resizing. Just click to view full size, then save to your computer. Thanks and enjoy!
Labels:Abstract Creations,CDO,freebie,PFD,snaggable | 2
comments
Friday, February 8, 2013
Here's some St. Patrick's Day CU stuff I made last year and had in the store for a little bit before I decided to take them down and sharpen my skills lol. Fair warning, the beer glass is a bit jagged..but I hope you get some use from these :) I made them all in Photoshop using tuts, the pen tool and CU preset shapes... no vectors were harmed in the creation of these Commercial Use products ;o) You get PSD templates and samples to play with..yay!!!
You can download here. And thank you's are always appreciated!!
Please read my TOUs included in the zip file!
Labels:freebie,FTU CU | 17
comments
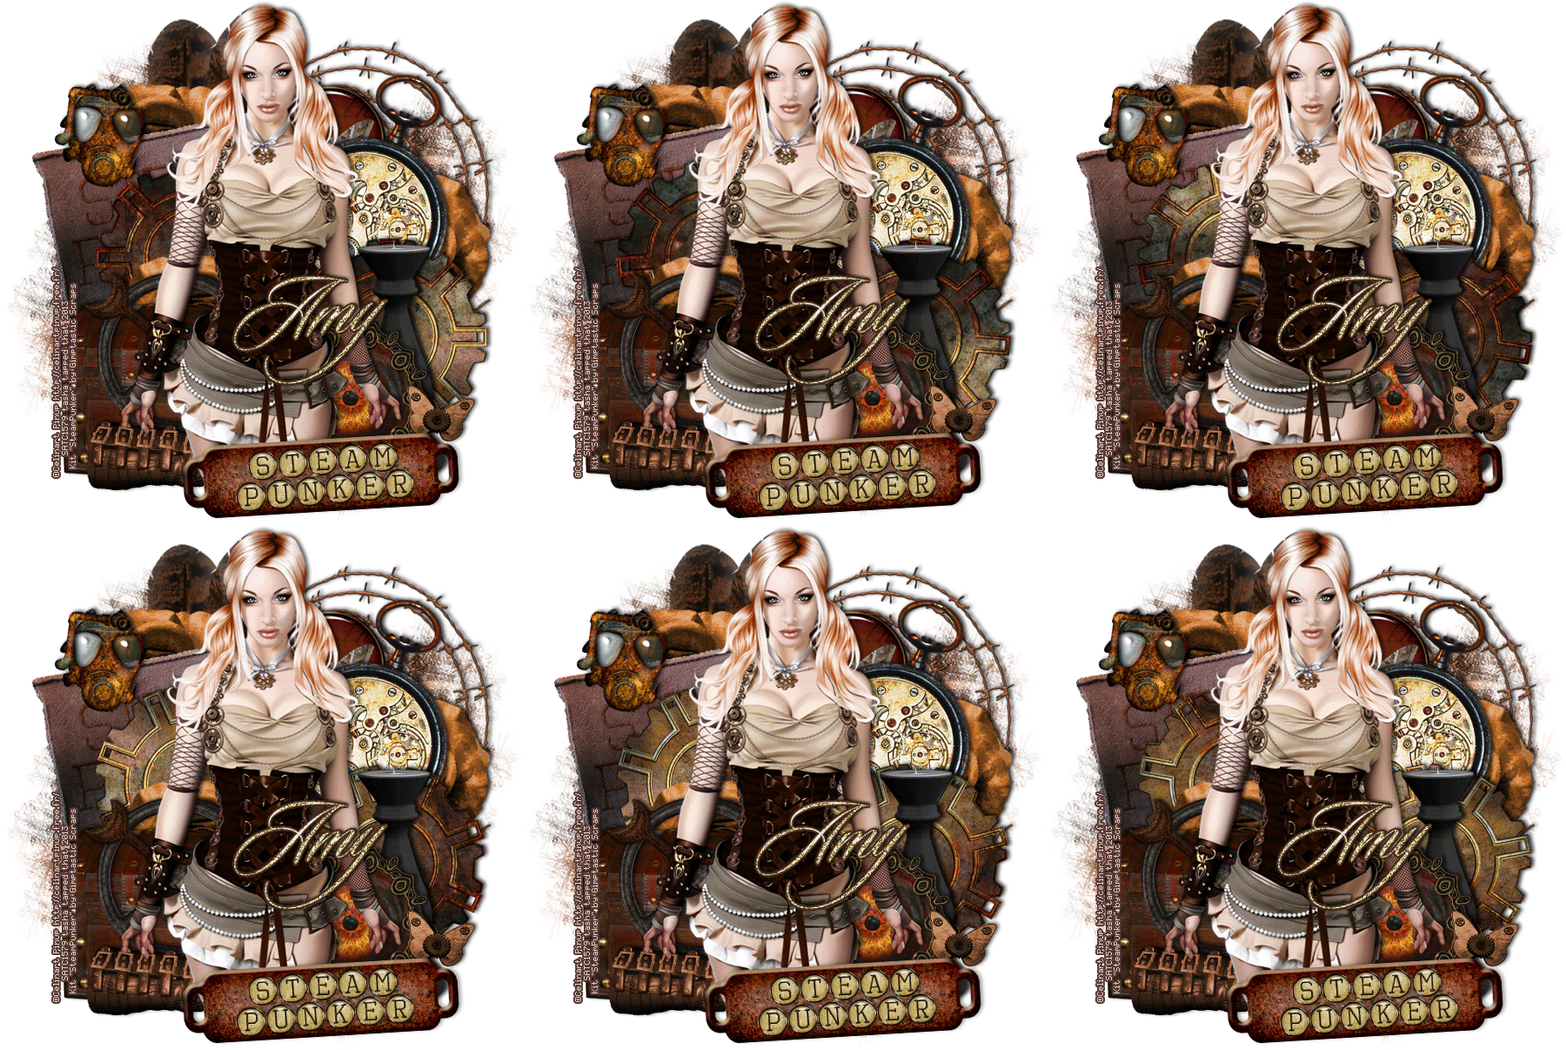
*click to view full size*
Supplies:
Kit- Steam Punker by Gimptastic Scraps. Grab it for free here.
Tube- Kato Steampunk by Celine Pinup
Mask of choice
Font- Sloop Script
Photoshop CS5
I'm on a Mac, so when I use Command you may need to use CTRL
Here we go :)
Command+N to open a new canvas 650x650, white background.
There is really no way to describe how I arranged my elements..I just play around
until it clicks lol. I grouped some elements together (select the ones you want, then Command+G to create a group) to make it easier to animate. There are lots of fun things in this kit, I used:
*from bottom to top*
Group 1:
wire
feather
rose
leather patch
flair
watch
cog 2
rose
trunk
cog 2
Group 2:
candle holder
cog 1
cuff
eye
butterfly
tag
mask
WA
Add your tube above the butterfly layer. I like a soft glow on my tubes. To do this-
Command+J to duplicate. On top tube Filter>Blur>Gaussian Blur 2px.
Blend Mode Soft Light, Opacity 45%. Play with both those settings to suit your tube and taste :)
Click layer styles and add drop shadows to elements and bottom tube copy.
Add name and any text. To the name I added noise (Filter>Noise>Add Noise) and applied a few layer styles:
Now for the mask!! There are a few ways to do this...this is how I like to :)
Open your mask and add paper of choice above it.
With the mask layer highlighted, Select>All, Edit>Copy.
On paper layer, hit Q to activate Quick Mask Mode. If you see red, you're doing it right! Edit>Paste. Hit Q again to turn off Quick Mask Mode. The red should disappear and be marching ants.
Now click the Add Layer Mask button at the bottom of your layer palette box.
Rasterize the layer and drag it over to your tag canvas.
Resize and postion as needed.
Image>Trim>Top Left Pixel Color. This will get rid of any excess space on your tag.
Add your license and copyright info.
If you are not going to animate, close out the white background and save as PNG.
To animate:
Keep your white background there! Otherwise, you'll end up with nasty edges from the drop shadows.
First rename your two cogs that you are going to rotate. I named them both 1 since they will be the first ani frame.
Window>Animation to open the animation window. You will see that your first frame is already there waiting for you..yay!
Duplicate the first frame-
Close out the cog layers and duplicate them. Rename them both 2. On the bottom right one, Free Transform (command+T) 10 degrees to the right.
Do the same with the other cog, except do -10 degrees.
Duplicate the animation frame. Close out the cog layers and duplicate them. Rename them both 3. Rotate them 20 and -20 degrees, respectively.
Repeat these steps until you are done, increasing the degrees by 10 each time..I ended up with 27 layers.
Change the delay time to 0 sec and set to loop forever.
Edit>Save for Web & Devices and save as GIF.
All done :)
Thanks for trying my tut!! If you have any questions or would like to show me your results, feel free to email me at bananas_68@yahoo.com or friend me on Facebook.
Supplies:
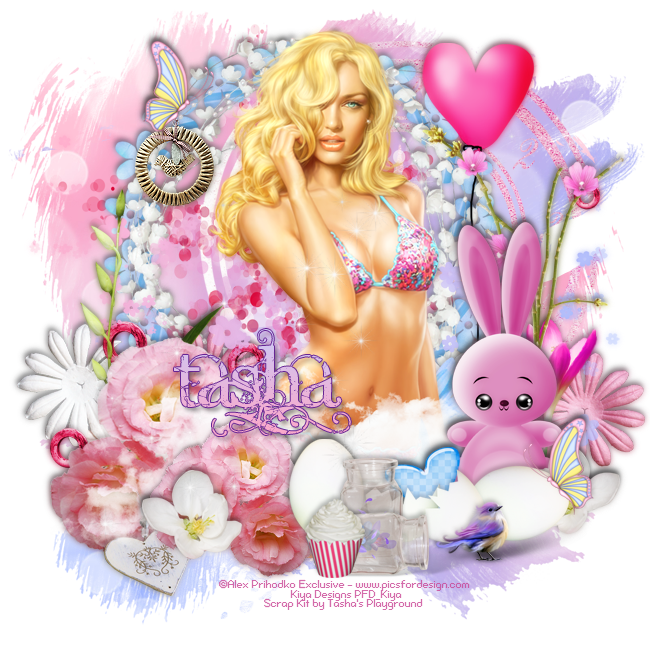
Kit- Raspberry Ripple Romance by A Taggers Scrap. This kit if packed full of fun, bright goodness! Visit Jo's blog here to check it out!!
Tube- I'm using the always amazing work of FourXDesigns. You can find her store here.
Font- Whiteboard Modern
Photoshop CS5
I'm on a Mac, so when I use Command, you may need to use CTRL
Here we go :)
This is an easy one!
Command+N to open a new canvas 700x700, white background.
Place frame 6 in center of canvas. Command+T to bring up Free Transform (Edit>Transform)
and angle the frame down to the right a bit like in my tag.
Add paper 12 below that. Magic Wand (w) click inside the frame.
Select>Modify>Expand by 5. Select>Inverse, hit delete on the paper layer. Deselect.
Double click frame to bring up layer styles. Add drop shadow of choice.
Add tube above frame. Resize to fit how you like her.
I like to add a nice soft glow to my tubes. To do that-
Command+J to duplicate. On top copy, Filter>Blur>Gaussian Blur 2px.
Blend Mode Hard Light, Opacity 30%.
Play with both of those settings to suit your tube and taste :)
Now just add some elements from this gorgeous kit to your tag!!
From bottom to top I used:
Frame 2
ribbon
swirl 2
flower 4
leaf scatter
flower 2
cookies
flower 6
flower 9
heart 7
balloons 2
balloons
glows 1
lantern
flower 8
flower 4
word art
teddy
flower 9
flower 6
butterfly
jar
*whew*
Now add your text. Filter>Noise>Add Noise 25%.
Layer Styles-
Stroke: 2px, outside, color of choice
Drop shadow of choice
Add drop shadows to the elements as well to give the tag some depth :)
Close out your white background,
Image>Trim>Transparent Pixels. That will crop off any excess space.
Image>Resize if needed.
Add your license and copyright info
Save as PNG to keep the transparency and you're done!!
Thanks for trying my tut. If you have any questions or would like to show me your results, feel free to email me at bananas_68@yahoo.com or friend me on Facebook!
Labels:A Tagger's Scrap,Photoshop tut,PTU tut | 0
comments
Thursday, February 7, 2013
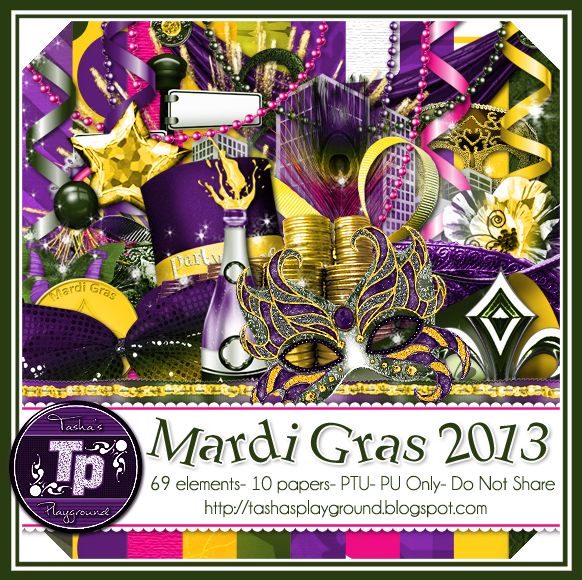
Hello all!!! I have a new kit in stores finally lol! Just in time for Mardi Gras..this tagger sized Mardis Gras scrapkit has 69 elements and 10 papers and is fun filled!! Loads of party elements, so you can definitely keep the celebration rolling after Mardi Gras ;o) You can find this kit in all of my stores. Hope you enjoy, and I'd love to see any tags made with it!
Don't forget, I'm Buy 2 Get 1 Free through Feb 14 at PFD, and 30% off in select stores!!!
Tut by Leah here
Extras by Shani here
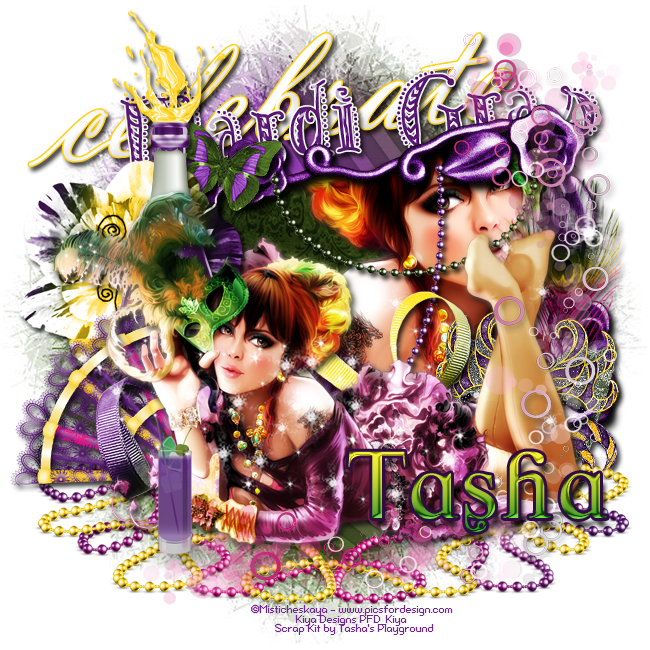
Extras by Kiya here
Tag show off from Kiya :)
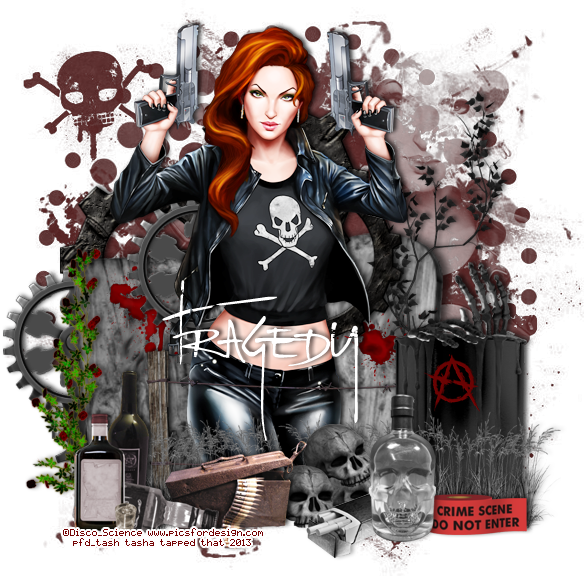
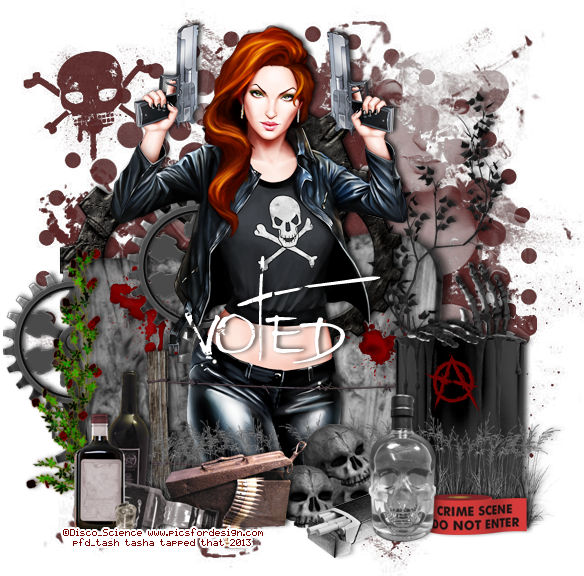
If you like Sons of Anarchy, then you are going to LOVE this kit by Tragic Scraps!!! It is packed full of goodness to match a variety of tubes, or be used on it's own. I love it!! I played with it tonight and made a set of snags for you all. Hope you like them :) You can find this kit at PFD.
And here are some extras for you all to snag. Please do not alter these in any way. This include adding names, phrases or resizing them. Thank you :)
*Just click to view full size, then right-click save to your computer*
Labels:freebie,PFD,snaggable | 0
comments
Wednesday, February 6, 2013
My fabulous CT has whipped up some more goodies for you all!!! Stop by and follow them..you won't be disappointed :o)
Don't forget about my Buy 2 Get 1 Free at Pics For Design until Feb 14. You can find that here.
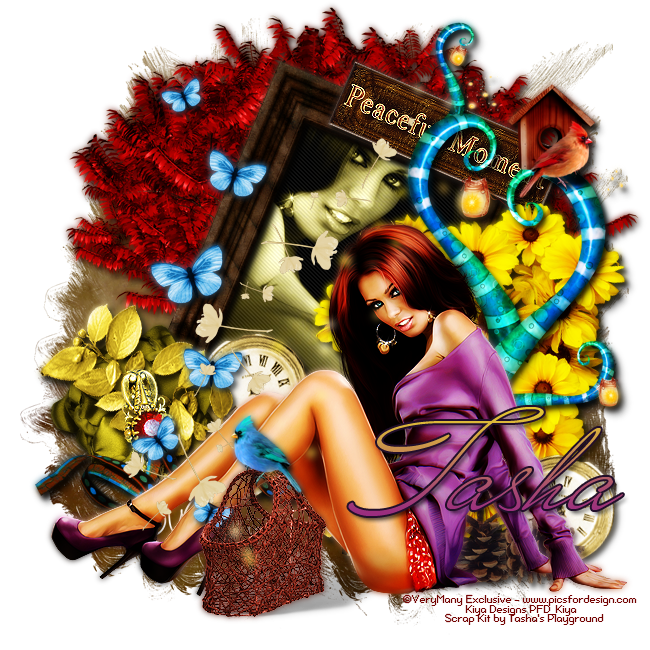
Here are some goodies from Leah of Amy & Leah's Gimptastic Tuts
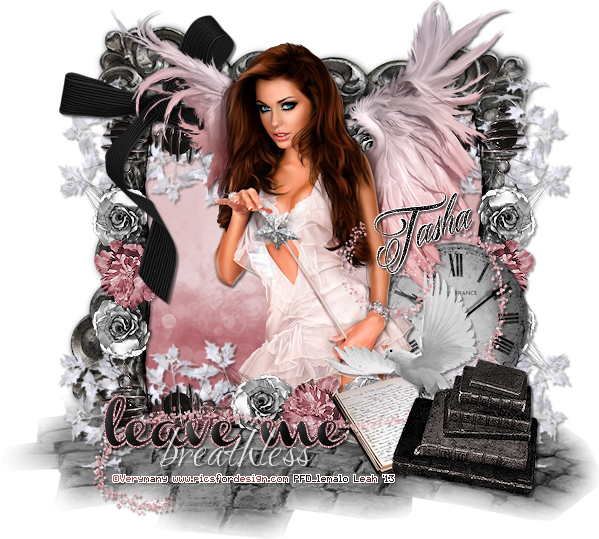
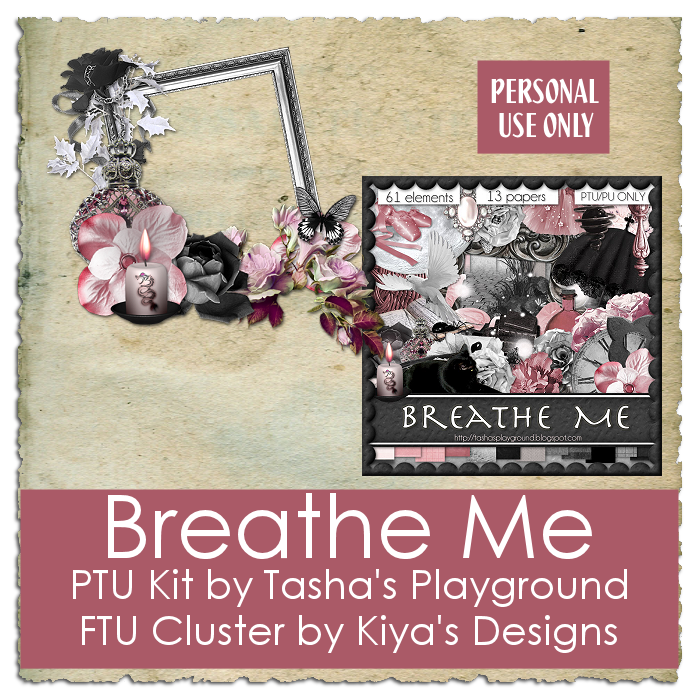
Tag and Snags using Breathe Me here
Tut using Dotty For You here
And here are some goodies from Kiya's Designs
Tag and Cluster Frame freebie using Breathe Me here
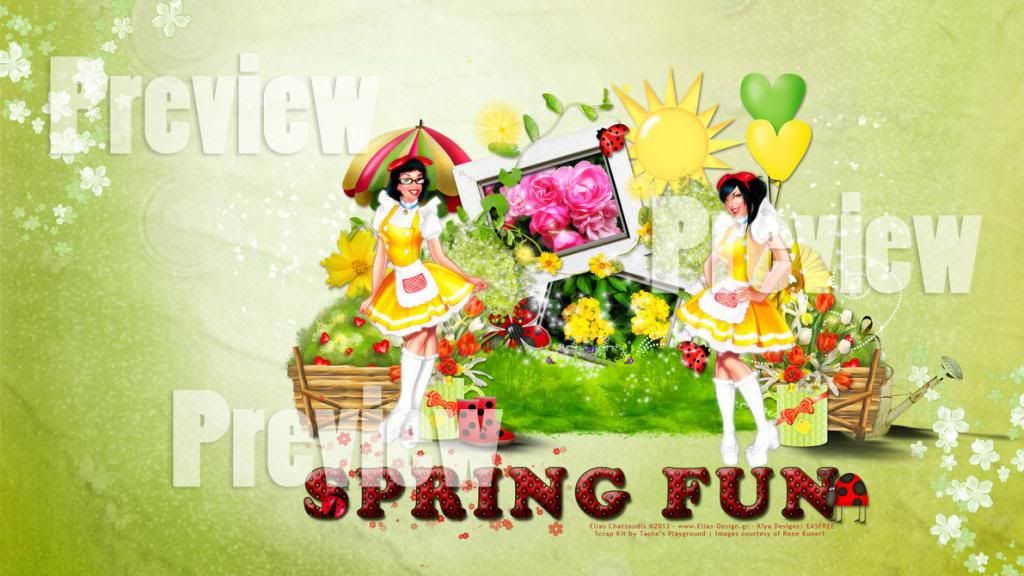
Desktop Wallpaper freebie using Ladybug Garden here
DelightFall extras here
Sorrowful You extras here
Lovely Spring Day extras here
Subscribe to:
Posts
(Atom)
Leave me some love
Labels
- A Space Between
- A Tagger's Scrap
- Abstract Creations
- Alena Lazareva
- Andreea Cernestean
- animated
- Announcement
- Autumn
- Autumn Blaze
- Autumn Breeze
- awards
- Birthstone Series
- blog train
- Cartoon Pink
- CDO
- Christmas
- Cluster Frame
- CT call
- Ct Tag
- Ct Team
- Cuddly Rigor Mortis
- dark/goth
- Designer Scraps
- Digital Chaos
- Dirk Richter
- DSI
- Elias Chatzoudis
- Enys Guerrero
- FB Timeline Cover
- Fluff
- Forum Set
- FourXDesigns
- freebie
- FTU CU
- FTU kit
- FTU tut
- Full Size Kit
- Gimptastic Scraps
- Gorjuss
- Halloween
- IB kit
- Keith Garvey
- KiwiFireStorm
- Lollipops N Gumdrops
- Molly Harrison
- New Years
- No Scrap
- PFD
- Photoshop tut
- Pimpin PSPers
- Previously Released
- PTE
- PTU CU
- PTU kit
- PTU tut
- quick page
- Rebecca Sinz
- Rosanna Castellino
- sale
- Sarah's Tags N Things
- Scrap-U-Nique
- Shawli
- Sheena Pike
- snaggable
- Soxsational Scraps
- Spazzd Art
- spring
- St. Patrick's Day
- Standalone kits
- summer
- Summer Haze
- tag show off
- tags
- tags with my kits
- tags with my templates
- Tasha's CT
- template
- Thanksgiving
- TPP
- tut result
- Twilight Scraps
- Valentine
- Whispered Bliss
- Wicked Princess Scraps
- Winter
- wordart
Blog Archive
-
▼
2013
(113)
-
▼
February
(18)
- New Kit- Lucky Girl
- O'Scrap Blog Train!!!
- The Brat Pack Blog Train is taking off!!
- Quick announcement
- Blog train taking off!!
- Abstract Creations Extras
- Vintage Romance- PTU
- Rawr!- PTU
- CT tags and snags!!
- Old PTU CU now FTU CU!!
- Steam Punker- FTU
- Raspberry Ripple- PTU
- New kit- Mardi Gras 2013
- Son of a Gun- Tag and Snags
- Tuts, extras and more!!
- Valentine's Day Template
- Misticheskaya extras
- Toxic Biatch extras
-
▼
February
(18)


