Find my kits here

Tasha's Playground Fan Page
Find me on Facebook
My Personal CT


Showing posts with label Lollipops N Gumdrops. Show all posts
Showing posts with label Lollipops N Gumdrops. Show all posts
Friday, July 6, 2012

Supplies:
Kit- Summer Smiles by Disyas Digital Designs, which is available at Lollipops N Gumdrops here
Tube- I’m using the work of Elias Chatzoudis which is available at PTE with a valid license.
Font- Smiley Monster or font of choice
Photoshop CS5 or program of choice
I’m on a Mac, so when I use Command you may need to use Ctrl
Here we go :)
Command+N to open a new canvas, 700x700, transparent background.
Open fr5 and place in lower left of canvas. Command+J to duplicate, then reposition copy in upper right of canvas like I have. Merge frame layers into 1.
Open paper of choice (I used p7) and place below frames.
Activate your magic wand tool (w) and click inside the frames. Click in the parts where the string loops too..just try to select as much as possible inside the frame.
Select>Modify>Expand by 5px. Select>Inverse. Hit delete on paper layer. Deselect.
Open element 61 and place at bottom of frames. Duplicate 2x. Spread flowers along bottom of tag- refer to my tag for placement.
Now open your tube of choice and place below flowers, between the frames. Add drop shadow of choice. I used- Opacity 45, Angle 120, Distance 8, Size 7.
Decorate your tag with elements from the kit. From bottom to top I used:
34
74
42
48
28
30
58
Add drop shadow of choice to elements (including frames). I used- Opacity 45, Angle 120, Distance 3, Spread 2, Size 5.
Using the Rectangle Marquee tool (m), create a selection around the entire tag, just a bit smaller than the canvas. Image>Crop. This will get rid of any stray pixels/dropshadows.
Image>Trim>Transparent Pixels...this will eliminate and excess space around the tag.
Add copyright and license info.
Add name and any text of choice.
Merge, save, enjoy :o)
Thank you for trying my tut! If you have any questions or would like to show me your results, feel free to email me (bananas_68@yahoo.com) or contact me on facebook.
Tuesday, April 17, 2012
Supplies-
Kit- "Creeped" by ChiChi Designz. You can find this kit at Lollipops N Gumdrops here. It has over 100 elements and 20 papers and is on sale right now :)
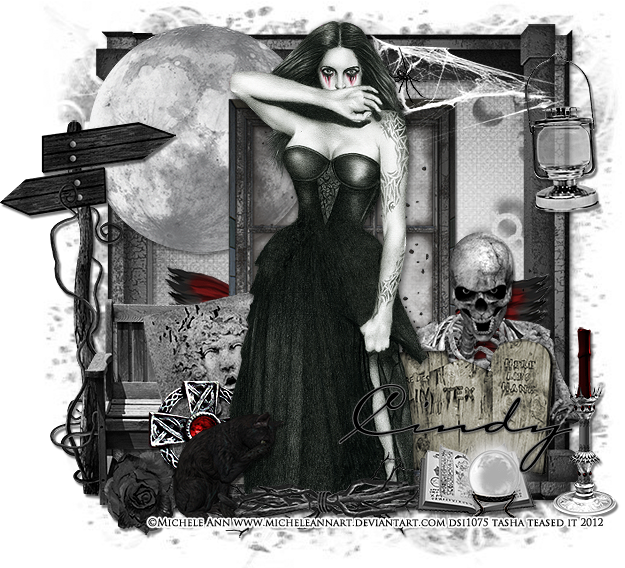
Tube- I'm using the art of Michele Ann, which you can purchase at DSI with a valid license.
Mask of choice (sorry, forgot which one I used)
Font of choice
Photoshop CS5 or program of choice
I use a Mac, so when I use Command, you may need to use Ctrl.
Here we go :)
Open a new canvas 750x750, transparent background.
Center Frame on canvas. Add paper of choice behind frame. I used Paper14.
Activate your Magic Wand tool (w) and click inside frame.
Select>Modify>Expand by 5 px. Select>Inverse.
Select paper layer and hit delete on your keyboard. Deselect.
From bottom to top, add the following elements:
Moon- upper left of frame
Wings- bottom of frame
Rubble- Center of frame
Window- Directly above rubble
Webspidr- upper right corner of frame
Lantern- on upper right corner
Signs- left side of tag
Bench- bottom left of tag
Stone- laying in front of bench
Jewel- left of stone
Skeleton- Bottom right of frame
Tombstone- directly in front of skeleton
Blackrose- bottom left of bench
Candle- right of tag
*tube*
Branches- in front of tube
Spellbook- right of tube
Crystal ball- in front of spell book
Cat- left of tube
Now place your tube of choice where indicated above.
Duplicate and on top copy-Blend Mode Hard Light, Opacity 30%
Add drop shadow to bottom tube layer.
Add drop shadows to elements as well.
Now let's get our mask ready! Open your mask on a new canvas.
Add a new layer above it, and flood fill with color of choice,
or use a paper from kit.
Make sure your mask layer is activated and Command+A to Select All, Command+C to Copy.
Activate the paper layer, hit Q to turn on Quick Mask mode.
Command+V to paste the mask..it should now be tinted red.
Hit Q to turn off Quick Mask mode and there should now be marching ants on your canvas.
Hit the Add Layer Mask button at the bottom of the layer palette (rectangle with the circle in it)
Right click- convert to smart object
Right click- Rasterize layer
Drag completed mask to your tag canvas as the bottom layer
Resize it if needed.
Crop, trim and resize your tag.
Add copyright and license info.
Add name and any text.
Merge, save as PNG and enjoy :)
Sunday, April 1, 2012

Supplies:
Kit- Coffee, Tea or Me? a cute PTU kit from Nette's Nightowl Works. This kit is available for purchase at Lollipops N Gumdrops here
Tube- I'm using 3 PinUpToons, which you can purchase at CDO with a valid license. You can use just one tube if you like :)
Mask- MB and SW Mask 29 here
Template- Temp91 by Leah here
Font- Smiley Monster or font of choice
Photoshop CS5 or program of choice
I'm on a Mac, so when I use Command, you may need to use Ctrl
Here we go :)
Open your template. Image>Duplicate. Close out original.
Increase canvas size to 700x700. Delete the credit layer.
Replace each template layer with papers for your kit. To do this-
Command+Click each layer icon in the Layer Palette box-this will make a selection around the shape.
Drag paper of choice as a new layer above template layer.
Select>Inverse. On paper layer hit Delete. Deselect. Delete original template layer.
For each layer I used:
oval 3- paper 11
oval 1- paper 6
burst- paper 3
rect 2&3- create new layers and flood fill with color/gradient of choice
rect 1- paper 5
squares- paper 3
filmstrip- paper 11- add noise 20%
Command+Click the left rectangle layer. Drag a close up of one of your tubes as a new layer above it.
Select>Inverse. Hit delete on the tube layer. Deselect. Change blend mode to Luminosity.
Duplicate layer, change that blend mode to Hard Light.
Repeat above steps with your next tube close up on the right rectangle layer.
Now add your main tube of choice to the center of the template, as the top most layer.
I like to add a soft glow to my tubes, so if you want to-
Duplicate tube layer. On copy go to Filters>Blur>Gaussian Blur- 2px radius
Blend mode Overlay, Opacity 55%. Play with the settings for your tube choice!
On the 3 rectangle layers, and the film strip layer, I also added a 2px white stroke to make them stand out.
You can find this in your Layer Styles window by double clicking on the layer.
Now, above the filmstrip layer, we are going to add some elements from the kit.
Refer to my tag for placement if you like.
From bottom to top I used:
choco cupcake
cupcake 2
kitty teacup
love snail
bow
teacup
cupcake 1
swap work- add 2px white stroke
Now let's get our mask ready! Open your mask on a new canvas.
Drag your paper of choice to it as a new layer.
Make sure your mask layer is activated and Command+A to Select All, Command+C to Copy
Activate the paper layer, hit Q to turn on Quick Mask mode
Command+V to paste the mask..it should now be tinted red
Hit Q to turn off Quick Mask mode and there should now be marching ants showing the mask outline
Hit the Add Layer Mask button at the bottom of the layer palette (rectangle with the circle in it)
Right click- convert to smart object
Right click- Rasterize layer
Drag completed mask to your tag canvas as the bottom layer
Crop and resize your tag. Add drop shadows where needed.
Add license and copyright info, and any names/text.
Merge, save as PNG, enjoy!
Thank you for trying my tut. If you have any questions or would like to show me your results, feel free to email me- bananas_68@yahoo.com
Thursday, March 8, 2012
Supplies-
Kit- Symphony of Spring by DN Scraps. This pretty kit can be purchased at Lollipops n Gumdrops here
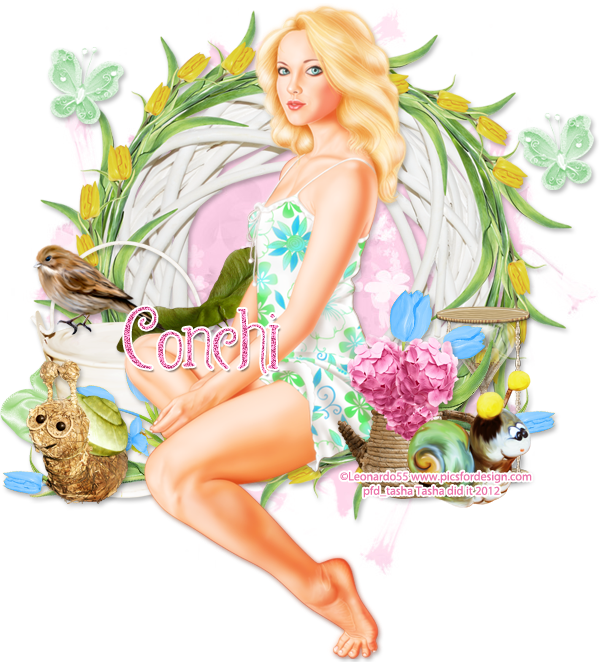
Tube- Alina by Leonardo55. This gorgeous tube is available at PFD
Mask- wsl360 form weescotslass creations here
Font- Waterfalls or font of choice
Photoshop CS5 or program of choice
(I use a Mac, so when I use "Command" you may need to hit "Ctrl")
Command+N to open a new canvas 7000x700
Open your frame and place on canvas. I used element- frame flowers.
If you're using the same tube as I did, place towards the top
so you have enough room for her legs!
Center your tube on the frame, and to add a soft glow-
duplicate tube layer, on copy add Filter>Blur>Gaussian blur 2,
Blend Mode Screen, Opacity 51%
add a soft drop shadow to your original tube layer using Layer Styles
(double click the layer in the layer palette to bring up the box)
Now let's decorate the tag with elements from the kit
This kit has a lot of fun elements in it, so feel free to use what you like :)
From bottom to top I used-
flowers 4
cube
leaf
flowers 2 (Command+J to duplicate, Edit>Transform flip horizontal, reposition)
hourglass
snail
sprinkler
snails
bird
butterfly (duplicate, flip, reposition)
Now let's get our mask ready! Open your mask on a new canvas.
Drag your paper of choice to it as a new layer.
Make sure your mask layer is activated and Command+A to Select All, Command+C to Copy
Activate the paper layer, hit Q to turn on Quick Mask mode
Command+V to paste the mask..it should now be tinted red
Hit Q to turn off Quick Mask mode and there should now be marching ants showing the mask outline
Hit the Add Layer Mask button at the bottom of the layer palette (rectangle with the circle in it)
Right click- convert to smart object
Right click- Rasterize layer
Drag completed mask to your tag canvas as the bottom layer
I duplicated it to make it a bit darker.
Image>Trim- Top left pixel color
Image>Resize (if needed)
Add copyright and license info. Add name and any text
Merge, save as PNG file, enjoy :)
Thank you for trying my tut! If you have any questions or would like to show me your results, feel free to email me- bananas_68@yahoo.com
Wednesday, January 11, 2012
Supplies:
Kit- "Her Diary" a beautiful kit by HorsePlay's Pasture available at Lollipops N Gumdrops here
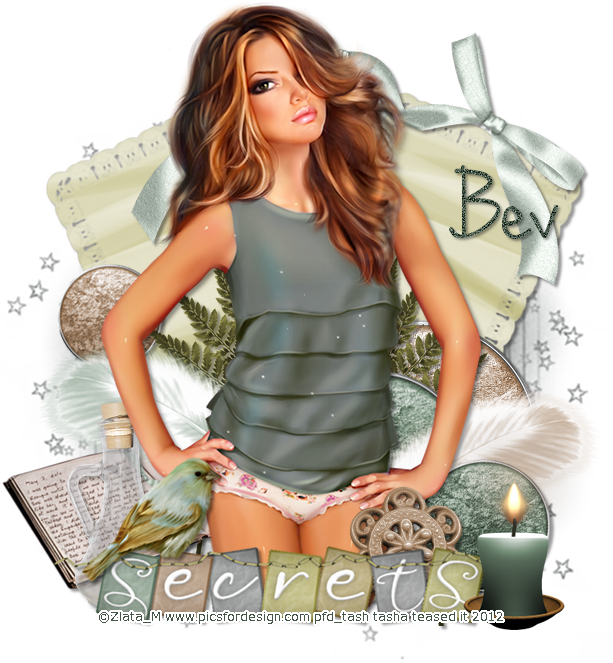
Tube- This work is by Zlata_M and is available at PicsForDesign here
Mask- MelyArts_FreeMask_15 here
Font- Where Stars Shine the Brightest, a FTU font here
GIMP or program of choice
Here we go :)
Open a new canvas 700x700
Open as layers Paper 18 as your bottom layer
layer to image size and add alpha channel.
Right click and Add Layer Mask (Black full transparency)
Open as layers your mask, activate mask layer and Edit>copy
Now click on the black box (the layer mask) next to your paper layer
Edit>paste, anchor mask to selection, apply mask
You can now hide or delete the original mask layer
Open as layers element 61. Rotate about 25 degrees left.
Duplicate layer and flip horizontally then reposition.
Open your tube and center in tag
Add elements from the kit to your tag
From bottom to top I used:
12-duplicate, resize, reposition
35-duplicate, flip horizontal, reposition
46
13-duplicate, resize, reposition
6-flip horizontal
7
21
58
30
39
50
41
Resize and add drop shadow as needed
Crop and resize your tag
add license and copyright info
add name and any additional text
Merge, save, enjoy :)
Thank you for trying my tut! If you have any questions or would like to show me your results, feel free to email me: bananas_68@yahoo.com
Saturday, November 19, 2011

Supplies-
Kit- "Rustic Holiday" by KnC Scrapz. This beautiful kit is available for purchase at Lollipops N Gumdrops here
Tube- I'm using a gorgeous tube by Kirshe, available at PFD with a valid license
Mask- HorsePlay's Pasture Mask 36 here
Font- Callie Hand
Gimp, or program of choice
Here we go :)
Open a new canvas 700x700
Open as layers pp6, Right click>add alpha channel, layer to image size
Add layer mask, black (full transparency)
Open as layers your mask. Edit>Copy
Click the black box on your paper layer, Edit>paste
anchor the mask to the paper
Open as layers element2
open as layers pp3, add alpha channel
scale paper layer about 40%, make sure chain is linked
using your eraser tool, get rid of parts of the paper that extend past element2
below your paper layer, add leaf element and drop shadow
Working from above "element2" and going up, add the following:
*resize and drop shadow as you go along*
flakes (no ds)
bow2
tree1
snowbranch
stars
wagon
snowman1
bucket
pinecone
bird
element1
wind
Right below element1, add your tube layer
add a drop shadow
Now crop and resize your image
add copyright and license info
add name and any text
merge, save, enjoy!!
Thank you for trying my tut. If you have any questions or would like to show me your results, feel free to email me: bananas_68@yahoo.com

Sunday, November 13, 2011

Supplies-
Gimp, or program of choice
Kit- "Sweet as Candy" by Stef's Scrapkits, available at Lollipops N Gumdrops here
Tube- I'm using a gorgeous tube by Ellie_Milk available at PFD here
Mask- Sas Luv' Scrap Mask #11 here
Template- Template 9- Pinky here
Font of choice
Open your template
Replace template layers with papers from the kit.
To do this, activate template layer, right click: alpha to selection
add paper, right click, add alpha channel
Select>Invert, Edit>Clear (or hit delete on your keyboard)
Delete original layers as you go along. I used:
Raster 10- pap09
delete raster 9
Raster 6 & copy of raster 6- pap11
Raster 4 & 2- Filters>noise>RGB noise @ 50
Raster 1- pap04
Raster 7 & copy of raster 7- pap13
Copy (2) and (3) of raster 7- colorize to white
add drop shadow to layers
I used (0, 0, 10, 60)
Add tube of choice and drop shadow
Now decorate your tag with elements
add a drop shadow (ds) as you go along
from bottom to top I did:
ele60
ele58
ele52
ele43- ds
ele37- ds
ele31
ele29- ds
ele64- ds
ele11- ds
ele10- ds
ele02- ds
Open as layers pap13
open as layers your mask
right click pap13 and Add Layer Mask, Black
activate your mask layer, edit>copy
activate the black box with your paper layer, edit>paste
anchor selection
Add noise to mask layer
Now crop and resize your tag
add license and copyright info
ad name and any text
merge, save and enjoy!
Thank you for trying my tut!! If you have any questions or would like to show me your results, feel free to email me: bananas_68@yahoo.com
Thursday, October 6, 2011
Supplies-
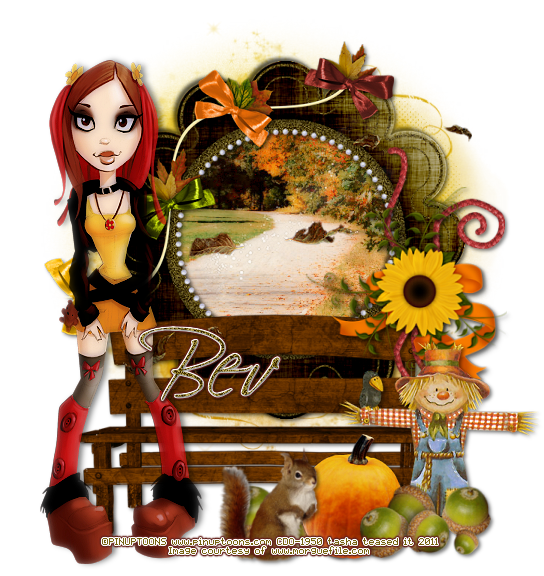
Kit- "Whispers of Autumn" a beautiful kit by HorsePlay's Pasture Designs. This kit is available at Lollipops n Gumdrops here
Tube- I'm using PinUpToons available for purchase at CDO with a valid license
Mask- ChiChi_Mask_6 here
Image of choice- I found mine at www.morguefile.com
Plug Ins- Xero>Porcelain
Font of choice
Here we go :)
Open a new canvas 650x650
c/p element 18 onto the canvas
using your magic wand tool, click inside the frame
selections>modify>expand by 5
resize your picture of choice, or paper of choice and c/p as a new layer under the frame
selections>invert, hit delete on the keyboard. deselect.
c/p paper 7 as a new layer, move to the bottom
layers>new mask layer>from image
choose your mask, apply, merge group
use your raster deform tool to shape your mask around the frame
Add elements from the kit.
I used:
12
27
5
39-duplicate/mirror/resize
10
40
15
37
11
Add tube of choice
on your tube and image (if you used one) apply Xero>Porcelain
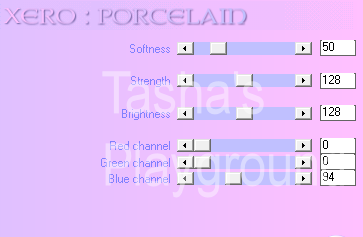
On the tube layer I also did
adjust>sharpen
Crop and resize your tag
add copyright and license info
add name and any text
drop shadow and sharpen your elements
merge, save, and enjoy!
Thank you for trying my tut! If you have any questions, or would like to show me your results, feel free to email me: bananas_68@yahoo.com
Thursday, September 29, 2011
Supplies-
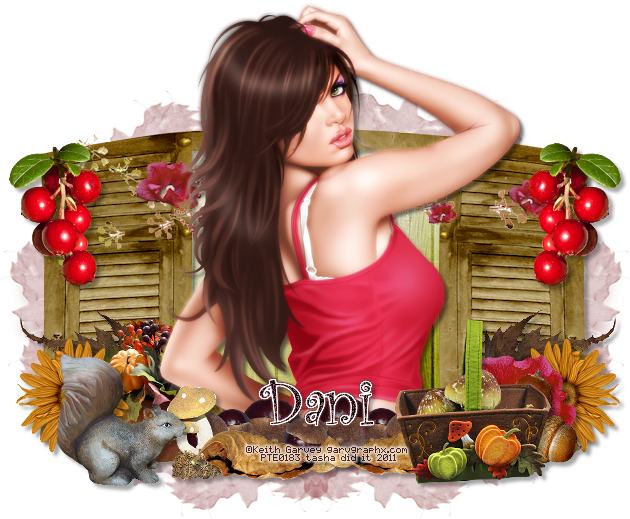
Kit- "Flirting With Fall" a gorgeous kit by DarkMoon's Dream which you can purchase from Lollipops N Gumdrops here
Tube- I'm used a beautiful tube by Keith Garvey, which is available for purchase from PTE with a valid license here
Mask- WSL_Mask61 here
Font of choice
Here we go :)
Open a new canvas 650x650
open window and c/p towards bottom of canvas
using your magic wand tool, click inside each frame
selections>modify>expand by 5
c/p pp01 as a new layer under window
selections>invert
on paper layer, hit delete, deselect
c/p flowers and place as a new layer at the top of the window
c/p leaf03 and place in bottom right corner of window-duplicate & mirror
c/p berries and place in upper right corner of window-duplicate & mirror
c/p flowerpot and place on left side of window
c/p tube of choice and place in the middle of window
duplicate and apply gaussian at 2. change blend mode to Screen and opacity 60
duplicate and change blend mode to Overlay and opacity 80
drop shadow the bottom tube layer without the blur
c/p flower 3 and place in bottom corner of window-duplicate & mirror
c/p chestnuts, leaf02 duplicate & mirror
c/p flower 1, mushrooms, squirrel, acorns and basket and place on tag
crop and resize tag
sharpen and drop shadow elements
add copyright and license info
add name and any additional text
merge, save, enjoy :)
Thank you for trying out my tut! If you have any questions or would like to show me your results, feel free to email me: bananas_68@yahoo.com
Thursday, September 8, 2011
Supplies-
Kit- "Heather" by Passion4Digiscraps at Lollipops N Gumdrops here
Tube- Zebrush at Pics For Design here
Mask-Mask1 by Leah here
Font- Redressed, a FTU font here
Plug Ins- Mura Meister>Copies, Xenofex>Constellation
Animation Shop
Here we go :)
Open a new canvas 700x700
C/p paper or flood fill with gradient of choice
layers>new mask layer>from image
apply mask, merge group
c/p big flower 2 onto canvas as a new layer, resize 35%
c/p ball onto canvas, resize 15%, duplicate and mirror
c/p brad2, resize 20%. apply mura meister>copies:
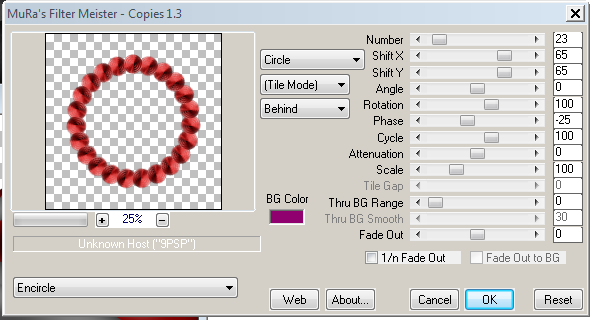
c/p brad1 as a new layer under brad 2 circle, resize 25%
apply mura meister>copies, same settings
add rose2, resize 20%, then resize another 75%
dupicate and mirror
Add rose1 and place in the middle of the other 2 roses
resize 20% then 65%
add bow1, resize 15%, place on frame
duplicate, mirror
c/p sparkle1, resize 50%,duplicate and reposition a few times
add main tube choice
sharpen and drop shadow your elements and tube
crop and resize tag if needed
add license and copyright info
add name and any text
If you aren't going to animate, save as a PNG file
To animate:
highlight your brad1 layer
apply xenofex>constellation with these settings (random seed number doesn't matter):

Now edit>copy merged
Over to animation shop, paste as a new animation
Head back over to PSP, edit>undo
Now reapply Constellation, but hit the Random Seed button
back over to AS, paste after current frame
Back on over to PSP, edit>undo
apply Constellation one more time, make sure to hit Random Seed first
Paste after current frame in AS
Save as a GIF file
Thank you for trying my tut. If you have any questions or would like to show me your results, please feel free to email me: bananas_68@yahoo.com
Subscribe to:
Posts
(Atom)
My Blinkies


I Get Creative For
