Search
Sign up for my Newsletter
Tasha's Playground Fan Page
Find me on Facebook
Followers
Tuesday, January 29, 2013
Supplies-
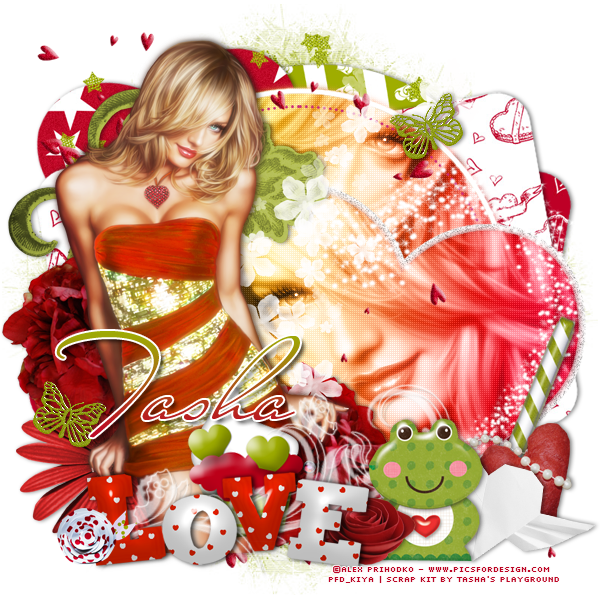
Kit- Forever Love by Gimptastic Scraps. Visit her blog here for info on where you can purchase this great kit
Tube- This tube is by Zlata M and can be purchased from PicsForDesign here. You need a valid license to use this tube.
Mask- KBH_2013_Mask10 from Kaci here
Font- Sloop Script
Photoshop CS5
I'm on a Mac so when I use Command you may need to use Ctrl
Here we go :)
Open a new canvas 700x700
Place frame 6 in center of canvas. Place paper 9 below that.
Click inside both sections of the frame with the magic wand tool.
Select>Modify>Expand by 5. Select>Inverse. Hit delete on paper layer.
Deselect. Double click frame to bring up layer styles and add drop shadow of choice.
Place close up of tube above paper and right-click to create a clipping mask.
Change the blend mode of the tube to Overlay, opacity 64%.
Add your tube to the center of the tag. Command+J to duplicate.
On top copy, Filter>Blur>Gaussian blur 2px. Blend mode Screen, Opacity 50%.
Drop shadow bottom tube only.
Add some elements from the kit to your tag. From bottom to top I used:
compact
deco 3
flower 2
flower 1
leaf scatter
feather
house
flower scatter 1
arrow
deco 4
perfume bottle
heart button
gem 2
Now let's get our mask ready! Open your mask on a new canvas.
Add a new layer above it, and flood fill with color of choice,
or use a paper from kit .
Make sure your mask layer is activated and Command+A to Select All, Command+C to Copy.
Activate the paper layer, hit Q to turn on Quick Mask mode.
Command+V to paste the mask..it should now be tinted red.
Hit Q to turn off Quick Mask mode and there should now be marching ants on your canvas.
Hit the Add Layer Mask button at the bottom of the layer palette (rectangle with the circle in it)
Right click- convert to smart object
Right click- Rasterize layer
Drag completed mask to your tag canvas as the bottom layer
Resize it if needed.
With your Rectangular Marquee Tool (m), draw out a selection around the entire
tag, just slight smaller than the canvas. Image>Crop.
This will get rid of any stray pixels or drop shadows you don't see.
Image>Trim>Top Left Pixel Corner to remove the excess space.
Add your license and copyright info to the tag.
Add name and any other text of choice.
Merge, save as PNG and enjoy :)
Thank you for trying my tut! If you have any questions or would like to show me your results, feel free to email me (bananas_68@yahoo.com) or friend me on facebook (badge on left of blog)!!
Labels:FTU tut,Gimptastic Scraps,PFD,Photoshop tut | 0
comments
Monday, January 14, 2013
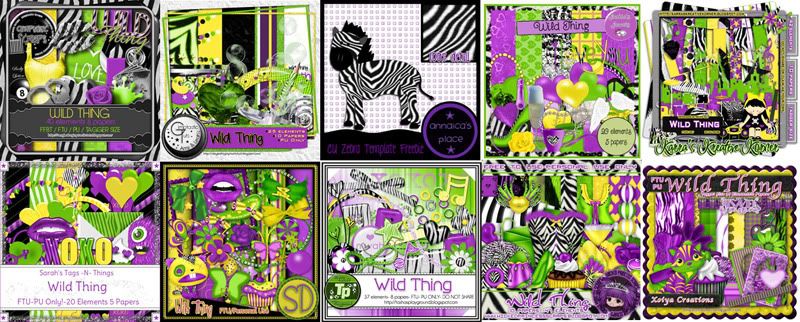
There's a new blog train in town!!! The Fantastically Free Blog Train!!!! We had a wild palette with a wild theme this month..hope you enjoy it!!! You can grab my part here or here. Hope you enjoy it :o)
Please do NOT upload this to any file sharing sites and send it around to sharing groups. It's free..just send people here to download it!!!!
And carry on to the rest of the stops below. Since we are in different time zones, please realize not everyone's part will be up at the same time :)
********************
********************
Labels:blog train,freebie,FTU kit | 13
comments
Sunday, January 13, 2013
Dotty For You is a cute Valentine's Day kit that can be used year round for tags. With fun shades of pink and cute elements, this kit is sure to inspire you and make those taggies pop!! This tagger sized kit is for personal use only. Do not share.
You can find this kit in my stores on the left :o)
You can find this kit in my stores on the left :o)
Labels:PTU kit | 0
comments
I have a few new goodies to show off from my Creative Team!!!!
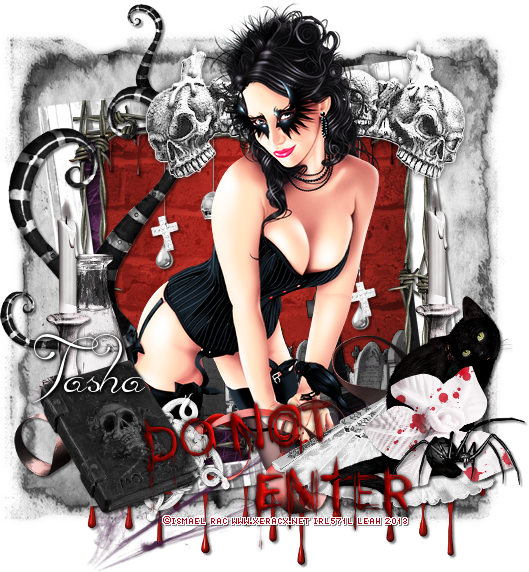
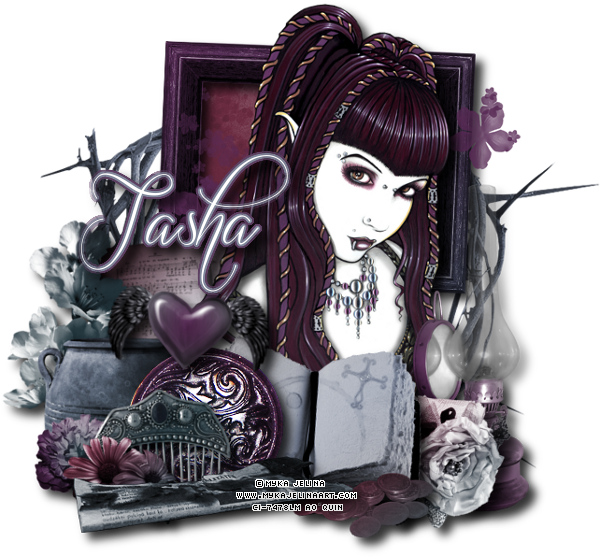
Leah made this outstanding tag using my Vamp/Goth kit. You can find the tut here.
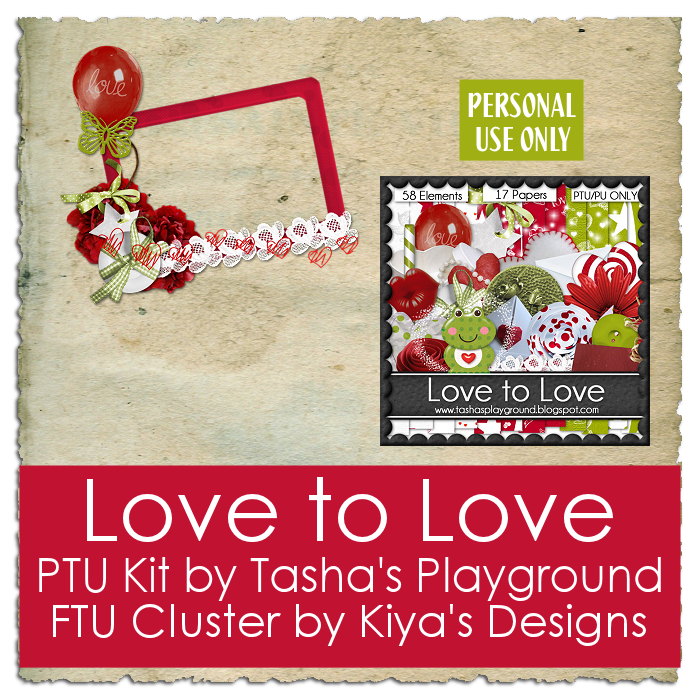
Kiya made me this fun tag using Love to Love, and whipped up a cluster frame freebie as well. You can view both on her blog here.
Labels:tags with my kits,Tasha's CT | 0
comments
Thursday, January 10, 2013
Stop by Pics For Design and pick up this hottie from VeryMany!! She's only $1 and comes with various layers for lots of tagging options. Be sure to check out all of the other great artists and designers while you are there!!!
I was going to tut up this tag, but seems I deleted the screen shots with my settings, and never wrote them down :/ I'll do better next time, I swear lol!!!!
*click tag to view full size*
Labels:PFD,tag show off | 0
comments
Supplies:
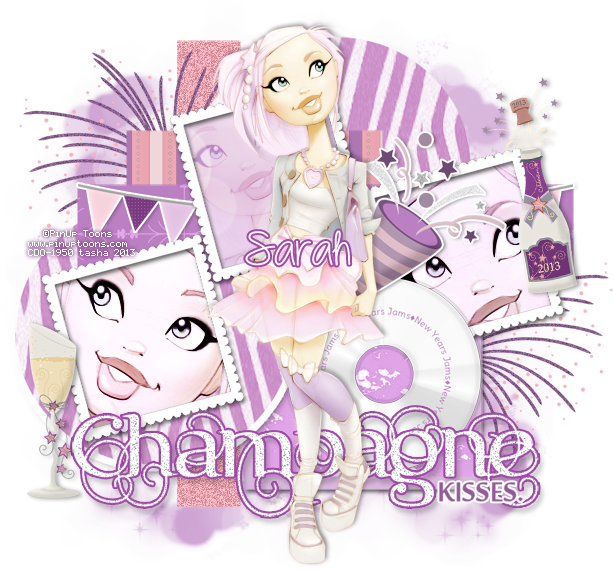
Kit- 2013 by Sarah's Tags-N-Things. Visit Sarah's blog here for a list of her stores where you can get this fun kit!!!
Tube- I'm using a PinUp Toon which you can find at Creative Design Outlet here. You must purchase this tube and have a valid CDO license to use it.
Mask- Mask 70 by Simone here
Template- I used one from Kandi & Dee's New Year collab temps here
Font- Dazzling Divas
Photoshop CS5 or program of choice
I'm on a Mac, so when I use Command, you may need to use Ctrl
Here we go :)
Open your template. Image>Duplicate. Close out original.
Delete the cr info and the stars layer. Arrange the bottom tan circle above the bottom black background.
Replace layers of the template with papers and effects.
To do this, simply add a paper from the kit above the template layer you want to replace. Right click the paper and "Create Clipping Mask". Add a drop shadow to the template layer.
This is what I used:
rust rectangle- paper 7, filter>noise>add noise 15%, uniform, monochromatic
top tan circle- paper 3
top black rectangle- paper 2
black rectangle back- colorize
bottom black rectangle- paper 6
bottom tan circle- paper 3, LayerStyles-add a 5px white stroke, outside
green rectangle- paper 1
scalloped frames background- paper 5
champagne green, kisses- colorize
Now add some different sized close-ups of your tube and clip them to the paper on
the scalloped frames background. Play with the blending modes and opacity to get the look you want.
On the middle I used Soft Light, and on the left and right ones I used Luminosity, duplicated and changed to Overlay.
Add some elements of choice to your tag. From bottom to top I used:
element 16- duplicate/flip/reposition
element 6- add 2px white stroke, outside
element 25
element 9- add 2px white stroke, outside
element 2
element 3
Add main tube of choice. Command+J to duplicate.
On top tube copy- overlay blend mode, opacity 62. Drop shadow bottom tube.
Now let's get our mask ready! Open your mask on a new canvas.
Add a new layer above it, and flood fill with color of choice,
or use a paper from kit .
Make sure your mask layer is activated and Command+A to Select All, Command+C to Copy.
Activate the paper layer, hit Q to turn on Quick Mask mode.
Command+V to paste the mask..it should now be tinted red.
Hit Q to turn off Quick Mask mode and there should now be marching ants on your canvas.
Hit the Add Layer Mask button at the bottom of the layer palette (rectangle with the circle in it)
Right click- convert to smart object
Right click- Rasterize layer
Drag completed mask to your tag canvas as the bottom layer
Resize it if needed.
With your Rectangular Marquee Tool (m), draw out a selection around the entire
tag, just slight smaller than the canvas. Image>Crop.
This will get rid of any stray pixels or drop shadows you don't see.
Image>Trim>Top Left Pixel Corner to remove the excess space.
Add your license and copyright info to the tag.
Add name and any other text of choice.
Merge, save as PNG and enjoy :)
Thank you for trying my tut! If you have any questions or would like to show me your results, feel free to email me (bananas_68@yahoo.com) or friend me on facebook (badge on left of blog)!!
Wednesday, January 9, 2013
My amazing Creative Team has been hard at work to give you tuts, tags and snags for inspiration. I am trying to stay on top of posting their beautiful creations, and hope to do a better job keeping up this year lol. Below are some links to what they've been up to so far this year...make sure to go by their blogs and follow them so you don't miss out on future goodies!!
Autumn Fairy- tut by Brulicious Designs here
Missing You- tut by Bru here
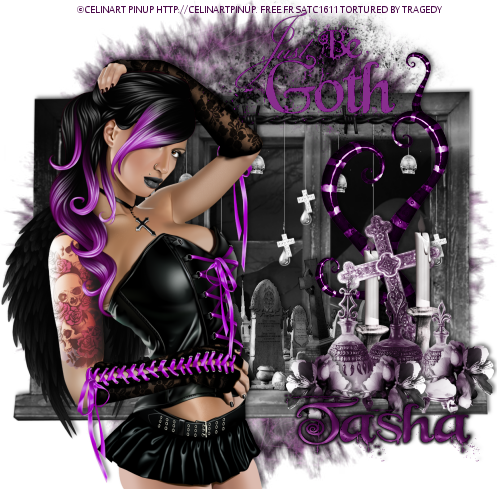
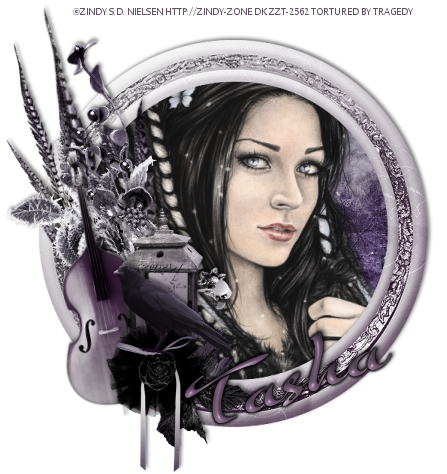
Just Be Goth- tut by Tragedy here
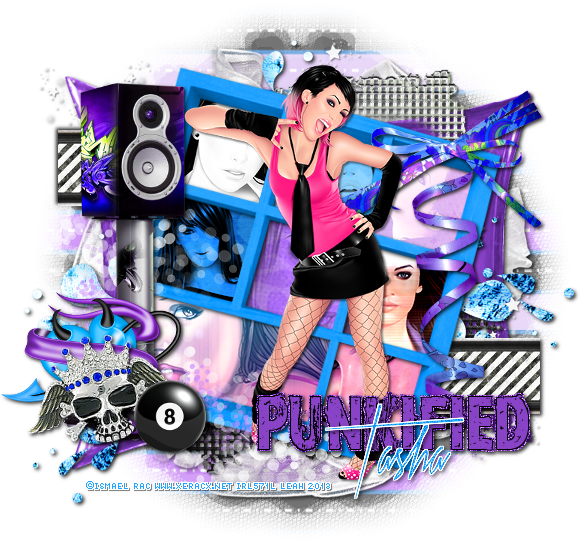
Punkified- tut by Leah here
Do Not Enter- tut by Amy here
Purgatory- tut by Bru here
Facebook timeline snag by Leah here
The Crow's Song- tut by Tragedy here
Memories- tut by Amy here
Mistress of the Night- Snags by Shani here
And here are some beautiful banners that were made for me, please do not snag these-
Made by Shani with my Punk You kit
Made by Beth Ann with my Breathe Me kit
Made by Shani with my Vamp/Goth kit
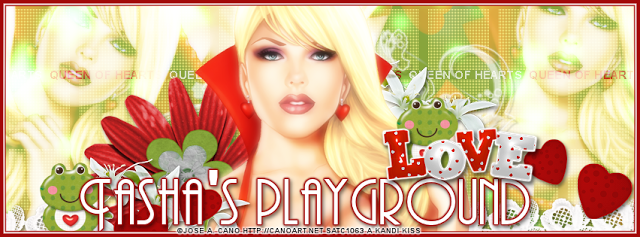
Made by Kandi with my Love to Love kit
Labels:tags with my kits,Tasha's CT | 0
comments
Saturday, January 5, 2013
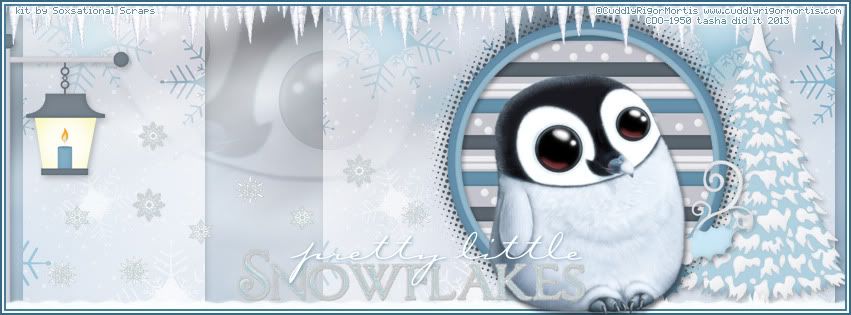
I decided to offer the Facebook timeline cover I did with Snow Fun by Soxsational Scraps as a snag :) Just click it to view full size then save to your computer. Please do not alter, resize, add names to or claim this cover as your own.
Friday, January 4, 2013
I played with an adorable kit by Soxsational Scraps called Snow fun and made this cute Facebook timeline banner with it. You can find the kit for free on Soxie's blog here. Stop by and check out all of her other goodies..there's a lot of them, so you're sure to find loads to spark your creativity!!
The tube I used can be found at CDO and must be purchased and used with a valid license.
Labels:Soxsational Scraps,tag show off,tags | 0
comments
Subscribe to:
Posts
(Atom)
Leave me some love
Labels
- A Space Between
- A Tagger's Scrap
- Abstract Creations
- Alena Lazareva
- Andreea Cernestean
- animated
- Announcement
- Autumn
- Autumn Blaze
- Autumn Breeze
- awards
- Birthstone Series
- blog train
- Cartoon Pink
- CDO
- Christmas
- Cluster Frame
- CT call
- Ct Tag
- Ct Team
- Cuddly Rigor Mortis
- dark/goth
- Designer Scraps
- Digital Chaos
- Dirk Richter
- DSI
- Elias Chatzoudis
- Enys Guerrero
- FB Timeline Cover
- Fluff
- Forum Set
- FourXDesigns
- freebie
- FTU CU
- FTU kit
- FTU tut
- Full Size Kit
- Gimptastic Scraps
- Gorjuss
- Halloween
- IB kit
- Keith Garvey
- KiwiFireStorm
- Lollipops N Gumdrops
- Molly Harrison
- New Years
- No Scrap
- PFD
- Photoshop tut
- Pimpin PSPers
- Previously Released
- PTE
- PTU CU
- PTU kit
- PTU tut
- quick page
- Rebecca Sinz
- Rosanna Castellino
- sale
- Sarah's Tags N Things
- Scrap-U-Nique
- Shawli
- Sheena Pike
- snaggable
- Soxsational Scraps
- Spazzd Art
- spring
- St. Patrick's Day
- Standalone kits
- summer
- Summer Haze
- tag show off
- tags
- tags with my kits
- tags with my templates
- Tasha's CT
- template
- Thanksgiving
- TPP
- tut result
- Twilight Scraps
- Valentine
- Whispered Bliss
- Wicked Princess Scraps
- Winter
- wordart


