Find my kits here

Tasha's Playground Fan Page
Find me on Facebook
My Personal CT


Showing posts with label Soxsational Scraps. Show all posts
Showing posts with label Soxsational Scraps. Show all posts
Monday, February 24, 2014


It's never a bad time for a Halloween kit, and with this one from Soxsational Scraps, it can be used all year round! Visit Soxie's blog here for info on where you can get it.
I'm using a tube by Rebecca Sinz, available at Digital Chaos here.
And here are some extras. Do not alter these in any way. Click to view full size, the save to your computer. Thanks and enjoy!


Saturday, November 9, 2013


If you're looking for a fun, unique way to track your weight loss, or just something a little different to tag, then Soxsational Scraps has just the kit for you!!! Sox is Getting Physical is chock full of bright colors and fun elements for your tagging pleasure :) I paired the kit with a tube by Elias Chatzoudis, but this kit has enough elements that it can be used on its own numerous times!!! Check out Soxie's blog here for more info on where you can find this great kit!
Sunday, June 23, 2013
Soxsational Scraps has a killer kit out called Death Becomes Us that you need to add to your collection today! This dark tagger sized kit has stunning elements and papers to satisfy the goth girl in you. Visit Soxie's blog here for a list of her stores where you can find this beauty.
I played a bit with the kit and came up with this tag and cluster frame. The frame is a Personal Use freebie you can download here. It comes with a shadowed and non-shadowed version.
Please do not claim this as your own, and do not upload to any other sites to share...just direct others here to download. Thanks and hope you like :)


Tuesday, April 2, 2013
Soxsational Scraps has this great new kit out, Queen of the Forest. I absolutely love it!!! It has loads of great elements in it to play with and will fit a number of tubes. Visit Soxie's blog here for where she sells and to check out the rest of her gorgeous work.
I'm using the work of Anna Marine, which you can purchase from CDO with a valid license.

Here are some extras with the kit. Just click to view full size and then save to your computer. Please do not alter, resize, add names or elements to these tags. Thanks!


Sunday, February 10, 2013
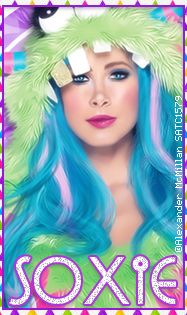
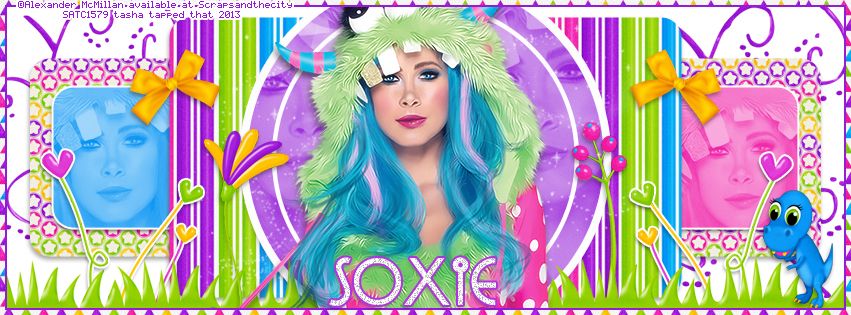
*click to view full size*
Supplies-
Kit- Rawr! by Soxsational Scraps. Visit Soxie's blog here to find where you can get this super cute and fun kit!
Tube- I'm using the work of Alexander McMillan which you can purchase from SATC. You need a valid license to use this tube.
Template- Timeline template from Millie here
Font of choice
Photoshop CS5
I'm on a Mac, so when I use Command you may need to use CTRL
Here we go :)
Open your template. Image>Duplicate. Close out original. Delete credits and layer 2.
Add paper 15 above Layer 1. Right-click paper and Create Clipping Mask.
Double click Layer 1 and add a drop shadow using Layer Styles.
Clip papers 8 and 10 to Layer 3. Clip tube to each paper.
Desaturate tube (Image>Adjustment>Desaturate) and change blend mode to Screen, Opacity 60%.
Open layer styles on Layer 3 and add a 2px white stroke and drop shadow.
Clip paper 4 to layer 4. Drop shadow.
Clip paper 9 to layer 5. Add tube close ups. Desaturate, blend mode Screen, Opacity 60%.
Add an 8px white stroke and drop shadow to layer 5.
Add your tube and elements of choice. I used:
*from bottom to top*
19
57
54
82
12
62
59
33
Now choose a paper that you'd like to use for the border.
Edit>Define as Pattern. Name it whatever you want :)
Add a new layer to the very top of your layer palette window.
Select>All. Edit>Stroke: 10px, color of choice, outside.
Open Layer Styles, choose the paper pattern you just did-


Add your copyright and license info. Add name and any text of choice.
Merge and save as JPG.
To do the avi, I just cropped part of the banner and redid the border with a smaller px width :)
Thanks for trying my tut! If you have any questions or would like to show me your results, feel free to email me at bananas_68@yahoo.com or friend me on facebook.
Saturday, February 2, 2013
I played with this crazy fun kit by Soxsational Scraps called Toxic Biatch, and made some extras for you all to snag :) Visit Soxie's blog here for info on where you can get this great kit.
The artwork is by Barbara Jensen and you can find it here.

These extras are not to be altered in any way or resized. Thanks and enjoy :o)
*click to view full size*


Saturday, January 5, 2013
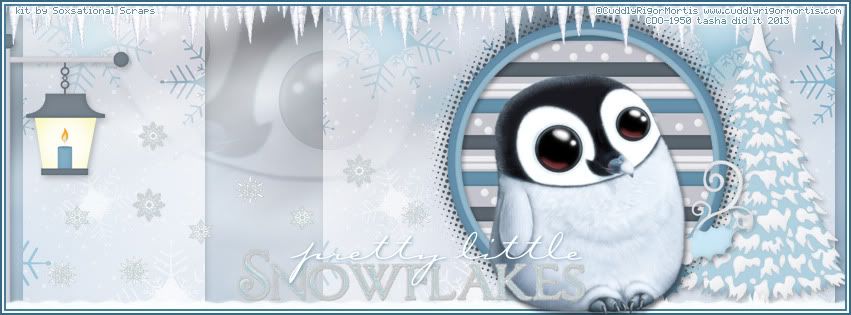
I decided to offer the Facebook timeline cover I did with Snow Fun by Soxsational Scraps as a snag :) Just click it to view full size then save to your computer. Please do not alter, resize, add names to or claim this cover as your own.
Friday, January 4, 2013
I played with an adorable kit by Soxsational Scraps called Snow fun and made this cute Facebook timeline banner with it. You can find the kit for free on Soxie's blog here. Stop by and check out all of her other goodies..there's a lot of them, so you're sure to find loads to spark your creativity!!
The tube I used can be found at CDO and must be purchased and used with a valid license.


Saturday, December 15, 2012
Soxsational Scraps has released this jam packed kit called Happy Freaking Everything, which has elements in it for 9 major holidays!! I played with it and made three sets of extras...but there are so many options with this kit I'm sure I'll be back later with more :o)
Visit Soxie's blog here for info on where you can purchase this fun kit!!

To save the extras, click to view full size and then right-click save to computer.
Do not alter, add names, resize or claim as your own.


Thursday, November 22, 2012

*click tag to view full size*
I paired this gorgeous tube by Alex Prihodko with an equally gorgeous kit by Soxsational Scraps called Winter Pixie.
Visit Soxie's blog here for a list of her stores where you can purchase this beautiful winter kit and to see her other wonderful goodies.
You can find the tube at PFD here, and it does come with multiple layers. You must purchase this tube and have a valid license to use it.
Friday, October 12, 2012

Supplies:
Kit- Blood Purple by Soxsational Scraps. Visit Soxie's blog here for info on this stunning kit.
Tube- I'm using a tube by Misticheskaya which you can get by joining their Exclusive club. You can find the rest of her tubes at PFD here.
Mask- Vix_MaskHalloween0905 here
Font- Expresiva here
Photoshop CS5
I'm on a Mac, so when I use Command you may need to use Ctrl
Here we go :)
Open a new canvas 700x700.
First let's get our mask ready.
Open your mask and paper 4. Place the paper as the layer above your mask.
On the mask layer, Select>Select All. Edit>Copy.
On the paper layer, Select>Edit in Quick Mask Mode (Q).
Edit>Paste. Hit Q to deselect Quick Mask Mode.
Hit the Add Layer Mask button at the bottom of the layer palette.
Right-click>Convert to Smart Object. Right-click>Rasterize Layer.
Drag mask over to your tag canvas and center it.
Add close up of tube above mask. Right-click and Create Clipping Mask.
Change blend mode of tube to Luminosity, Opacity 40%.
Add the following elements from bottom to top.
Refer to my tag for placement, or just do your own thing-
Blood 3
Moon
Fog
Blood Puddle
Coffin
Car
Blood Vials
Blood Print
Dagger
Candle
Spider
Skull Heart
Add your tube below the Candle layer.
Duplicate. On top tube layer, Filter>Blur>Gaussian Blur 2px.
Blend Mode-Screen, Opacity-45%.
Add drop shadow to bottom tube layer and elements.
With your Rectangular Marquee Tool (m), draw out a selection around the entire
tag, just slight smaller than the canvas. Image>Crop.
This will get rid of any stray pixels or drop shadows you don't see.
Image>Trim>Top Left Pixel Corner to remove the excess space.
Add your license and copyright info to the tag.
Add name and any other text of choice.
Merge, save as PNG and enjoy :)
Thank you for trying my tut. If you have any questions or would like to show me your results, feel free to email me (bananas_68@yahoo.com) or post them on my Facebook :)
Thursday, September 27, 2012

Supplies:
Kit- Halloween Nightmare by Soxsational Scraps. You can visit her blog here for info on where to purchase this great kit!
Tube- I'm using the stunning work of Vika Misticheskaya, available at PicsForDesign here
Template- Temp 158 from Leah's Halloween pack here
Font- Origin
Photoshop CS5
I'm on a Mac, so when I use Command you may need to use Ctrl
Here we go :)
Open your template. Image>Duplicate. Close out the original.
Clip papers from the kit to each template layer.
To do this, simply add your paper of choice above the original template layer, Right Click the paper in the layer box and choose "Create Clipping Mask"... Voila. Done. Add your drop shadow to the original template layer (don't delete it!)
From bottom to top I used:
10-paper 7
9- paper 5
8- paper 8
7- paper 8
6- paper 11
5- paper 7
3- paper 7
1- paper 9
On paper 2 and 4 just colorize (Command+U) to match
Clip a close of your tube (or a tube from the same artist) to the paper that is clipped to Layer 5. Change the blend mode of the tube to Screen, opacity 40%.
Double click the Words layer to bring up Layer Styles. Choose a Gradient Overlay that suits your tag. I also added some noise, a slight bevel and drop shadow..forgot to screen shot it so just play around with your settings till you find something that works lol :o)
Now add elements from the kit to your tag. I used:
tombstone 2
fog 2
cat
witch sign
ghost
eye 1
eye 3
Add your main tube and apply a drop shadow to her.
With your Rectangular Marquee Tool (m), draw out a selection around the entire
tag, just slight smaller than the canvas. Image>Crop.
This will get rid of any stray pixels or drop shadows you don't see.
Image>Trim>Top Left Pixel Corner to remove the excess space.
Add your license and copyright info to the tag.
Add name and any other text of choice.
Merge, save as PNG and enjoy :)
Thank you for trying my tut. If you have any questions or would like to show me your results, feel free to email me (bananas_68@yahoo.com) or post them on my Facebook :)
Subscribe to:
Posts
(Atom)
My Blinkies


I Get Creative For
