Search
Sign up for my Newsletter
Tasha's Playground Fan Page
Find me on Facebook
Followers
Friday, May 25, 2012
Supplies:
Kit- Don't Worry Bee Happy by Gimptastic Scraps, which you can grab here.
Tube- I'm using the amazing work of Rzhevskii which is available at PFD here.
For the example at the bottom I'm using a tube by Ismael Rac which you can purchase here.
Do not use either artist without a valid license.
Template- HoneyBeeTemplate by Sarah's Tags N Things here
Font for name- Too Much Paper
Photoshop CS5 or program of choice
I'm on a Mac so when I use Command, you may need to use Ctrl
Here we go :)
Open your Template. Image>Duplicate. Close out original.
Delete the credit layer.
Image>Resize to resize if needed. Image>Canvas Size to increase canvas size if needed.
I like room to work so usually increase mine so I have a couple hundred pixels all around.
Replace layers of the template with papers from the kit.
To do this, select the template layer by holding Command+clicking on it's icon in the layer window.
Add paper of choice as a new layer above it. Select>Inverse. Hit Delete on the paper layer.
Deselect and delete the original template layer.
For each layer I used the following:
Raster 11 & Copy of Raster 11- Paper 6
Raster 5 & Copy of Raster 5- Paper 5
Raster 3 & Copy of Raster 3- Paper 3
Raster 10- Paper 8
Raster 2- Paper 4
Using Layer Styles, on each template layer add the following drop shadow:
I like to add the shadow to one layer, the right-click it, Copy Layer Style, then go to
each other layer, right-click and Paste Layer Style.
Add your main tube of choice. Command+J to duplicate.
On top tube layer Filter>Blur>Gaussian Blur 2px. Blend Mode Screen, Opacity 48%.
Drop Shadow bottom tube layer- I used Distance 5, Spread 4, Size 8, same Opacity and angle as above.
Now add elements from your kit to the tag. From bottom to top I used:
wooden heart
ribbon 2
lemon
flower 6
button 2
heart
candle
button 1
basket
honey pot
I added the same drop shadows as I did with the template layers.
On the word art, I just colorized it by using Command+U and playing with the Hue/Saturation.
I also added a slight Bevel with these settings:
Using the Rectangular Marquee Tool, draw out a selection around the entire tag, slightly smaller than the canvas. Image>Crop. This will get rid of any stray pixels and drop shadows.
Image>Trim>Top Left Pixel Color. This will get rid of all the excess space.
Add copyright and license info.
Add name and any text of choice.
Merge, save as PNG and enjoy :)
Thank you for trying out my tut. If you have any questions or would like to show me your result, feel free to email me- bananas_68@yahoo.com, or contact me on Facebook :)
Labels:FTU tut,Gimptastic Scraps,PFD,Photoshop tut | 0
comments
Wednesday, May 23, 2012
Woot!! Baron Von Lind is back!!! Check out these Military Girls now available at PSP Tubes Emporium :) Below are some extras for you to snag..just click to view full size, then right-click save to your computer. Do Not alter these tags in any way, that includes adding names to them. Thanks and enjoy!
Labels:PTE,snaggable | 0
comments
Thursday, May 17, 2012
Take a look at this gorgeous tube by Jon Rattenbury, which you can purchase at PSP Tubes Emporium. Below are some snags...do not alter these in any way, and that includes adding names to them!! Just click to enlarge then right-click save to your computer. Thanks :)
Labels:PTE,snaggable | 0
comments
Monday, May 14, 2012
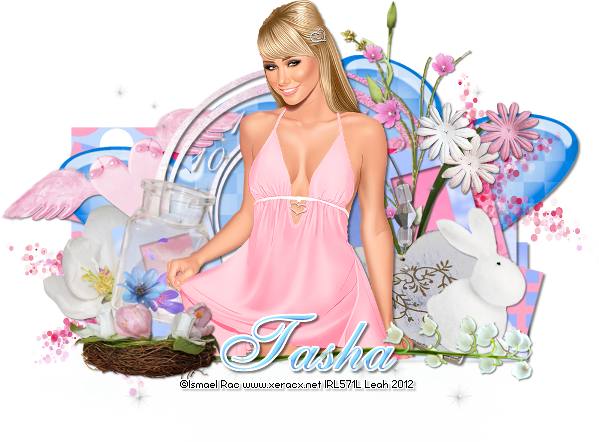
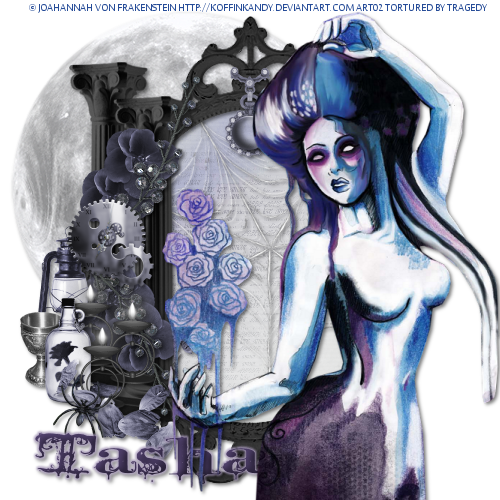
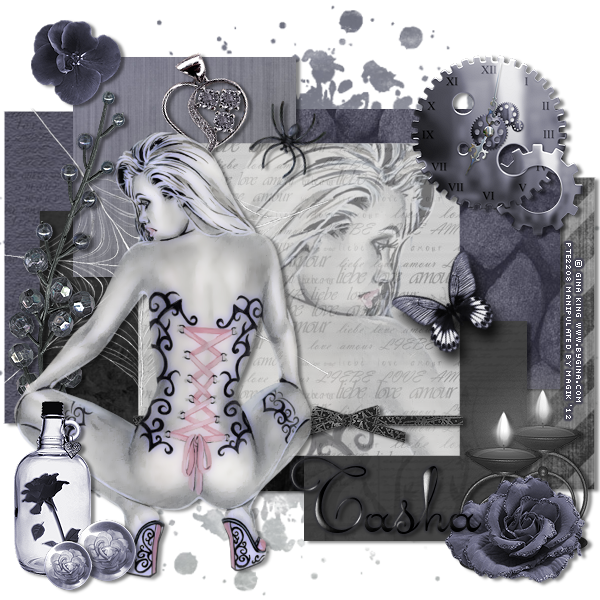
I totally forgot to post this freebie spring kit I have up on the Misfits blog!!!! I blame pregnancy brain ;p You can get this kit only at Misfits Creations Blog here. Hope you enjoy it :)
And here are a couple of tuts made with the kit :o)
Sunday, May 13, 2012
Played with this cute tube from Anna Liwanag, which is available now at PSP Tubes Emporium. Below are some extras for you to snag!! Just click to view full size, then right-click save to computer.
Please do not alter these tags in any way, that includes adding names to them. Thanks and enjoy :)
Labels:PTE,snaggable | 0
comments
Supplies-
Kit- Andalusion by Dee'Sign Depot. You can find this great kit at Twilight Scraps here, and it's on sale!! Yaayy!!!
Tube- I'm using the work of Amy Matthews which you can buy at CDO with a valid license.
Mask- MC_Mask11 from Melissaz Creationz here
Font- Some Weatz Swashes or font of choice
Photoshop CS5 or program of choice
I'm on a Mac, so when I use Command you may need to use Ctrl
Here we go :)
Open a new canvas 700x700 on a transparent background.
Choose your frame and place in center of canvas. I used element 50.
Place paper of choice below frame.
With frame layer active, click inside it using your Magic Wand Tool (w).
Select>Modify>Expand by 5. Select>Inverse.
Hit Delete on the paper layer. Deselect.
Add the following elements to the top right corner of the frame-
37- angle so it's vertical
44
Add element 41 below the paper layer so the end of it peeks out past the lower left corner of the frame.
Now we are going to cluster some elements in the lower left corner of the frame.
Refer to my tag for placement, and add the following elements from bottom to top:
14
54
19
26
32
53
You should now have something that looks somewhat like this:
Now resize and angle element 21 over your little cluster of elements..
Add element 28 right on the lower left corner, on top of everything else.
Resize and add element 20 to the top of frame.
Position tube how you like directly above frame layer. Command+J to duplicate.
Move copy of tube below frame.
Erase bottoms of both tube layers so it cleanly looks like the tube is coming out the frame.
Using Layer Styles, add a drop shadow just to the bottom tube layer.
Go ahead and add a drop shadow to the rest of your elements too.
Now let's get our mask ready! Open your mask on a new canvas.
Add a new layer above it, and flood fill with color of choice,
or use a paper from kit.
Make sure your mask layer is activated and Command+A to Select All, Command+C to Copy.
Activate the paper layer, hit Q to turn on Quick Mask mode.
Command+V to paste the mask..it should now be tinted red.
Hit Q to turn off Quick Mask mode and there should now be marching ants on your canvas.
Hit the Add Layer Mask button at the bottom of the layer palette (rectangle with the circle in it)
Right click- convert to smart object
Right click- Rasterize layer
Drag completed mask to your tag canvas as the bottom layer
Resize it if needed.
With your Rectangular Marquee Tool (m), draw out a selection around the entire
tag, just slight smaller than the canvas. Image>Crop.
This will get rid of any stray pixels or drop shadows you don't see.
Image>Trim>Top Left Pixel Corner to remove the excess space.
Add your license and copyright info to the tag.
Add name and any other text of choice.
Merge, save as PNG and enjoy :)
Thank you for trying my tut. If you have any questions or would like to show me your results, feel free to email me (bananas_68@yahoo.com) or post them on my Facebook :)
Labels:Photoshop tut,PTU tut,Twilight Scraps | 0
comments
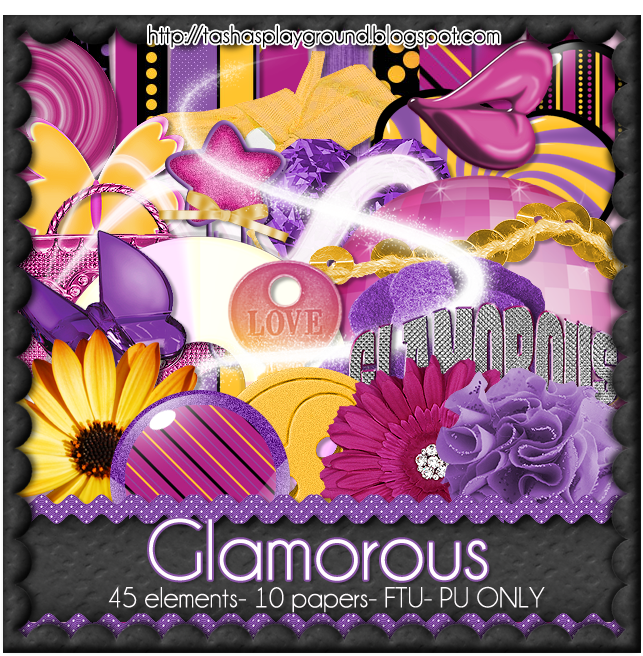
A few friends and I got together to make this kick ass FTU Glamorous collab for you all to play with!!! Love these girls, and was so glad to work with them :D Stop by their blogs to get their portions, and make sure to check out all their other goodies while you're there!!!! Make sure to leave some love too!
Please remember that Free To Use doesn't mean Free To Share..instead, please direct others to each blog so they can download for themselves :o) Thanks and enjoy!
You can download my portion here.
And here are the other 3 freebie kits in our lil collab :) Click each one to go there-- two are actually on one blog!!
Labels:freebie,FTU kit | 26
comments
Friday, May 11, 2012
Supplies:
Kit- Lookout Weekend by Gimptastic Scraps. You can find this kit at Artistic Angels here
Tube- I'm using the amazing work of VeryMany, which can be purchased at PFD
Mask- Mask 1 by Leah here
Template- BS Meter by Tonya here
Font- HoneyScript or font of choice
Photoshop CS5 or program of choice
I use a Mac, so when I use Command you may need to use Ctrl
Here we go :)
Open your template. Image>Duplicate, and close out original.
Resize your template if desired- Image>Image Size (Constrain Proportions checked).
I like room to work, so I increased the canvas size- Image>Canvas Size.
Delete the Credit, Wordart by Tonya, and Wordart Background layers.
We are going to replace the template layers with papers from the kit.
To do this, Command+Click the icon thumbnail of your template layer to select it.
Add paper of choice above that.
Select>Inverse. Hit delete on paper layer. Delete original template layer.
For each layer I used:
Bottom Left Diamond- Paper 7
Bottom Right Diamond- Paper 6
Bottom Center Diamond- Paper 4
Top Left Diamond- Paper 6
Top Right Diamond- Paper 7
Top Center Diamond- Paper 4
Oval 1 & 2- Paper 8
The rest of the layers matched nicely with my kit choice, so I didn't change those.
Place your main tube of choice in the center of the template as the top layer.
Add drop shadow.
Decorate your tag with elements from the kit.
From bottom to top I used:
Tulle 1
bow
heart rainbow
boombox
label 1
velvet flower
cupcake
heart zipper
bug
Add drop shadows to the elements and tube.
Draw out a selection around your tag using your Rectangular Marquee Tool (M),
make it just a bit smaller than the canvas size.
Image>Crop..that will get rid of any stray pixels and drop shadows.
Image>Trim>Top Left Pixel Corner...that gets rid of any excess space.
Resize your tag if needed.
Add your copyright and license info.
Add name and any additional text.
Merge, save as PNG and enjoy :)
Thank you for trying my tut!! If you have any questions or would like to show me your results, feel free to email me- bananas_68@yahoo.com
Labels:Gimptastic Scraps,PFD,PTE,PTU tut | 0
comments
Thursday, May 10, 2012
Here is a little sneak peek of a smokin' Neoracer tube that will be available for purchase at PTE on May 11, 2012. Make sure you go scoop this hottie up!
And here are some extras for ya! To save them, just click to view full size, then right-click save to computer. Do not alter these tags in any way, and that includes adding names to them. Thanks :)
Labels:PTE,snaggable | 0
comments
Wednesday, May 9, 2012
Supplies:
Kit: FTU kit, Twilight Saga by A Taggers Scrap. Make sure to check out her other kits, she's on sale right now for 50% off!!
Tube: I'm using a multi-layered beauty by Angela Newman called Clarise. This tube can be found in the New Release section at PTE and purchased with a valid license.
Font: Scriptina or font of choice
Photoshop CS5 or program of choice
I use a Mac, so when I use Command you may need to use Ctrl
Here we go :)
Open a new canvas 700x700
I like to start with my frame first, so pick a frame of choice from the kit.
I chose Frame 2 and put it in the center of the canvas.
Choose your paper and place beneath frame.
Using your Magic Wand Tool (w), click inside each section of the frame.
Make sure the Add to Selection box is toggled so you can select all 4 sections.
Select>Modify>Expand by 5px. Select>Inverse.
Hit Delete on your paper layer. Deselect.
Double click the frame layer in the layer window to bring up Layer Styles.
Add a Drop Shadow to frame- Opacity 45, Angle 120, Distance 3, Size 4.
Place the Curtain and Heart Scatter elements below your frame layer.
Place the following elements from bottom to top, above the frame layer.
Piano
Sparkles
Piano Keys
Heart Rose- Duplicate, flip, reposition
Music- angle slightly to the left
Goblet
Chess Piece- angle about 90 degrees to the left
Key- angle about 70 degrees
Jewelry Heart
Candle 2
Candle- duplicate, resize, reposition
Add the same Drop Shadow as before to the rest of the elements, except Sparkles.
Add main tube of choice and drop shadow.
Create a selection using the Rectangular Marquee Tool (M), slightly smaller than the canvas size.
Image>Crop. This will get rid of any stray pixels and drop shadows.
Image>Trim>Top Left Pixel corner.
Resize tag if needed.
Add license and copyright info to tag.
Add name and any additional text.
Merge, save as PNG, enjoy!!!
Thank you for trying my tut! If you have any questions or would like to show me your results, feel free to email me- bananas_68@yahoo.com
Labels:A Tagger's Scrap,FTU tut,PTE | 1 comments
Tuesday, May 8, 2012
My great CT have been busy, busy, busy lately whipping up lots of fun tuts for you all to try out!! Make sure to stop by their blogs and follow them so you don't miss out on future tuts, tags and snags!!! They stay so busy I can barely keep up lol!!!
Here are some tuts made with my Party In The City kit, which is part of an exclusive SATC store collab.
Wild Party by Sugar Coated Tags N Tuts
Party in the City by Precious Beauties
Party in the City by Tragedy's Creationz
Party in the City by Breena's Hot Spot
Party in the City by Tweet's Tutorials
A couple of spring time tuts-
Spring Beauty (FTU) by Manipulated By Magik
Spring Fever by Precious Beauties
Lovely by Leah of Amy & Leah's Gimptastic Tuts
Totally Rad by Guilty Pleasures
Madame by Leah of Amy & Leah's Gimptastic Tuts
Broken Dreams by Tragedy's Creationz
Broken Dreams by Manipulated by Magik
Summer Fun (FTU) by Tragedy's Creationz
Black Ice by Precious Beauties
Skullz N Stripez by Breena's Hot Spot
Love to Love by Sugar Coated Tags N Tuts
Splash! snags from Amy of Amy & Leah's Gimptastic Tuts
And here is a tag show off by Chaos using my Skullz N Stripez kit
And a partridge in a pear tree ;p
If you make anything with my kits, I'd love to see it and show it off on my blog!! Just email it to me at bananas_68@yahoo.com, or send it to me on Facebook :)
Labels:tags with my kits,Tasha's CT | 0
comments
Subscribe to:
Posts
(Atom)
Leave me some love
Labels
- A Space Between
- A Tagger's Scrap
- Abstract Creations
- Alena Lazareva
- Andreea Cernestean
- animated
- Announcement
- Autumn
- Autumn Blaze
- Autumn Breeze
- awards
- Birthstone Series
- blog train
- Cartoon Pink
- CDO
- Christmas
- Cluster Frame
- CT call
- Ct Tag
- Ct Team
- Cuddly Rigor Mortis
- dark/goth
- Designer Scraps
- Digital Chaos
- Dirk Richter
- DSI
- Elias Chatzoudis
- Enys Guerrero
- FB Timeline Cover
- Fluff
- Forum Set
- FourXDesigns
- freebie
- FTU CU
- FTU kit
- FTU tut
- Full Size Kit
- Gimptastic Scraps
- Gorjuss
- Halloween
- IB kit
- Keith Garvey
- KiwiFireStorm
- Lollipops N Gumdrops
- Molly Harrison
- New Years
- No Scrap
- PFD
- Photoshop tut
- Pimpin PSPers
- Previously Released
- PTE
- PTU CU
- PTU kit
- PTU tut
- quick page
- Rebecca Sinz
- Rosanna Castellino
- sale
- Sarah's Tags N Things
- Scrap-U-Nique
- Shawli
- Sheena Pike
- snaggable
- Soxsational Scraps
- Spazzd Art
- spring
- St. Patrick's Day
- Standalone kits
- summer
- Summer Haze
- tag show off
- tags
- tags with my kits
- tags with my templates
- Tasha's CT
- template
- Thanksgiving
- TPP
- tut result
- Twilight Scraps
- Valentine
- Whispered Bliss
- Wicked Princess Scraps
- Winter
- wordart
Blog Archive
-
▼
2012
(213)
-
▼
May
(14)
- Bee My Honey- FTU
- Baron Von Lind tags & Snags
- Rattenbury tag and snags!
- Misfit Spring- FTU kit
- Anna Liwanag extras!
- Andalusion- PTU
- Glamorous Collab!!! FTU
- Lookout Weekend- PTU
- Neoracer Tag and Snags!
- Trust Me- FTU
- Lots of Goodies!!!
- Unholy Vault Designs tag and extras!
- New kit :)
- A Mother Is.. -FTU
-
▼
May
(14)


