Find my kits here

Tasha's Playground Fan Page

Find me on Facebook

My Personal CT

Showing posts with label Designer Scraps. Show all posts
Showing posts with label Designer Scraps. Show all posts
Tuesday, November 11, 2014
 Hi all! I have a new Inspired By kit available at Creative Design Outlet. This kit is inspired by a fun new tube by Concetta Kilmer here, but can always be used with any artist's work. Find the kit here. Enjoy!
Also new, November's birthstone mini kit, which you can find at Designer Scraps, Digital Chaos, The PSP Project, and Pics For Design.
This installment in the Birthstone mini kit series combines the colors of November's two jewels- yellow topaz and citrine. Balanced with a gorgeous deep shade of burgundy, this tagger sized kit can be used for autumn tags and beyond! Personal use only, please do not share.

Make sure to stop by and grab Amy's part of this collab here.

And I also have an exclusive newsletter freebie live right now! Signing up for my newsletter is a great way to stay up to date with my new products and sales, and also get exclusive coupons and freebies!! You can join here.
Here's a preview of the exclusive tagger sized freebie in this month's newsletter!

Saturday, November 1, 2014

Designer Scraps is having a storewide sale to celebrate NDSD!!! Come stock up on some great products at a price you won't see often! CU, PU, full size, tagger size...there's something for everyone :)
Visit here.
Wednesday, September 24, 2014
I made this free to use Facebook timeline cover using a beautiful kit by Farrah's Designer Scraps called Muscular Dystrophy. You can find the kit here at Designer Scraps.
The cover can be picked up at Designer Scraps as well. Find it here.
The cover has a transparent space where you can pop a photo or tube in. Please don't claim as your own or erase any of my credits.

Friday, January 17, 2014

Midnight Rendezvous is a soft, sultry kit perfect for your elegant, darker tags! This is a tagger sized kit, please do not share. You can find this kit in all of my stores listed on the left of my blog. Happy tagging :)
Friday, November 29, 2013
Woot! Who's ready for a brand spankin' new winter kit? Winter Frost is the newest addition to my stores and is a perfect kit for those winter tags and scrapbook pages! With icy shades of green and snowy white, you will have loads of possibilities with this one!! I'm using some amazing CU lanterns from FourXDesigns in this kit. Visit her store here to purchase them! Great for multiple themes and uses.
Available in Full and Tagger sized at Designer Scraps.
Available in Tagger size in Digital Chaos, Pics For Design, and The PSP Project.
Enjoy!!

Saturday, November 23, 2013

Hey all :) I have a new winter in stores tonight. Winter Blush is a beautiful, snowy kit with shades of pale pinks and greys. This kit comes with 65 non-duplicated elements and 9 gorgeous papers. Hope you enjoy!
You can find this kit in tagger sized at all my stores- Pics For Design, The PSP Project, Digital Chaos, Designer Scraps
You can find this kit full size at Designer Scraps.
Sunday, September 22, 2013
Hey all!!! I decided to load my two newest kits in stores tonight so I didn't forget later lol!!
I have a new fall kit called Antique Autumn. This kit has 68 unique elements and 10 beautiful papers. Do not share. Personal Use Only.
You can find this kit in all my stores listed on the left of my blog.

I also have a fun new Halloween kit, Pink-O-Ween as requested by my CT member and friend, Tonya. This kit has 58 unique elements and 14 fun papers. Personal Use Only. Do Not Share.
You can find this kit in all my stores listed to the left of my blog.

And from now until the end of September, all of my kits are $1.75 in all my stores!!!

Thursday, August 1, 2013

Enjoy 30% off my entire store for all of August!! This sale is good in each store I sell with!!
And don't forget, the 1st of the month is BOGO at The PSP Project!!

Sunday, July 28, 2013
You can find this kit at any of my stores listed to the left of my blog :)
Featured in this kit are multiple Fabulous CU items from FourXDesigns, including one of my personal favs, her spray can pack. Visit here to purchase and to check out what else she has in store!

Here are a couple tags from the kit made by my girl Breena:


And here's a tag and cluster frame I made with the kit. There is also an extra "Thanks" tag in the download :) These are for Personal Use only. Do not share or copy. The frame may be altered and added upon, but do not alter, resize or change the extra tag in any way. Thanks!
Download here.


Saturday, April 14, 2012
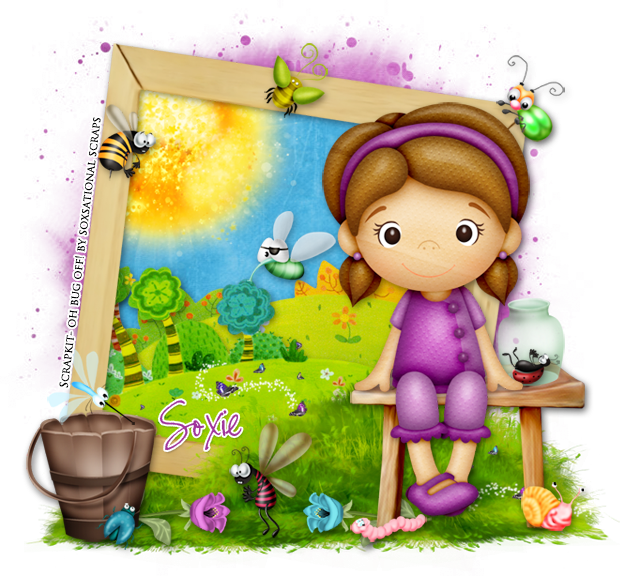
Supplies-
Kit: I'm using a super cute kit by Soxsational Scraps called Oh Bug Off. You can find this kit at Designer Scraps here.
Mask: Splatter Mask by Sue from the Misfits blog here
Font: Susie's Hand or font of choice
Photoshop CS5 or program of choice
I use a Mac, so when I use Command you may need to use Ctrl
Here we go :)
Open a new canvas 700x700, transparent background.
Open Frame 1 and place in center of canvas.
Below the frame, place the following elements from bottom to top
(resize and drop shadow as you go along and refer to my tag for placement):
paper 8
sun
forest- Edit>Transform>Flip horizontal
forest 2
Now activate your magic wand tool (w) and click inside the frame.
Select>Modify>Expand by 5. Select>Inverse.
Click on each of your element layers and hit delete.
This will get rid of excess pieces outside the frame.
Now place one of the grass mounds in front of the frame (I used mound 1),
duplicate, resize and flip it and place the copy directly behind the frame.
Use your eraser tool to get rid of any any parts of the copy that are showing inside the frame.
Add the stool element to the left side of the frame and sit the girl on it.
Now decorate your tag with elements from the kit.
Resize, angle and drop shadow as you go along.
From bottom to top I used:
flower 7
flower 4
bucket
jar 2
bug- 24, 23, 20, 16, 15, 11, 9, 6, 5, 1
Now let's get our mask ready! Open your mask on a new canvas.
Add a new layer above it, and flood fill with color of choice,
or use a paper from kit (I used paper 5).
Make sure your mask layer is activated and Command+A to Select All, Command+C to Copy.
Activate the paper layer, hit Q to turn on Quick Mask mode.
Command+V to paste the mask..it should now be tinted red.
Hit Q to turn off Quick Mask mode and there should now be marching ants on your canvas.
Hit the Add Layer Mask button at the bottom of the layer palette (rectangle with the circle in it)
Right click- convert to smart object
Right click- Rasterize layer
Drag completed mask to your tag canvas as the bottom layer
Resize it if needed.
Crop, trim and resize your tag.
If you used a tube not provided in the kit, add your license and copyright info.
If you didn't, add the kit info :)
Add name and any text.
Merge, save as PNG, enjoy!
Thank you for trying my tut! If you have any questions or would like to show me your results, feel free to email me- bananas_68@yahoo.com
Wednesday, February 29, 2012
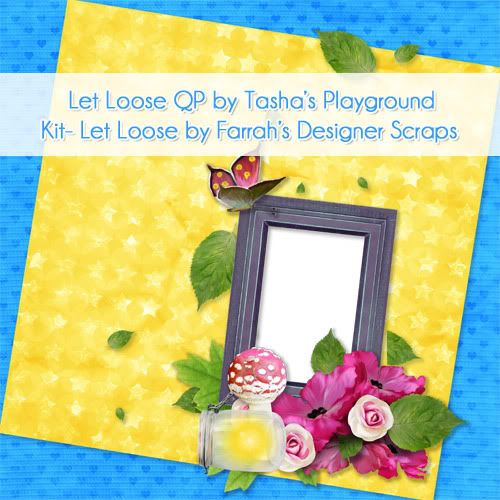
I worked with a stunning kit by Farrah's Designer Scraps called "Let Loose" and was inspired to try another quick page!! The colors in this kit are vivid and gorgeous and will rock any layout or, if resized, any tag :) Thanks, Farrah for this great creation!! This kit is available at Designer Scraps here...enjoy!
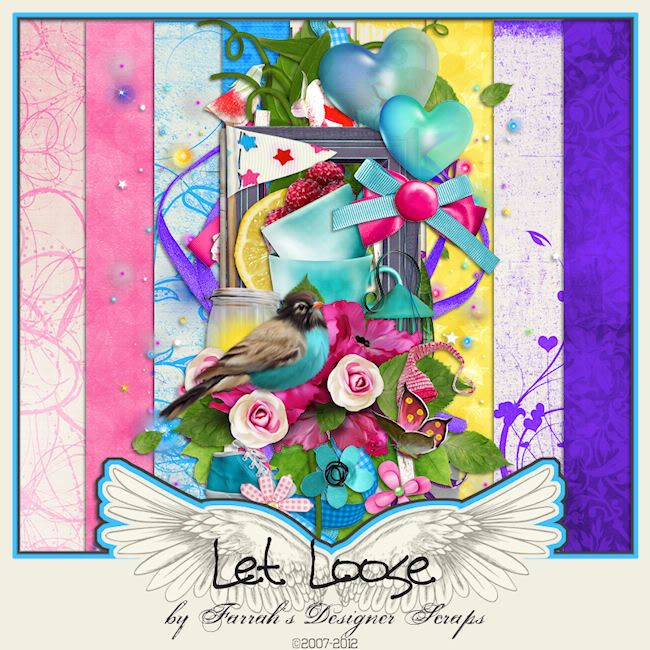
This quick page is for personal use only. It comes Full Size in PNG format with a transparent background. Terms of use are very simple- do not share or claim as your own! Thanks :)
Download here
Wednesday, January 4, 2012
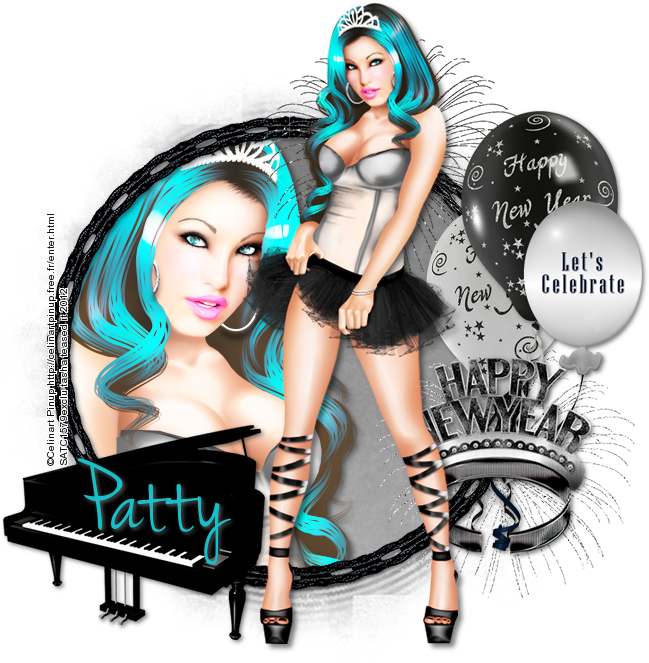
Supplies-
Kit- I'm using "Resolutions" by Honored Scraps which is available at Designer Scraps here
Tube- This tube is by Celinart Pinup and is a free gift from SATC if you make a $10 purchase. You can find more of her tubes also at SATC here
Mask- AR315_CMC_Mask138 here
Font- Jenny, a FTU font here
GIMP or program of choice
Here we go :)
This will be a quickie!
Open a new canvas 700x700
Open as layers Paper9 as your bottom layer
layer to image size and add alpha channel.
Right click and Add Layer Mask (Black full transparency)
Open as layers your mask, activate mask layer and Edit>copy
Now click on the black box (the mask layer) next to your paper layer
Edit>paste, anchor mask to selection, apply mask
You can now hide or delete the original mask layer
Open as layers Frame1
Open as layers Paper8-add alpha channel, layer to image size
activate your fuzzy select tool and click inside frame
Select>Grow by 4 pixels, Select>Invert
Click paper layer, hit delete
Add close up of tube, position in selection, hit delete
Select>None
add drop shadows as needed
Add tube of choice and add drop shadow
Add elements from kit:
Fireworks4
Piano
Fireworks3
Balloon4
Balloon3
Balloon2
Tiara1
Crop and resize your tag
add license and copyright info
add name and any text
Merge, save and enjoy!
Thank you for trying my tut. If you have any questions or would like to show me your results feel free to email me: bananas_68@yahoo.com
Thursday, November 17, 2011
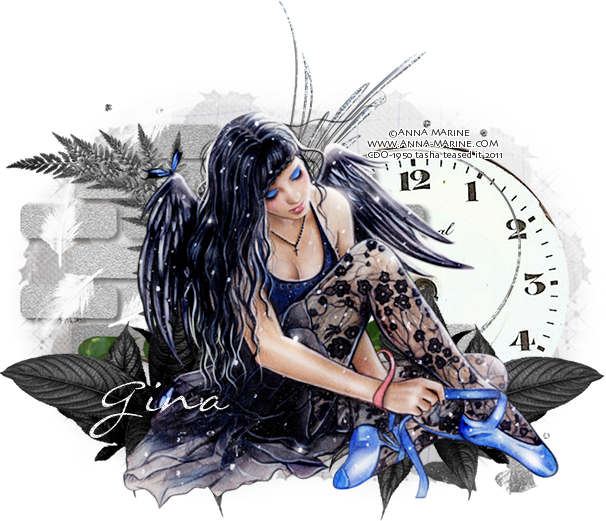
Supplies-
Kit- "Diamond" by KiKeKa Kits available at Designer Scraps here
Tube- I'm using a bonus tube by Anna Marine. You can purchase her work from CDO with a valid license
Mask- WSL_Mask338 here
Font of choice
GIMP or program of choice
Open a new canvas 650x650
Open as layers paper06. Layer to image size, and add alpha channel.
Add layer mask, black (full transparency)
Open as layers your mask. Edit>Copy
Click the black box on your paper layer, Edit>paste
anchor the mask to the paper
Open as layers the following elements
Scale layers (with chain linked) and drop shadow as you go:
scatter02
clock01
bricks01
feather02
leaves02
florish01
branch04
branch05
leaves01- duplicate, flip horizontal, reposition
Add tube of choice. Duplicate
On top tube layer:
blend mode, screen. Opacity 70
Crop and resize your tag
add copyright and license info
add name and any text
merge, save, enjoy!!
Thank you for trying my tut. If you have any questions or would like to show me your results, feel free to email me: bananas_68@yahoo.com

Friday, October 21, 2011
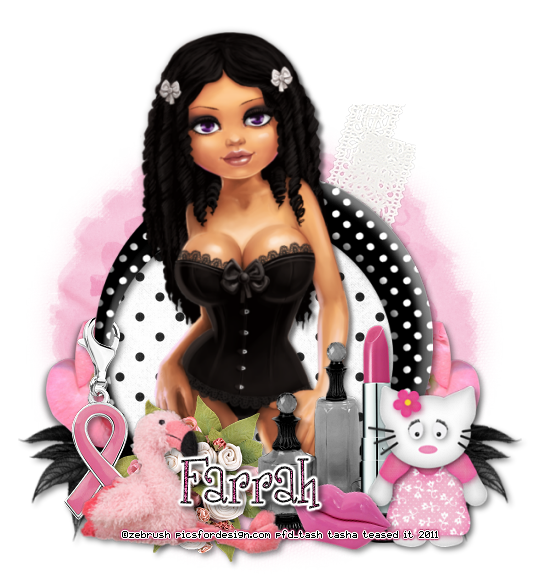
Supplies:
Kit- "Miss Kitty" by Farrah, on sale at Designer Scraps here
Tube- I'm using a hot, multi-layer tube by Zebrush, available for purchase at PFD here. You must have a valid license to use this artwork.
Mask of choice- I used one from here, but can't remember which one, lol, sorry
Font- Girls Are Weird, a FTU font here
Here we go!
This is a Full Size kit, so you will need to resize as you see fit
Open a new canvas 650x650
c/p paper of choice onto canvas
layers>new mask layer>from image
apply mask, merge group
c/p and resize leaf
duplicate and mirror
c/p and resize flowers4
duplicate and mirror
c/p and resize lace
c/p frame4, place lower center on mask
using your magic wand too, click inside frame layer
selections>modify>expand by 5
selections>invert
c/p paper 7 onto canvas, hit delete on keyboard
deselect
add main tube, duplicate
on top layer, adjust>gaussian blur 2
change blend mode to overlay, opacity 35
drop shadow bottom tube layer
add the following elements:
flowers1
bottles
lipstick
charm
flamingo
cat
lips
crop and resize tag
add copyright and license info
add name and any text
merge, save, enjoy!
Thank you for trying out my tut! If you have any questions or would like to show me your results, feel free to email me: bananas_68@yahoo.com
Saturday, September 17, 2011
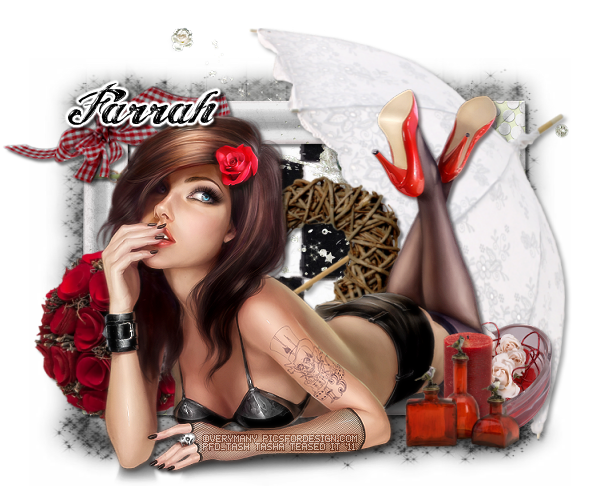
Supplies-
Kit- "Roses Are Red" by Farrahs Designer Scraps here
Tube- I'm using the work of VeryMany available for purchase at PFD with a valid license
Mask- RR_Mask1 here
Font of choice
Here we go :) This will be an easy one :)
c/p paper of choice onto canvas
layers>new mask layer>from image
apply mask, merge group
add frame 2, resize
using your magic wand tool, click inside the frame
selections>modify>expand by 5
selections>invert
resize, c/p paper 4 as a new layer under frame
hit delete on keyboard
deselect
drop shadow frame
add main tube of choice
duplicate
adjust>blur>gaussian blur of 2
change blend mode of top tube to soft light, opacity 36
duplicate, change blend mode to screen, opacity 50
drop shadow bottom tube layer
Now decorate your tag with elements
from bottom to top I used:
glitter
umbrella
wreath
flowers1
bow3
heart
candle
bottles
crop and resize your tag
add copyright and license info
add name and any text
merge, and save :)
Thank you for trying my tutorial. If you have any questions or would like to show me your results, please email me: bananas_68@yahoo.com
Tuesday, August 30, 2011

Supplies-
Kit- "Desperation" by Farrahs Designer Scraps available at Designer Scraps here
Tube- Tatjana Willms at DSI here. You must have a valid license to use this work
Mask- WSL_Mask 65 here
Font- Shit Happens, a FTU font here
Here we go, this will be a quick one :)
Open a new canvas 650x650
c/p paper of choice onto canvas
layers>new mask layer>from image
apply mask, merge group
c/p frame1 onto canvas
using your magic wand tool, click inside frame
selections>modify>expand by 5
selections>invert
Resize paper of choice and c/p as a new layer under frame
hit delete on your keyboard
deselect, drop shadow your frame
c/p mesh behind frame so it shows around the sides
c/p leaves as a new layer below frame, place in upper right corner
duplicate, flip, mirror leaves, rotate right about 40 degrees
place in bottom left corner of frame
c/p weed3 as a new layer behind frame
duplicate and mirror
Add tube of choice as a new layer above frame
add drop shadow of choice
Decorate your tag with elements
I used:
flower- duplicate and resized various times
feather
pinecones
cases
rock
cats
crop and resize your tag
add copyright and license info
add name and any text
merge, save, enjoy :)
Thank you for trying my tut. If you have any questions, or would like to show me your results, please email me: bananas_68@yahoo.com
Monday, August 22, 2011
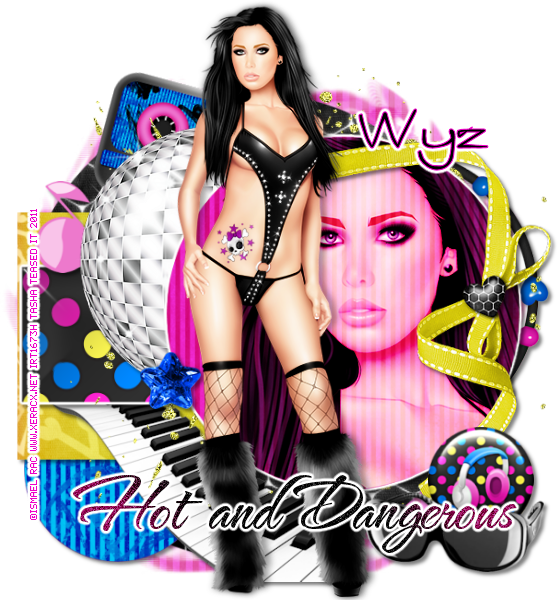
Supplies-
Kit- "Bulletproof" by Designs by LK available at Designer Scraps here
Tube- Ismael Rac available here. You must purchase this tube and have a valid license to use it
Mask- ta7 from the Creative Misfit blog here
Template- plaintemplate1bybrutaldesigns here
Font- Arkitex a FTU font here
Here we go :)
Open your template
Ctrl+d, close out original
delete credit layer
resize your template if you like
increase your canvas size so you have room to work
Replace template layers with papers from the kit:
selections>select all>float>defloat
c/p paper onto canvas
selections>invert
hit delete on your keyboard
deselect
delete original layer
For each layer I used:
blk circle- paper 9
pink circle bottom- paper 6
blue rec- paper 8
pink circle top-paper 7
grey square- paper 4
Highlight your top circle layer
selections>float>defloat
add close up of tube
selections>invert
hit delete on tube
change blend mode to hard light
deselect
Add elements of choice
I used:
bead string
piano wavy
cassette tape-rotate 15 degrees
glitter splotch
music note pink
disco ball
ribbon 1
button 2
star 4
shades
Add main tube of choice
duplicate
on top layer:
blur>gaussian blur 3
blend mode soft light, opacity 85
drop shadow bottom tube layer
crop and resize tag
add copyright and license info
add name and any text
merge, save, enjoy!
Thank you for trying my tut. If you have any questions or would like to send me your results, please email me: bananas_68@yahoo.com
Subscribe to:
Posts
(Atom)
My Blinkies



I Get Creative For