Search
Sign up for my Newsletter
Tasha's Playground Fan Page
Find me on Facebook
Followers
Friday, February 8, 2013
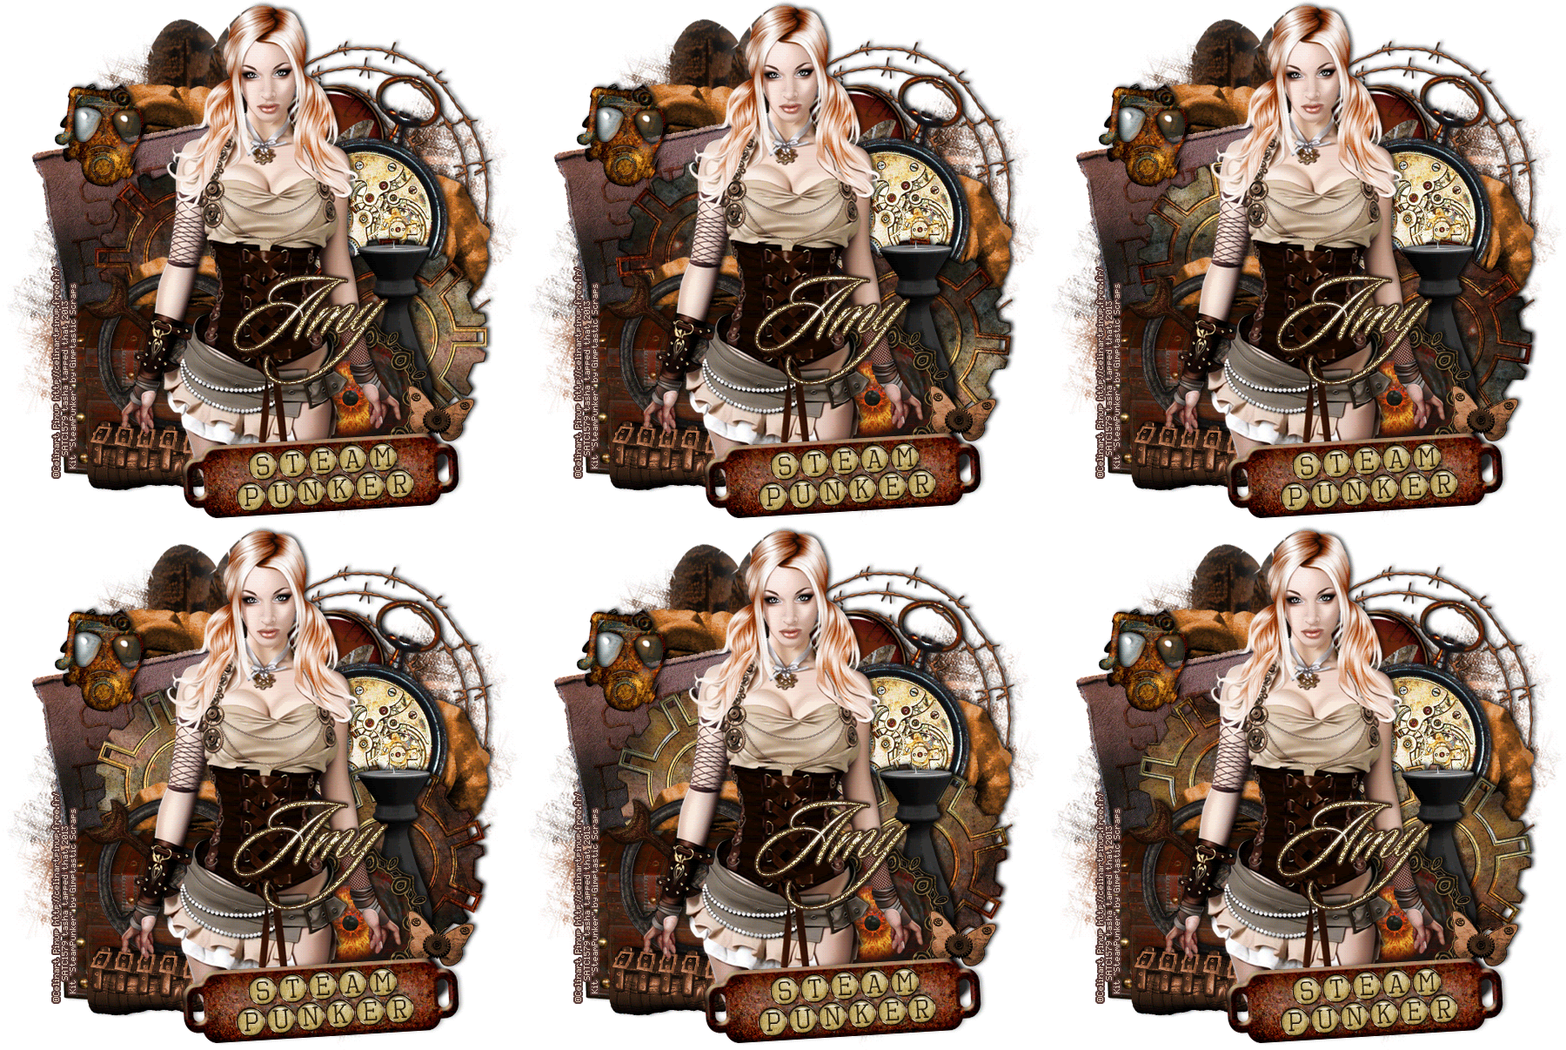
*click to view full size*
Supplies:
Kit- Steam Punker by Gimptastic Scraps. Grab it for free here.
Tube- Kato Steampunk by Celine Pinup
Mask of choice
Font- Sloop Script
Photoshop CS5
I'm on a Mac, so when I use Command you may need to use CTRL
Here we go :)
Command+N to open a new canvas 650x650, white background.
There is really no way to describe how I arranged my elements..I just play around
until it clicks lol. I grouped some elements together (select the ones you want, then Command+G to create a group) to make it easier to animate. There are lots of fun things in this kit, I used:
*from bottom to top*
Group 1:
wire
feather
rose
leather patch
flair
watch
cog 2
rose
trunk
cog 2
Group 2:
candle holder
cog 1
cuff
eye
butterfly
tag
mask
WA
Add your tube above the butterfly layer. I like a soft glow on my tubes. To do this-
Command+J to duplicate. On top tube Filter>Blur>Gaussian Blur 2px.
Blend Mode Soft Light, Opacity 45%. Play with both those settings to suit your tube and taste :)
Click layer styles and add drop shadows to elements and bottom tube copy.
Add name and any text. To the name I added noise (Filter>Noise>Add Noise) and applied a few layer styles:
Now for the mask!! There are a few ways to do this...this is how I like to :)
Open your mask and add paper of choice above it.
With the mask layer highlighted, Select>All, Edit>Copy.
On paper layer, hit Q to activate Quick Mask Mode. If you see red, you're doing it right! Edit>Paste. Hit Q again to turn off Quick Mask Mode. The red should disappear and be marching ants.
Now click the Add Layer Mask button at the bottom of your layer palette box.
Rasterize the layer and drag it over to your tag canvas.
Resize and postion as needed.
Image>Trim>Top Left Pixel Color. This will get rid of any excess space on your tag.
Add your license and copyright info.
If you are not going to animate, close out the white background and save as PNG.
To animate:
Keep your white background there! Otherwise, you'll end up with nasty edges from the drop shadows.
First rename your two cogs that you are going to rotate. I named them both 1 since they will be the first ani frame.
Window>Animation to open the animation window. You will see that your first frame is already there waiting for you..yay!
Duplicate the first frame-
Close out the cog layers and duplicate them. Rename them both 2. On the bottom right one, Free Transform (command+T) 10 degrees to the right.
Do the same with the other cog, except do -10 degrees.
Duplicate the animation frame. Close out the cog layers and duplicate them. Rename them both 3. Rotate them 20 and -20 degrees, respectively.
Repeat these steps until you are done, increasing the degrees by 10 each time..I ended up with 27 layers.
Change the delay time to 0 sec and set to loop forever.
Edit>Save for Web & Devices and save as GIF.
All done :)
Thanks for trying my tut!! If you have any questions or would like to show me your results, feel free to email me at bananas_68@yahoo.com or friend me on Facebook.
Subscribe to:
Post Comments
(Atom)
Leave me some love
Labels
- A Space Between
- A Tagger's Scrap
- Abstract Creations
- Alena Lazareva
- Andreea Cernestean
- animated
- Announcement
- Autumn
- Autumn Blaze
- Autumn Breeze
- awards
- Birthstone Series
- blog train
- Cartoon Pink
- CDO
- Christmas
- Cluster Frame
- CT call
- Ct Tag
- Ct Team
- Cuddly Rigor Mortis
- dark/goth
- Designer Scraps
- Digital Chaos
- Dirk Richter
- DSI
- Elias Chatzoudis
- Enys Guerrero
- FB Timeline Cover
- Fluff
- Forum Set
- FourXDesigns
- freebie
- FTU CU
- FTU kit
- FTU tut
- Full Size Kit
- Gimptastic Scraps
- Gorjuss
- Halloween
- IB kit
- Keith Garvey
- KiwiFireStorm
- Lollipops N Gumdrops
- Molly Harrison
- New Years
- No Scrap
- PFD
- Photoshop tut
- Pimpin PSPers
- Previously Released
- PTE
- PTU CU
- PTU kit
- PTU tut
- quick page
- Rebecca Sinz
- Rosanna Castellino
- sale
- Sarah's Tags N Things
- Scrap-U-Nique
- Shawli
- Sheena Pike
- snaggable
- Soxsational Scraps
- Spazzd Art
- spring
- St. Patrick's Day
- Standalone kits
- summer
- Summer Haze
- tag show off
- tags
- tags with my kits
- tags with my templates
- Tasha's CT
- template
- Thanksgiving
- TPP
- tut result
- Twilight Scraps
- Valentine
- Whispered Bliss
- Wicked Princess Scraps
- Winter
- wordart
Blog Archive
-
▼
2013
(113)
-
▼
February
(18)
- New Kit- Lucky Girl
- O'Scrap Blog Train!!!
- The Brat Pack Blog Train is taking off!!
- Quick announcement
- Blog train taking off!!
- Abstract Creations Extras
- Vintage Romance- PTU
- Rawr!- PTU
- CT tags and snags!!
- Old PTU CU now FTU CU!!
- Steam Punker- FTU
- Raspberry Ripple- PTU
- New kit- Mardi Gras 2013
- Son of a Gun- Tag and Snags
- Tuts, extras and more!!
- Valentine's Day Template
- Misticheskaya extras
- Toxic Biatch extras
-
▼
February
(18)


0 comments:
Post a Comment