Find my kits here

Tasha's Playground Fan Page
Find me on Facebook
My Personal CT


Friday, February 25, 2011
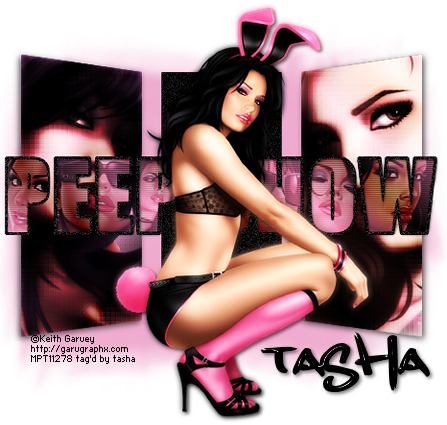
Supplies used:
Template- 0017 from Juicy Bits. You can get it here
A few tubes and close-ups from the same artist. I used the artwork of Keith Garvey. You can find his stuff here
Filters used- Xero radiance and Fritillary, Eye Candy 4000 Glass
Font of choice- grand stylus
Delete copyright info and layers 4&5.
Make layer [3] active, selections>select all, float, defloat. create a gradient with 2 colors from your main tube with the following settings:
Linear, angle-45, repeats-5
Add a new layer and floodfill. Xero>fritillary with these settings- 5, 30, 10, 0. Copy/paste your close up tube, arrange how you like in the selction, Selections>invert. Hit delete on your keyboard. Xero>radiance at default settings. Change blend mode to hard light or whatever suits your tube. Deselect. Delete original layer.
Repeat the above steps with layer [2], except change your gradient angle to 135.
On layer [1], selections>select all, float, defloat. Add new layer and floodfill with color of choice. Adjust>add noise- Uniform, 30%, monochrome checked. Deselect, delete original layer.
On [wordart] layer, selections>select all, float, defloat. Add new layer, floodfill with same gradient. rename layer (I chose "base"). Selections>modify>select selection borders-outside, border width 2, anti-alias checked. Add new layer, flood fill with a color from your gradient. Deselect, delete wordart layer.
Now, on your 'base' layer, use your magic wand and click inside your P. Copy/paste a tube of choice. Selections>invert, on your keyboard hit delete. Repeat with each letter. Once done, merge your tube layers together. On your merged layer Effects>texture effects>blinds-width 2, opacity 36, horizontal and light from left/top checked. Change the blend mode to hard light, opacity 66.
Add your main tube. Duplicate. On top layer, Adjust>gaussian blur-radius 3. Change blend mode to overlay. Add drop shadow to original layer (2, 2, 50, 5)
Highlight background layer, add new layer and floodfill with a light color. Layers>new mask layer, from image. Apply mask, merge group. Adust>blur, gaussian blur, 3. I used my raster deform tool and sized it down a little.
Add name, apply glass with the "clear glass" setting. Drop shadow.
Add copyright and license info. Done!
Hope you liked the tut, you can send me your results to bananas_68@yahoo.com
Subscribe to:
Post Comments
(Atom)
My Blinkies


I Get Creative For

0 comments:
Post a Comment