Search
Sign up for my Newsletter
Tasha's Playground Fan Page
Find me on Facebook
Followers
Wednesday, May 29, 2013
Hey guys, I finally have a new kit ready lol!! And still a day or two to take advantage of the 40% off sale I have going in all my stores. The sale ends at the end of May.
These Tears is a tagger sized kit in in soft greys, a pop of blue, and black. I hope you enjoy playing with this kit, and I'd love to see anything you make with. You can find this kit at any of my stores listed to the left of my blog.
Here is a tag I made with the tube that inspired me. It is by Zlata Ma, and you can purchase it from Pics For Design here :)
Feel free to snag this tag, but please do not alter it in any way or claim it as your own.
Labels:PTU kit,snaggable | 2
comments
Friday, May 24, 2013
Hey guys, I have a cute little kit for you all to play with!! Please direct others to my blog to download this, do not share it..that's not nice! Hope you have fun with it!! Download here.
Labels:freebie,FTU kit,spring | 11
comments
Wednesday, May 8, 2013
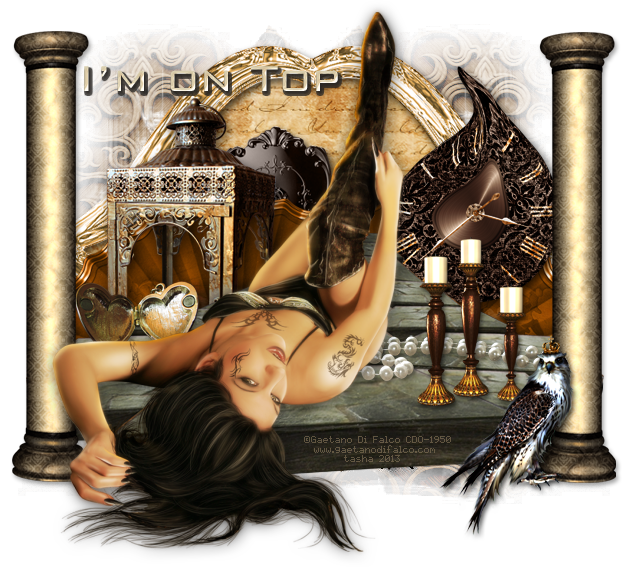
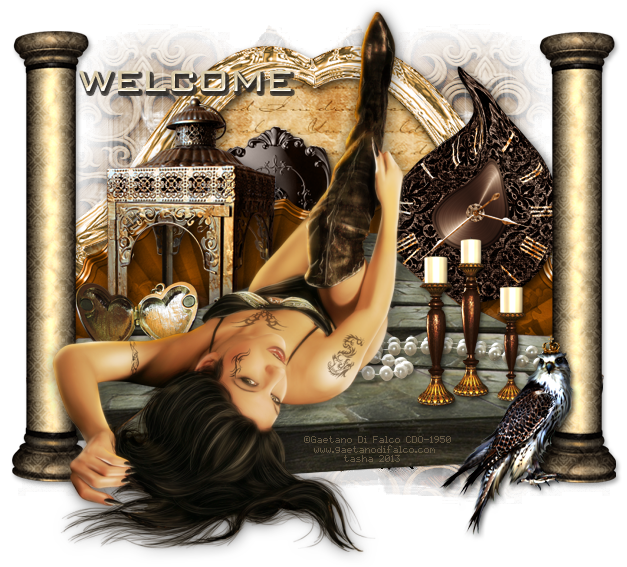
Abstract Creations has a stunning new kit at Creative Design Outlet which was inspired by the work of Enamorte. IB-Enamorte 3-1 has gorgeous shades of gold, rust and brown making it a stunning kit to be played with. You can pair this kit with any artist...I used the work of Gaetano Di Falco, who can also be found at CDO.
Below are some extras for you. Do not alter, resize, add elements or names to these tags. Just click to view full size and save to your computer...enjoy :)
Labels:Abstract Creations,CDO,freebie,snaggable | 0
comments
Tuesday, May 7, 2013
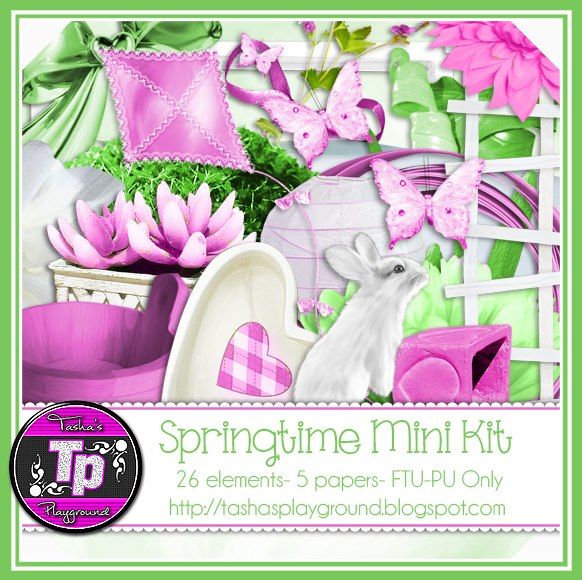
Choo choo!! You hear that? It's the sound of this month's Creative Crazy blog train coming through!! This month's theme was Mixed on May where we chose our own theme..so I decided to go for a nice springy kit :) This is a mini-kit and is for PERSONAL use only please. You can download it here or here. Please do not share the kit, instead direct people here to grab it and check out my other freebies :) Hope you enjoy it!
Continue on to the other stops and pick up their goodies as well!
Stu with:CreativeCrazyScraps
Alyson with: Tyger's Tidbits
Jessica with: Gothic Inspirations
Always with: Always Creations
**Tasha with: Tasha's Playground**
Twyzted with: Twyzted Playground
Anna with: Annaz Attic
Millie with: Millies Psp Madness
Rissa with: Rissa Designs
Danielle with:Scraps By Danielle
Kate with:Irish Princess Designs
Shell with: Shells Scraps
Felice with: Felice Original
Kaci with: Scrappin Krazy Designs
Kaci with: Sugar Kissed Scrapz
Labels:blog train,freebie,FTU kit,spring | 7
comments
Sunday, May 5, 2013
Supplies:
Kit- Steampunk Sass by A Taggers Scrap. Visit Jo's blog here for where you can get this fab kit!
Tube- I'm using the work of Ed van der Linden which can be found at The PSP Project here. You need to purchase his work and have a valid license to use it.
Mask- Star sparkle mask by Vesta here
Font- Press Style
Photoshop CS5 or program of choice
I'm on a Mac, so when I use Command you may need to use Ctrl
Here we go :)
Open a new canvas 650x650
Place frame 6 in bottom left corner of canvas. Add paper 12 below it. Click inside the frame.
Select>Modify>Grow 5px. Select>Inverse. Hit delete on paper layer.
Double click frame layer to bring up layer styles.
Add drop shadow of choice. Merge frame to paper.
Command+J to duplicate. Move copy up and to the right. Refer to my tag for placement.
Add notepaper as top layer. Place tube close up above it. Right click and Create clipping mask to
clip tube to the paper. Change blend mode to soft light, opacity 50%.
Duplicate tube, re-clip the copy layer. Change blend mode to hard light, opacity 90%.
Add main tube. Duplicate and change top copy's blend mode to screen, opacity 60%.
Now just decorate your tag with elements from the kit. From bottom to top I used:
leaves 7
cog 3
clock
butterfly 1
flower 6
brad
butterflies
floral 1
monocle
metal flower 3
stickpin 3
bow 4
clock heart
floral 3
hat box
Add drop shadows as needed to elements and tube.
Now for the mask!! There are a few ways to do this...this is how I like to :)
Open your mask and add paper of choice above it.
With the mask layer highlighted, Select>All, Edit>Copy.
On paper layer, hit Q to activate Quick Mask Mode. If you see red, you're doing it right! Edit>Paste. Hit Q again to turn off Quick Mask Mode. The red should disappear and be marching ants.
Now click the Add Layer Mask button at the bottom of your layer palette box.
Rasterize the layer and drag it over to your tag canvas.
Resize and postion as needed.
Image>Trim>Top Left Pixel Color. This will get rid of any excess space on your tag.
Image>Resize if needed.
Add name and any text of choice.
Add your license and copyright info.
Merge, save and enjoy :)
Thanks for trying my tut. If you have any questions or would like to show me your results, feel free to email me at bananas_68@yahoo.com or friend me on facebook!
Labels:A Tagger's Scrap,Photoshop tut,PTU tut,TPP | 0
comments
Thursday, May 2, 2013
Using Feels Like Paradise
Tut by KrazyTaggerGrrl here

CT Tags and snags from Leah @ Amy & Leah's Gimptastic Tuts here


Tut by Amy @ Amy & Leah's Gimptastic Tuts

Tut by Tragedy here

Using Those Spring Days
Tut by KrazyTaggerGrrl here

CT Tags and snags from Leah @ Amy & Leah's Gimptastic Tuts here


Tut by Amy @ Amy & Leah's Gimptastic Tuts

Tut by Tragedy here

Using Those Spring Days
Tut from Amy @ Amy & Leah's Gimptastic Tuts here

Tut by Magik here

Tut by Magik here


Using Greek Goddess
Snags from Wicked Princess here

Tut from KrazyTaggerGrrl here

Using Inspired by Pinuptoons (FTU)
Tut by Magik here

Tut by Tragedy here

Labels:tags with my kits,Tasha's CT | 0
comments
Subscribe to:
Posts
(Atom)
Leave me some love
Labels
- A Space Between
- A Tagger's Scrap
- Abstract Creations
- Alena Lazareva
- Andreea Cernestean
- animated
- Announcement
- Autumn
- Autumn Blaze
- Autumn Breeze
- awards
- Birthstone Series
- blog train
- Cartoon Pink
- CDO
- Christmas
- Cluster Frame
- CT call
- Ct Tag
- Ct Team
- Cuddly Rigor Mortis
- dark/goth
- Designer Scraps
- Digital Chaos
- Dirk Richter
- DSI
- Elias Chatzoudis
- Enys Guerrero
- FB Timeline Cover
- Fluff
- Forum Set
- FourXDesigns
- freebie
- FTU CU
- FTU kit
- FTU tut
- Full Size Kit
- Gimptastic Scraps
- Gorjuss
- Halloween
- IB kit
- Keith Garvey
- KiwiFireStorm
- Lollipops N Gumdrops
- Molly Harrison
- New Years
- No Scrap
- PFD
- Photoshop tut
- Pimpin PSPers
- Previously Released
- PTE
- PTU CU
- PTU kit
- PTU tut
- quick page
- Rebecca Sinz
- Rosanna Castellino
- sale
- Sarah's Tags N Things
- Scrap-U-Nique
- Shawli
- Sheena Pike
- snaggable
- Soxsational Scraps
- Spazzd Art
- spring
- St. Patrick's Day
- Standalone kits
- summer
- Summer Haze
- tag show off
- tags
- tags with my kits
- tags with my templates
- Tasha's CT
- template
- Thanksgiving
- TPP
- tut result
- Twilight Scraps
- Valentine
- Whispered Bliss
- Wicked Princess Scraps
- Winter
- wordart


