Find my kits here

Tasha's Playground Fan Page
Find me on Facebook
My Personal CT


Thursday, March 8, 2012
Supplies-
Kit- Symphony of Spring by DN Scraps. This pretty kit can be purchased at Lollipops n Gumdrops here
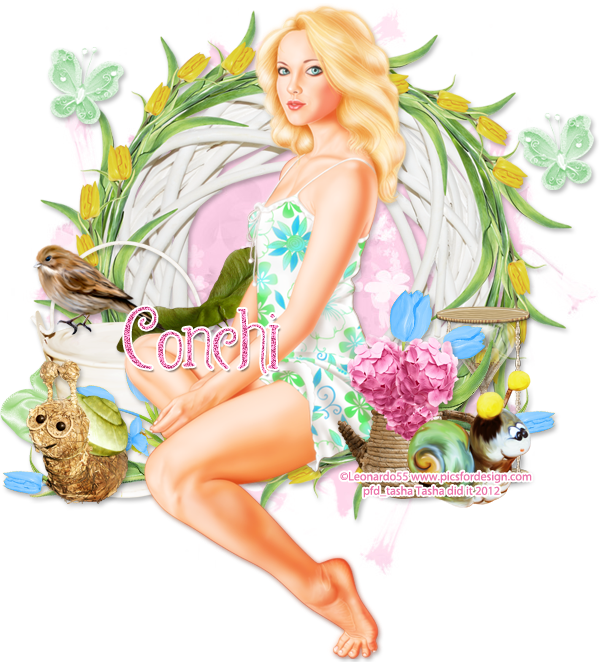
Tube- Alina by Leonardo55. This gorgeous tube is available at PFD
Mask- wsl360 form weescotslass creations here
Font- Waterfalls or font of choice
Photoshop CS5 or program of choice
(I use a Mac, so when I use "Command" you may need to hit "Ctrl")
Command+N to open a new canvas 7000x700
Open your frame and place on canvas. I used element- frame flowers.
If you're using the same tube as I did, place towards the top
so you have enough room for her legs!
Center your tube on the frame, and to add a soft glow-
duplicate tube layer, on copy add Filter>Blur>Gaussian blur 2,
Blend Mode Screen, Opacity 51%
add a soft drop shadow to your original tube layer using Layer Styles
(double click the layer in the layer palette to bring up the box)
Now let's decorate the tag with elements from the kit
This kit has a lot of fun elements in it, so feel free to use what you like :)
From bottom to top I used-
flowers 4
cube
leaf
flowers 2 (Command+J to duplicate, Edit>Transform flip horizontal, reposition)
hourglass
snail
sprinkler
snails
bird
butterfly (duplicate, flip, reposition)
Now let's get our mask ready! Open your mask on a new canvas.
Drag your paper of choice to it as a new layer.
Make sure your mask layer is activated and Command+A to Select All, Command+C to Copy
Activate the paper layer, hit Q to turn on Quick Mask mode
Command+V to paste the mask..it should now be tinted red
Hit Q to turn off Quick Mask mode and there should now be marching ants showing the mask outline
Hit the Add Layer Mask button at the bottom of the layer palette (rectangle with the circle in it)
Right click- convert to smart object
Right click- Rasterize layer
Drag completed mask to your tag canvas as the bottom layer
I duplicated it to make it a bit darker.
Image>Trim- Top left pixel color
Image>Resize (if needed)
Add copyright and license info. Add name and any text
Merge, save as PNG file, enjoy :)
Thank you for trying my tut! If you have any questions or would like to show me your results, feel free to email me- bananas_68@yahoo.com
Subscribe to:
Post Comments
(Atom)
My Blinkies


I Get Creative For

0 comments:
Post a Comment