Search
Sign up for my Newsletter
Tasha's Playground Fan Page
Find me on Facebook
Followers
Saturday, November 30, 2013
Using Winter Frost
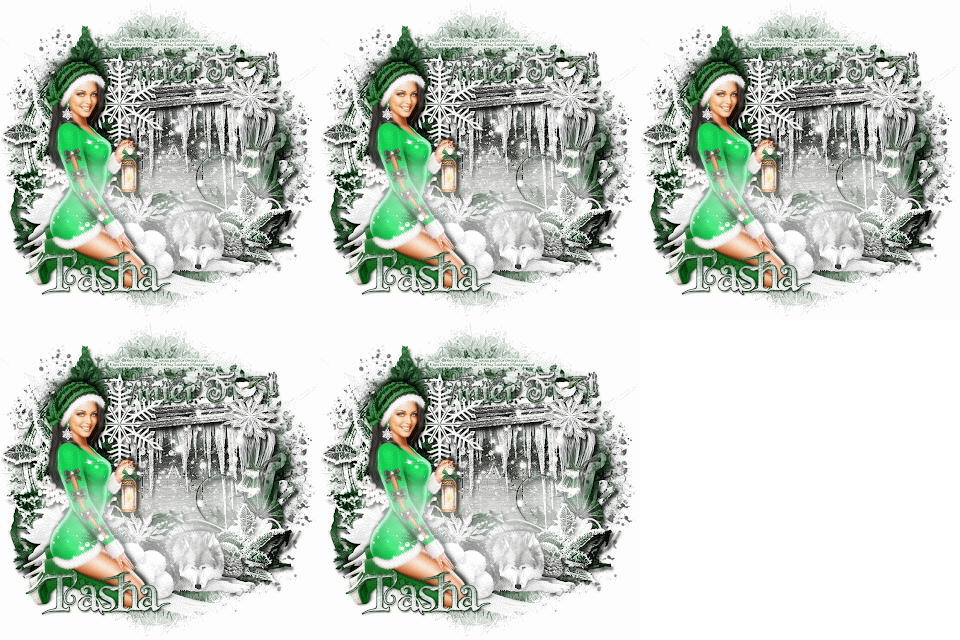
CT tag and freebie cluster frame by Kiya here
Tut by BKC Designs here
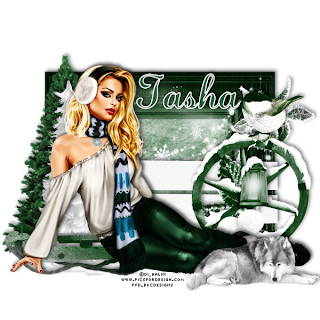
Freebie cluster frame from BKC Designs here

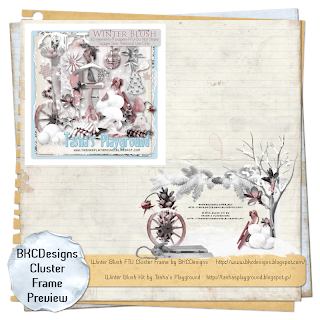
 Using Winter Blush
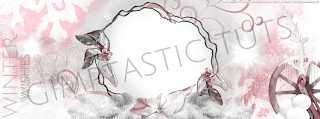
Freebie Facebook Timeline Cover from Leah @ Amy & Leah's Gimptastic Tuts here
Tut by Tutz By BabyDragon here
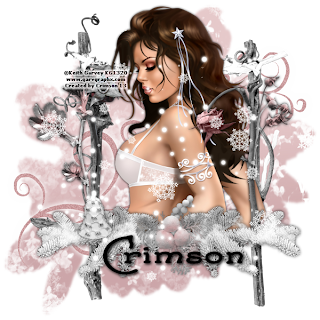
Tut by Irish Princess Designs here
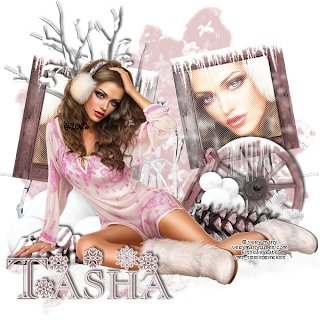
CT Tag and freebie cluster frame from Tonya's Temptations here
Tut by Amy @ Amy & Leah's Gimptastic Tuts here
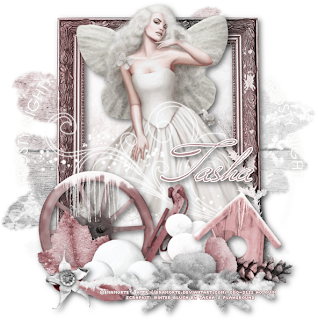
Tut from BKC Designs here
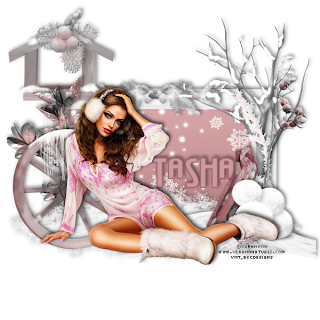
Freebie cluster frame from BKC Designs here
Using A Very Merry Winter
Tut by Redefined Designs here
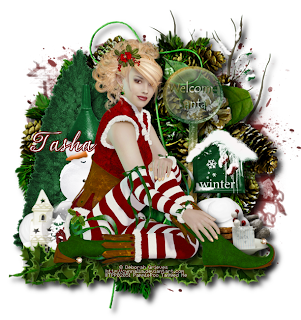
Using Christmas Chaos (FTU)
Freebie cluster frame and CT Tag from Amy @ Amy & Leah's Gimptastic Tuts here
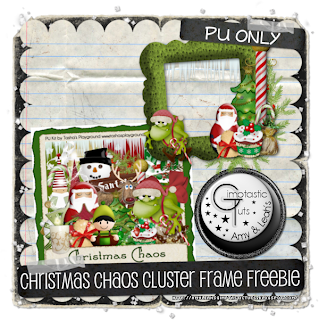

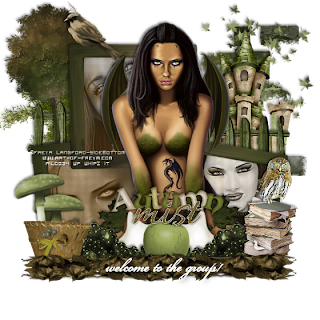
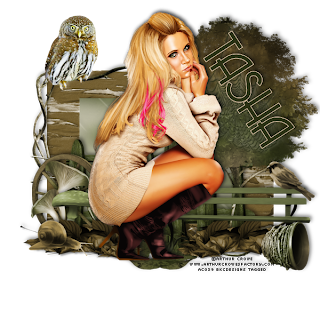
Using Autumn Mist
CT Tags & Snags from Wicked Princess here
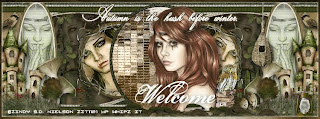
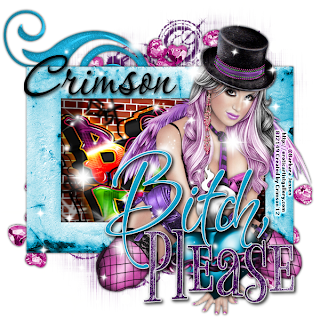
Using Fabulous
tut by Tutz by BabyDragon here
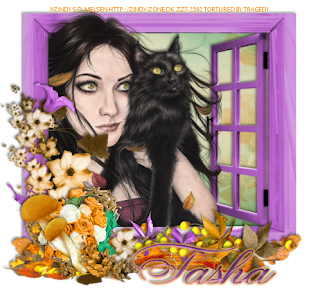
Using Happy Autumn
Tut by Tragedy here
Labels:Tasha's CT | 0
comments
Friday, November 29, 2013
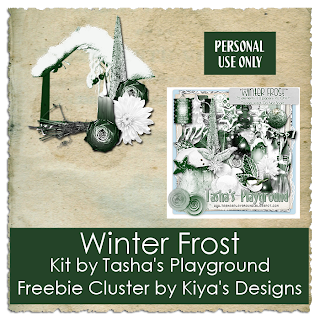
 Woot! Who's ready for a brand spankin' new winter kit? Winter Frost is the newest addition to my stores and is a perfect kit for those winter tags and scrapbook pages! With icy shades of green and snowy white, you will have loads of possibilities with this one!!
 I'm using some amazing CU lanterns from FourXDesigns in this kit. Visit her store here to purchase them! Great for multiple themes and uses.
Available in Full and Tagger sized at Designer Scraps.
Available in Tagger size in Digital Chaos, Pics For Design, and The PSP Project.
Enjoy!!
Monday, November 25, 2013
 If you like pink and zebra print and lots of fun elements, then Pink is the New Black is the kit for you!! You can find this great kit by Abstract Creations at The PSP Project here.
I paired it with the work of Tony Tzanoukakis which you can purchase here.
And here are some extras for you to snag. Just click to view full size, then right-click and save to your computer.
Do not resize, add elements or names to these tags!!
Saturday, November 23, 2013
 So, this was part of a store collab that I did last year that I'm now offering for free on my blog :) Please do not share, and this is for Personal Use only. Enjoy!!
Download here.
Thank you's are always appreciated ^_^
Labels:Christmas,freebie,FTU kit,Winter | 37
comments
Hey all :) I have a new winter in stores tonight. Winter Blush is a beautiful, snowy kit with shades of pale pinks and greys. This kit comes with 65 non-duplicated elements and 9 gorgeous papers. Hope you enjoy!
You can find this kit in tagger sized at all my stores- Pics For Design, The PSP Project, Digital Chaos, Designer Scraps
You can find this kit full size at Designer Scraps.

Saturday, November 9, 2013
If you're looking for a fun, unique way to track your weight loss, or just something a little different to tag, then Soxsational Scraps has just the kit for you!!! Sox is Getting Physical is chock full of bright colors and fun elements for your tagging pleasure :) I paired the kit with a tube by Elias Chatzoudis, but this kit has enough elements that it can be used on its own numerous times!!! Check out Soxie's blog here for more info on where you can find this great kit!

Labels:Soxsational Scraps,tag show off,tags | 0
comments
Supplies:
Kit- Basketball Babe by Gimptastic Scraps. Find where you can get this fab kit here.
Tube- I'm using the work of Ismael Rac. You can purchase his tubes here with a valid license.
Font- So Lonely
I'm writing this tutorial using Photoshop CS5 on a Mac. When I use Command you may need to use Ctrl.
Command+N and open a new canvas 650x650. Place Frame 3 on canvas. Place Paper 1 below frame. On frame layer, click inside it using the magic wand tool (w). Select>Modify>Expand 2px. Select>Inverse. On paper layer, hit Delete. Deselect.
Add close ups of tube above paper layer. Right-click on tubes and create clipping mask. Play with the blend modes and opacity to get a setting you like. On the top tube, I desaturated (shift+command+U) her, then did blend mode Overlay, Opacty 80%. On the bottom tube I did Overlay, 100% Opacity.
Add your tube. Command+J to duplicate. On top tube, Filter>Blur>Gaussian Blur 2px. Blend mode, Screen. Opacity, 50%. Drop shadow the bottom tube layer.
Use elements from the kit to decorate your tag. From bottom to top I used:
halftone
paper
wire
flower 1
notebook
arrow
2 points
staple
doodle
pucker up
thumbs down
ticket
hoops
flair 2
shoe
Add name in white. Double click to open layer styles. Add an orange stroke with these settings:
With your Rectangular Marquee Tool (m), draw out a selection around the entire
tag, just slight smaller than the canvas. Image>Crop.
This will get rid of any stray pixels or drop shadows you don't see.
Image>Trim>Top Left Pixel Corner to remove the excess space.
Add your license and copyright info to the tag.
Add any other text of choice.
Merge, save as PNG and enjoy :)
Thank you for trying my tut! If you have any questions or would like to show me your results, feel free to email me (bananas_68@yahoo.com) or friend me on facebook (badge on left of blog)!!

Labels:Gimptastic Scraps,Photoshop tut,PTU tut | 0
comments
Supplies:
Kit- Deep in the Forest by A Taggers Scrap. You can find where to get this great kit here.
Tube of choice- I used Alex Prihodko, which you can purchase at PicsForDesign here.
Mask of choice- I grabbed the 2nd one from Chaos here.
Font of choice
This tutorial is written using Photoshop CS5 on a Mac. When I use Command, you may need to use Ctrl.
Command+N to open a new canvas, 650x650, transparent background.
Place Window element in center of canvas. Open Free Transform by doing Command+T. Hover your cursor around the top right corner of the window until the cursor curves in shape. Now click and drag the corner of the window down, so that it is angled a bit. Hit Enter 2 times.
Place Paper 2 below Window. Using the magic wand tool (w), click inside the window panes. Select>Modify>Expand 5px. Select>Inverse. On the paper layer, click Delete. Deselect.
Place Frame 2 behind the Paper layer so the branches peek out around the top a bit.
Place tube in center of tag. Command+J to duplicate.
On top copy, Filter>Blur>Gaussian Blur 2px. Change blend mode to Soft Light. Lower Opacity to 65%. You can play with these options to suit your own taste :)
Double click the bottom tube layer to bring up layer styles, add Drop Shadow of choice.
Now decorate your tag with elements from the kit. From top to bottom I used:
arbor
wheel
bow 4
berry
butterfly
fence
glows
grass 3
frame 1
moss
rocks
seed head
flower 3
fox
mushroom
cabin
button
bird 3
leaves (duplicate, reposition)
flower 11
flower 10
lantern 2
berries 2
greenery 2
ladybird
butterfly 2
pinecones
swan
Now let's get our mask ready! Open your mask on a new canvas.
Add a new layer above it, and flood fill with color of choice,
or use a paper from kit .
Make sure your mask layer is activated and Command+A to Select All, Command+C to Copy.
Activate the paper layer, hit Q to turn on Quick Mask mode.
Command+V to paste the mask..it should now be tinted red.
Hit Q to turn off Quick Mask mode and there should now be marching ants on your canvas.
Hit the Add Layer Mask button at the bottom of the layer palette (rectangle with the circle in it)
Right click- convert to smart object
Right click- Rasterize layer
Drag completed mask to your tag canvas as the bottom layer
Resize it if needed.
With your Rectangular Marquee Tool (m), draw out a selection around the entire
tag, just slight smaller than the canvas. Image>Crop.
This will get rid of any stray pixels or drop shadows you don't see.
Image>Trim>Top Left Pixel Corner to remove the excess space.
Add your license and copyright info to the tag.
Add name and any other text of choice.
Merge, save as PNG and enjoy :)
Thank you for trying my tut! If you have any questions or would like to show me your results, feel free to email me (bananas_68@yahoo.com) or friend me on facebook (badge on left of blog)!!

Labels:A Tagger's Scrap,Photoshop tut,PTU tut | 0
comments
Tuesday, November 5, 2013
Good Gobble is a cute kit just in time for Thanksgiving!! It has all the fixings for a yummy meal and good fall fun! This tagger sized kit has 68 elements and 15 papers. Personal Use only, do not share.
Labels:freebie,FTU kit | 16
comments
Monday, November 4, 2013
Using BCA 2013 (FTU)
Tutorial from BKC Designs here

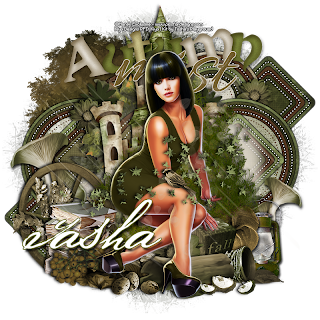
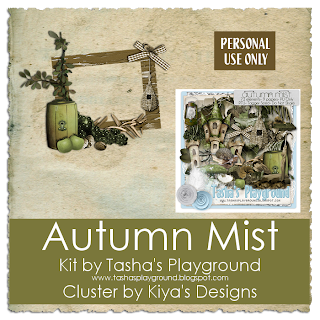
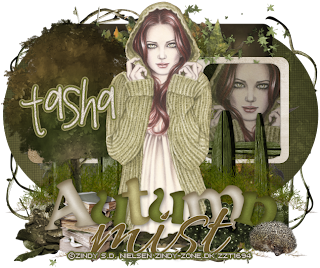
Using Autumn Mist
Tut by Magik here
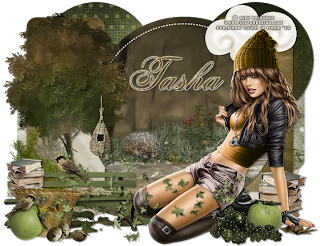
Cluster frame freebie and CT tag from Kiya Designs here
Tut from Redefined Designs here
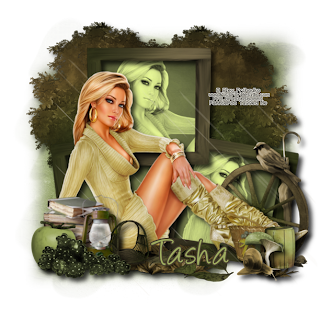
Tut by Amy @ Amy & Leah's Gimptastic Tuts here
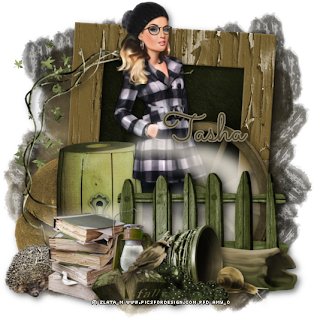
Tut by KrazyTaggerGrrl Designs here
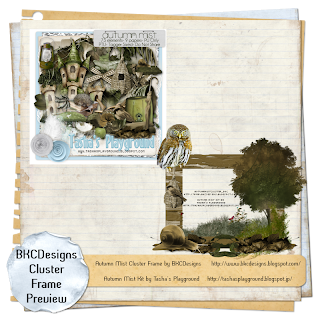
Tut from BKC Designs here
Cluster frame freebie from BKC Designs here
Using Antique Autumn
Tut from Redefined Designs here
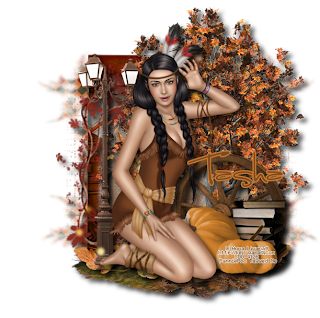
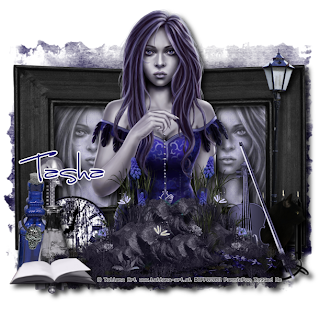
Using Cursed
Tut by Redefined Designs here
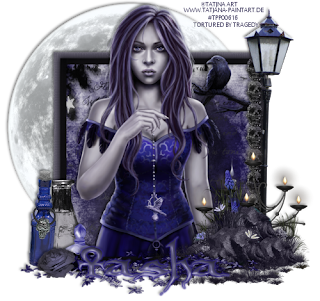
Tut by Tragedy here
Using Fabulous
Tut from Redefined Designs here

 Using Forever Damask
Cluster frame freebie and CT Tags from Tonya's Temptations here
Using Violet Winter
Tut by Irish Princess Designs here
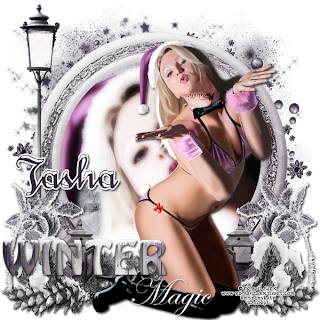
Using Pinkoween
tut by KrazyTaggerGrrl Designs here
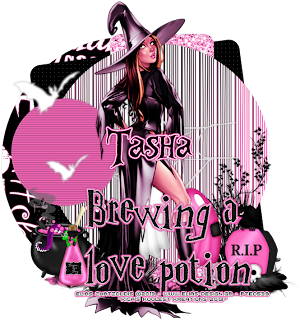
Labels:Tasha's CT | 0
comments
Subscribe to:
Posts
(Atom)
Leave me some love
Labels
- A Space Between
- A Tagger's Scrap
- Abstract Creations
- Alena Lazareva
- Andreea Cernestean
- animated
- Announcement
- Autumn
- Autumn Blaze
- Autumn Breeze
- awards
- Birthstone Series
- blog train
- Cartoon Pink
- CDO
- Christmas
- Cluster Frame
- CT call
- Ct Tag
- Ct Team
- Cuddly Rigor Mortis
- dark/goth
- Designer Scraps
- Digital Chaos
- Dirk Richter
- DSI
- Elias Chatzoudis
- Enys Guerrero
- FB Timeline Cover
- Fluff
- Forum Set
- FourXDesigns
- freebie
- FTU CU
- FTU kit
- FTU tut
- Full Size Kit
- Gimptastic Scraps
- Gorjuss
- Halloween
- IB kit
- Keith Garvey
- KiwiFireStorm
- Lollipops N Gumdrops
- Molly Harrison
- New Years
- No Scrap
- PFD
- Photoshop tut
- Pimpin PSPers
- Previously Released
- PTE
- PTU CU
- PTU kit
- PTU tut
- quick page
- Rebecca Sinz
- Rosanna Castellino
- sale
- Sarah's Tags N Things
- Scrap-U-Nique
- Shawli
- Sheena Pike
- snaggable
- Soxsational Scraps
- Spazzd Art
- spring
- St. Patrick's Day
- Standalone kits
- summer
- Summer Haze
- tag show off
- tags
- tags with my kits
- tags with my templates
- Tasha's CT
- template
- Thanksgiving
- TPP
- tut result
- Twilight Scraps
- Valentine
- Whispered Bliss
- Wicked Princess Scraps
- Winter
- wordart


