Search
Sign up for my Newsletter
Tasha's Playground Fan Page
Find me on Facebook
Followers
Sunday, September 30, 2012
Hey all!! I've just joined the Gothic Inspirations Blog Train and this month we have the theme of "Pick Your Own Poison". I have decided to do a mini kit which you can grab below!! Be sure to pop on over to the other blogs and pick up their awesome contributions!!!
Please do not share this kit or download link, thank you :)
Jo with: A Taggers Scrap
Muriel with: Creative Disorder Scraps
Stuart with: Creative Crazy Scraps
Sarah with: Designs By Sarah
Nika with: Devilish Dezines
Miriam with: Ellanoir Design
Jessica with: Gothic Inspirations
Victoria with: Maitri Scraps
Kimmy with: My Creative Muse
Jennifer with: Perfectly Imperfect Creationz
Tiffany with: SSCC Graphic Solutions
Kara with: Sweet Cravings Scraps
*Tasha with: Tasha's Playgrounds*
Alyson with: Tygerís Tidbits
Christina with: Tragedy's Creationz
Labels:blog train,freebie,FTU kit | 7
comments
Thursday, September 27, 2012
Supplies:
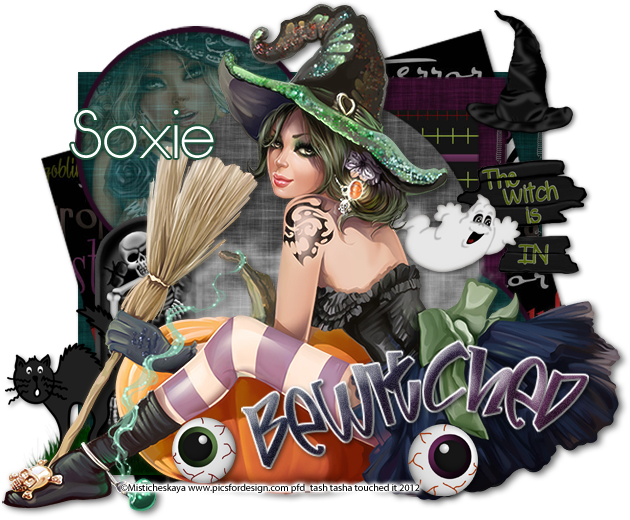
Kit- Halloween Nightmare by Soxsational Scraps. You can visit her blog here for info on where to purchase this great kit!
Tube- I'm using the stunning work of Vika Misticheskaya, available at PicsForDesign here
Template- Temp 158 from Leah's Halloween pack here
Font- Origin
Photoshop CS5
I'm on a Mac, so when I use Command you may need to use Ctrl
Here we go :)
Open your template. Image>Duplicate. Close out the original.
Clip papers from the kit to each template layer.
To do this, simply add your paper of choice above the original template layer, Right Click the paper in the layer box and choose "Create Clipping Mask"... Voila. Done. Add your drop shadow to the original template layer (don't delete it!)
From bottom to top I used:
10-paper 7
9- paper 5
8- paper 8
7- paper 8
6- paper 11
5- paper 7
3- paper 7
1- paper 9
On paper 2 and 4 just colorize (Command+U) to match
Clip a close of your tube (or a tube from the same artist) to the paper that is clipped to Layer 5. Change the blend mode of the tube to Screen, opacity 40%.
Double click the Words layer to bring up Layer Styles. Choose a Gradient Overlay that suits your tag. I also added some noise, a slight bevel and drop shadow..forgot to screen shot it so just play around with your settings till you find something that works lol :o)
Now add elements from the kit to your tag. I used:
tombstone 2
fog 2
cat
witch sign
ghost
eye 1
eye 3
Add your main tube and apply a drop shadow to her.
With your Rectangular Marquee Tool (m), draw out a selection around the entire
tag, just slight smaller than the canvas. Image>Crop.
This will get rid of any stray pixels or drop shadows you don't see.
Image>Trim>Top Left Pixel Corner to remove the excess space.
Add your license and copyright info to the tag.
Add name and any other text of choice.
Merge, save as PNG and enjoy :)
Thank you for trying my tut. If you have any questions or would like to show me your results, feel free to email me (bananas_68@yahoo.com) or post them on my Facebook :)
Labels:PFD,Photoshop tut,PTU tut,Soxsational Scraps | 0
comments
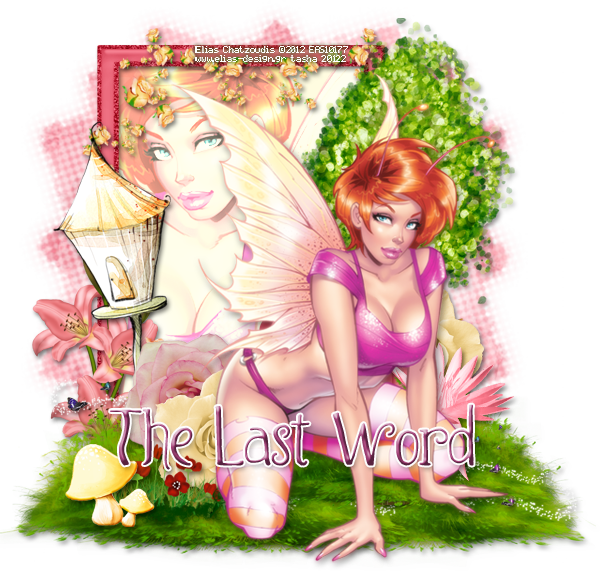
I worked with this adorable kit "Fairy Whispers" by Wicked Princess Scraps. You can visit her blog here to find out where you can purchase this kit, and check out all her other goodies. I whipped up some extras for you to snag and use..I just ask that you DO NOT alter these in any way- that includes adding names to them. Just click the tag to view full sized, then right-click save to your computer. Enjoy!
Labels:freebie,snaggable,Wicked Princess Scraps | 0
comments
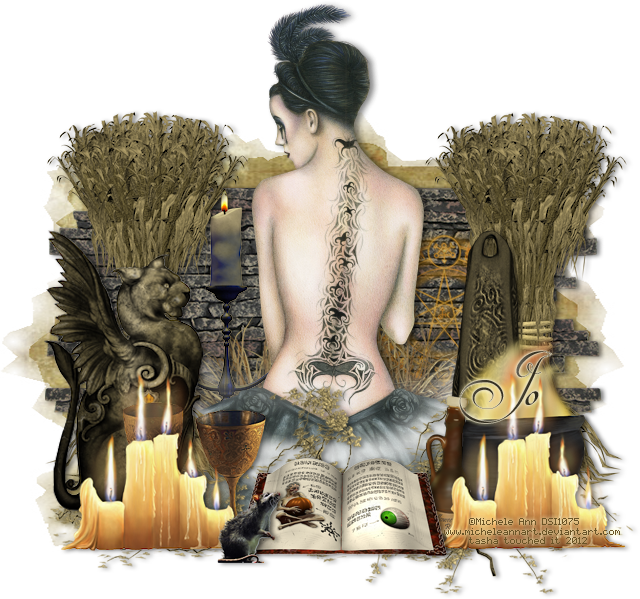
Supplies:
Kit- Dark Night of the Witch by A Taggers Scrap. Visit her blog here for where you can get this amazing kit!
Tube- I'm using the work of Michele Ann which you can purchase from DSI here
Mask- WSL_Mask128 here (link is on the left side of blog)
Font of choice
Photoshop CS5
I'm on a Mac, so when I use Command you may need to use Ctrl
Here we go :)
Open a new canvas 700x700
Place brickwall in center of canvas. Command+J to duplicate.
Edit>Transform>Flip Horizontal. Move over a bit so you have jagged brick on both sides
of the wall (refer to my tag for placement).
Open cornstalk and place to one side of wall. Duplicate and reposition to the other side.
From bottom to top add the following elements-
glyph
dead grass
candelabra
ghostly light
dead ivy
obelisk
tressym
cauldron 1
goblets
candles (duplicate, reposition)
bottle 1
book
rat
Open Layer Styles by double clicking the bottom most element (brick wall). Apply Drop Shadow
of choice. Now right-click and Copy Layer Style.
Right-click>Select Similar Layers. Right-click>Paste Layer Style.
Now you should have a drop shadow on all the elements :)
Place tube directly below the ghostly light layer. Duplicate.
On top tube layer change blend mode to Soft Light, Opacity 62%.
Add drop shadow to bottom tube layer.
Now let's get our mask ready! Open your mask on a new canvas.
Add a new layer above it, and flood fill with color of choice,
or use a paper from kit (I used paper 4).
Make sure your mask layer is activated and Command+A to Select All, Command+C to Copy.
Activate the paper layer, hit Q to turn on Quick Mask mode.
Command+V to paste the mask..it should now be tinted red.
Hit Q to turn off Quick Mask mode and there should now be marching ants on your canvas.
Hit the Add Layer Mask button at the bottom of the layer palette (rectangle with the circle in it)
Right click- convert to smart object
Right click- Rasterize layer
Drag completed mask to your tag canvas as the bottom layer
Resize it if needed.
I stretched it out using Command+T.
With your Rectangular Marquee Tool (m), draw out a selection around the entire
tag, just slight smaller than the canvas. Image>Crop.
This will get rid of any stray pixels or drop shadows you don't see.
Image>Trim>Top Left Pixel Corner to remove the excess space.
Add your license and copyright info to the tag.
Add name and any other text of choice.
Merge, save as PNG and enjoy :)
Thank you for trying my tut. If you have any questions or would like to show me your results, feel free to email me (bananas_68@yahoo.com) or post them on my Facebook :)
Labels:A Tagger's Scrap,Photoshop tut,PTU tut | 0
comments
Friday, September 21, 2012
What I used:
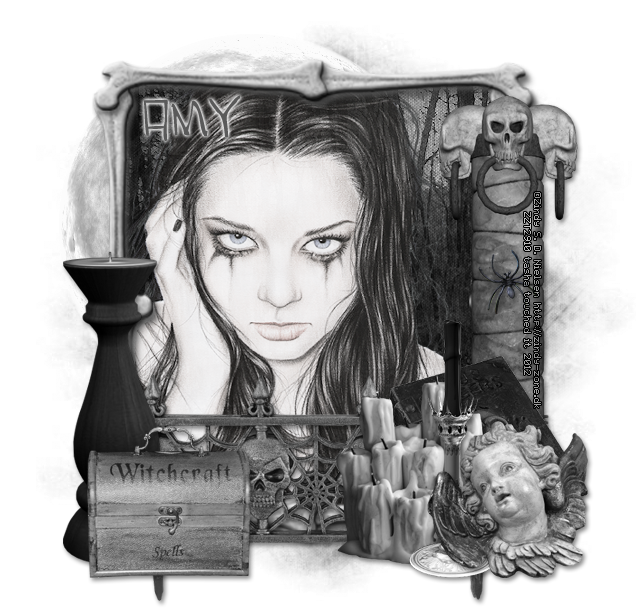
Kit- Dead of Night by Gimptastic Scraps. Visit her blog here for this eerie kit.
Tube- I'm using the work of Zindy S. D. Nielsen which you can find at her shop here
Mask- AR315_Mask87 by Aqua here
Font- Cholo here
Photoshop CS5
I'm on a Mac so when I use Command you may need to use Ctrl
Here we go :)
Command+N and open a new canvas 700x700
Place Frame 1 in center of canvas. Place paper of choice behind the frame.
I used Paper 6. Using the Magic Wand Tool (w), click inside the frame.
Select>Modify>Expand by 5px. Select>Inverse Selection.
Hit Delete on paper layer. Deselect.
Add Moon behind the paper.
Directly above the paper layer, add your tube. Right-click tube layer.
Create clipping mask. Duplicate tube and clip that one as well.
On bottom tube, change blend mode to Luminosity, opacity 80%.
On the top tube change the blend mode to Screen, opacity 80%.
Add the following elements:
Refer to my tag for placement
Gothic Art
Candle 2
Skull Pillar
Spider
Book
Candles
Candle 1
Angel
Spellbox
Now let's get our mask ready! Open your mask on a new canvas.
Add a new layer above it, and flood fill with color of choice,
or use a paper from kit.
Make sure your mask layer is activated and Command+A to Select All, Command+C to Copy.
Activate the paper layer, hit Q to turn on Quick Mask mode.
Command+V to paste the mask..it should now be tinted red.
Hit Q to turn off Quick Mask mode and there should now be marching ants on your canvas.
Hit the Add Layer Mask button at the bottom of the layer palette (rectangle with the circle in it)
Right click- convert to smart object
Right click- Rasterize layer
Drag completed mask to your tag canvas as the bottom layer
Resize it if needed.
I duplicated it once to make it darker.
With your Rectangular Marquee Tool (m), draw out a selection around the entire
tag, just slight smaller than the canvas. Image>Crop.
This will get rid of any stray pixels or drop shadows you don't see.
Image>Trim>Top Left Pixel Corner to remove the excess space.
Add your license and copyright info to the tag.
Add name and any other text of choice.
Merge, save as PNG and enjoy :)
Thank you for trying my tut. If you have any questions or would like to show me your results, feel free to email me (bananas_68@yahoo.com) or post them on my Facebook :)
Labels:FTU tut,Gimptastic Scraps,Photoshop tut | 0
comments
What I used:
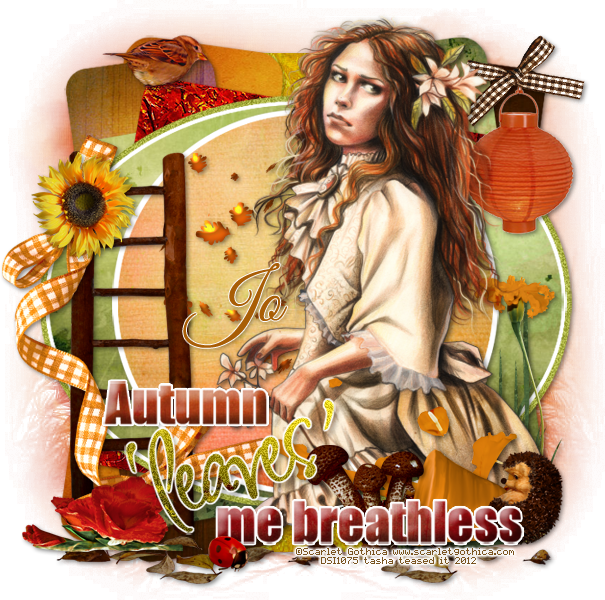
Kit- Fall Frolic by A Taggers Scrap. Visit her blog here for where you can purchase it.
Tube- I'm using a gorgeous tube by Scarlet Gothica which you can purchase at DSI with a valid license.
Template- Autumn Template by Dees'Sign Depot here
Mask- HorsePlay's Pasture Mask 22 here
Font- Great Vibes
Photoshop CS5
I'm on a Mac, so when I use Command, you may need to use Ctrl
Here we go :)
Open your template. Image>Duplicate. Close out original.
Delete the following layers:
info
left doodle- black, white and d/s
blue square
white square (directly below blue square)
right doodle- black, white and d/s
Replace layers from the template with papers from the kit.
To do this, add paper of choice above the template layer.
Right-click paper and choose "Create Clipping Mask".
This will clip the paper to the template layer!
Make sure you add your drop shadow to the original template layer :)
For each template layer, I used:
*bottom to top*
right blue strip- paper 15
purple strip- paper 17
orange strip- paper 11
green strip- paper 14
left blue strip- paper 15
white square- paper 17
purple square- paper 18
inside green oval- paper 17
orange circle- paper 13
wordart- paper 16
leaves black- paper 18 (add noise 15%)
Double click on the original word art layer to bring up Layer Styles. Add the following:
From bottom to top, add the following elements from the kit to your tag:
Refer to my tag for placement.
leaf scatter 3
ladder
lantern
bow 1
grass
flower 7
bow 5
petal scatter
pot
fungi
hedgehog
flower 2
leaves 4 (duplicate and reposition)
flower 13
bird
ladybug
Add your tube directly below the petal scatter layer.
Add drop shadows to all the layers.
Now let's get our mask ready! Open your mask on a new canvas.
Add a new layer above it, and flood fill with color of choice,
or use a paper from kit.
Make sure your mask layer is activated and Command+A to Select All, Command+C to Copy.
Activate the paper layer, hit Q to turn on Quick Mask mode.
Command+V to paste the mask..it should now be tinted red.
Hit Q to turn off Quick Mask mode and there should now be marching ants on your canvas.
Hit the Add Layer Mask button at the bottom of the layer palette (rectangle with the circle in it)
Right click- convert to smart object
Right click- Rasterize layer
Drag completed mask to your tag canvas as the bottom layer
Resize it if needed.
I duplicated it once to make it darker.
With your Rectangular Marquee Tool (m), draw out a selection around the entire
tag, just slight smaller than the canvas. Image>Crop.
This will get rid of any stray pixels or drop shadows you don't see.
Image>Trim>Top Left Pixel Corner to remove the excess space.
Add your license and copyright info to the tag.
Add name and any other text of choice.
Merge, save as PNG and enjoy :)
Thank you for trying my tut. If you have any questions or would like to show me your results, feel free to email me (bananas_68@yahoo.com) or post them on my Facebook :)
Labels:A Tagger's Scrap,Photoshop tut,PTU tut | 0
comments
Thursday, September 20, 2012
What I used:
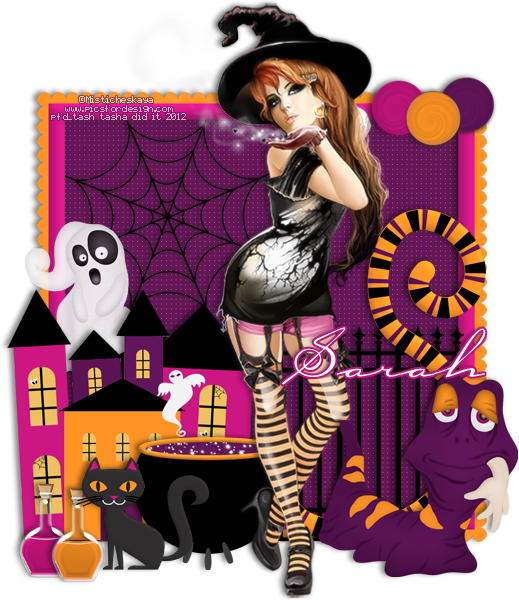
Kit- Booga Booga by Sarah's Tags N Things. Find where you can get this cute kit by visiting her blog here.
Tube- I'm using the work of Misticheskaya which you can find at PFD here
Font- Carpenter Script
Photoshop CS5
Here we go :)
Open a new canvas 700x700
Place element 40 in center of canvas.
Add paper of choice below the frame- I used Paper 6.
Using your magic wand tool click inside the frame.
Select>Modify>Expand by 5px. Select>Inverse.
Hit delete on paper layer. Deselct.
Add element 21 in upper left corner of frame.
Add the following elements (refer to my tag for placement):
24
6
36
30
7
23
19
20
4
37
Open layer styles and add a drop shadow to each element except the ghost.
Add tube to center of tag and drop shadow.
With your Rectangular Marquee Tool (m), draw out a selection around the entire
tag, just slight smaller than the canvas. Image>Crop.
This will get rid of any stray pixels or drop shadows you don't see.
Image>Trim>Top Left Pixel Corner to remove the excess space.
Add your license and copyright info to the tag.
Add name and any other text of choice.
Merge, save as PNG and enjoy :)
Thank you for trying my tut. If you have any questions or would like to show me your results, feel free to email me (bananas_68@yahoo.com) or post them on my Facebook :)
Labels:PFD,Photoshop tut,PTU tut | 0
comments
Tuesday, September 18, 2012
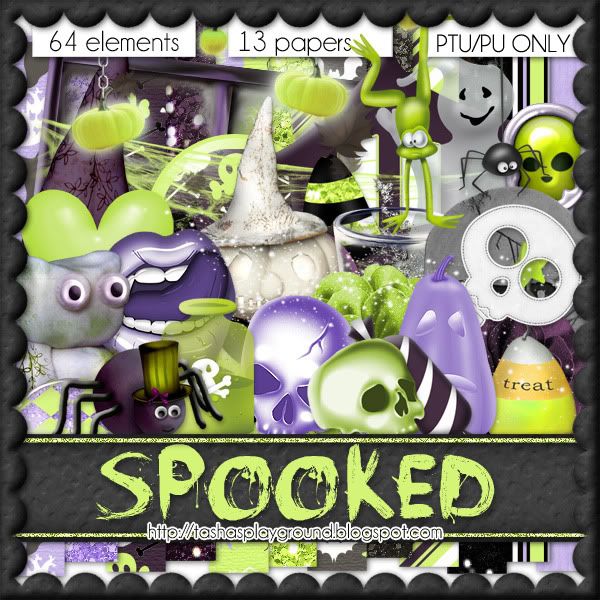
I have a fun new Halloween kit in stores today!!! Spooked has 64 unique elements, 13 fun papers and is tagger sized. With shades of purple, grey and green it's just perfect for all your ghost, goblins and witches!!! You can find this kit in all my stores, just check the left side of my blog to see where those are :D Hope you enjoy, and I'd love to see anything you make with it!!!
Labels:PTU kit | 0
comments
Friday, September 14, 2012
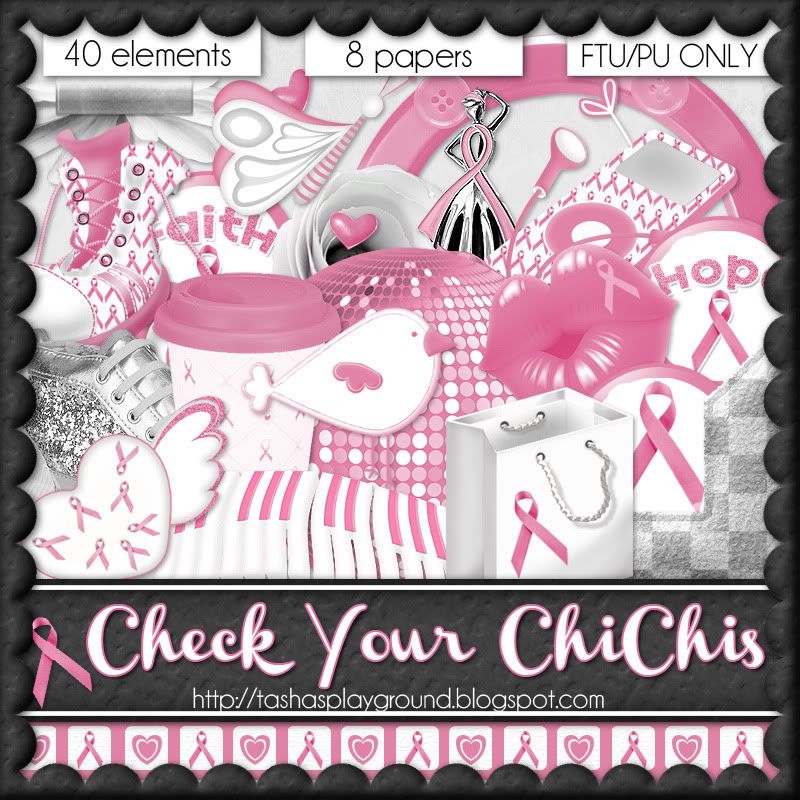
Some wonderful friends and I came together to bring you all a FTU Breast Cancer Awareness collab!! Please remember free to use doesn't mean free to share..instead of sharing the download link, share the blog link instead!! We all worked hard on these, and hope you enjoy them :o) Would love to see anything you make..just email me at bananas_68@yahoo.com or friend me on Facebook by clicking the badge over to the left. You can download my portion here. Thank you's are always appreciated :o)
Click each preview to head over to my friend's blogs and get their parts!
Sarah's Tags-N-Things
Amy from Amy & Leah's Gimptastic Tuts
Leah from Amy & Leah's Gimptastic Tuts
Labels:freebie,FTU kit | 19
comments
Sunday, September 9, 2012
Supplies:
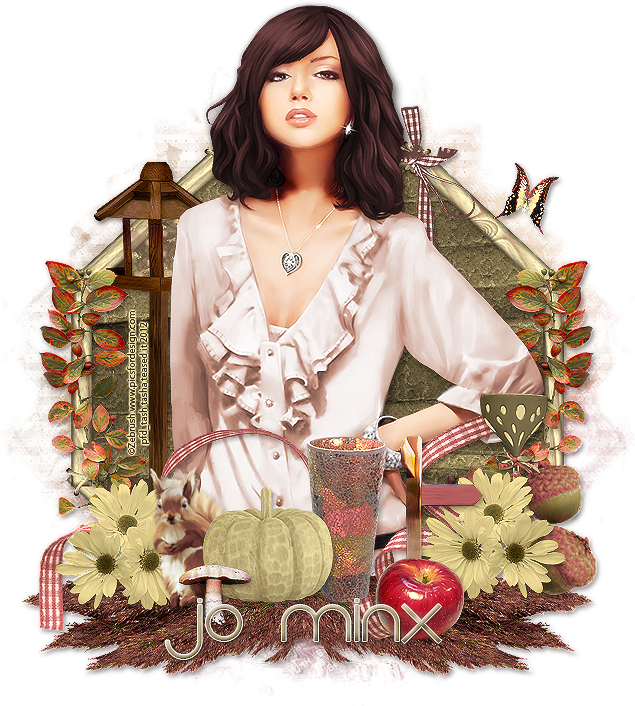
Kit- Red Delicious by A Taggers Scrap. Visit her blog here for info on where you can purchase this great kit.
Tube- I'm using a great tube by Zebrush, which you can find at PFD here
Mask- BeautyofAutumnMaskbyTonya from the Misfits blog here
Font- Eight One or font of choice
Photoshop CS5 or font of choice
I am on a Mac, so when I use Command, you may need to use Ctrl
Here we go :)
Open a new canvas 700x700
Open frame 1 and place in center of canvas.
Place paper 20 under the frame.
With the frame layer active, choose your Magic Wand Tool (w) and click inside the frame.
Select>Modify>Expand by 5px. Select>Inverse.
Activate the paper layer and hit Delete on your keyboard.
Deselect. Double click the frame layer to bring up Layer Styles.
Add drop shadow of choice.
Open Leaves 2 and place on right of frame. You may need to angle it to get it just right.
Command+J to duplicate. Edit>Transform>Flip Horizontal. Reposition to left side.
Drop shadow both copies.
Add Brush to bottom of frame. Duplicate, flip and reposition as I have in my tag. Add drop shadows.
Add main tube of choice to middle of frame. I like a soft glow on my tubes, to do this:
Duplicate tube layer. On top tube Filters>blur>gaussian blur 2.
Change blend mode to Screen, Opacity around 35%.
Drop Shadow the original tube layer.
Now decorate your tag with elements from the kit. From bottom to top I used:
(refer to my tag for placement)
butterfly house
bow 3
ribbon 2
acorns
butterfly
light
flowers 2 (duplicate, flip, reposition)
chipmunk
vase
pumpkin
sign post
apple 3
mushroom
Add drop shadows and sharpen elements (Filter>Sharpen>Sharpen)
Now let's get our mask ready! Open your mask on a new canvas.
Add a new layer above it, and flood fill with color of choice,
or use a paper from kit.
Make sure your mask layer is activated and Command+A to Select All, Command+C to Copy.
Activate the paper layer, hit Q to turn on Quick Mask mode.
Command+V to paste the mask..it should now be tinted red.
Hit Q to turn off Quick Mask mode and there should now be marching ants on your canvas.
Hit the Add Layer Mask button at the bottom of the layer palette (rectangle with the circle in it)
Right click- convert to smart object
Right click- Rasterize layer
Drag completed mask to your tag canvas as the bottom layer
Resize it if needed.
I duplicated it once to make it darker.
With your Rectangular Marquee Tool (m), draw out a selection around the entire
tag, just slight smaller than the canvas. Image>Crop.
This will get rid of any stray pixels or drop shadows you don't see.
Image>Trim>Top Left Pixel Corner to remove the excess space.
Add your license and copyright info to the tag.
Add name and any other text of choice.
Merge, save as PNG and enjoy :)
Thank you for trying my tut. If you have any questions or would like to show me your results, feel free to email me (bananas_68@yahoo.com) or post them on my Facebook :)
Labels:A Tagger's Scrap,Photoshop tut,PTU tut | 0
comments
Subscribe to:
Posts
(Atom)
Leave me some love
Labels
- A Space Between
- A Tagger's Scrap
- Abstract Creations
- Alena Lazareva
- Andreea Cernestean
- animated
- Announcement
- Autumn
- Autumn Blaze
- Autumn Breeze
- awards
- Birthstone Series
- blog train
- Cartoon Pink
- CDO
- Christmas
- Cluster Frame
- CT call
- Ct Tag
- Ct Team
- Cuddly Rigor Mortis
- dark/goth
- Designer Scraps
- Digital Chaos
- Dirk Richter
- DSI
- Elias Chatzoudis
- Enys Guerrero
- FB Timeline Cover
- Fluff
- Forum Set
- FourXDesigns
- freebie
- FTU CU
- FTU kit
- FTU tut
- Full Size Kit
- Gimptastic Scraps
- Gorjuss
- Halloween
- IB kit
- Keith Garvey
- KiwiFireStorm
- Lollipops N Gumdrops
- Molly Harrison
- New Years
- No Scrap
- PFD
- Photoshop tut
- Pimpin PSPers
- Previously Released
- PTE
- PTU CU
- PTU kit
- PTU tut
- quick page
- Rebecca Sinz
- Rosanna Castellino
- sale
- Sarah's Tags N Things
- Scrap-U-Nique
- Shawli
- Sheena Pike
- snaggable
- Soxsational Scraps
- Spazzd Art
- spring
- St. Patrick's Day
- Standalone kits
- summer
- Summer Haze
- tag show off
- tags
- tags with my kits
- tags with my templates
- Tasha's CT
- template
- Thanksgiving
- TPP
- tut result
- Twilight Scraps
- Valentine
- Whispered Bliss
- Wicked Princess Scraps
- Winter
- wordart
Blog Archive
-
▼
2012
(213)
-
▼
September
(16)
- Choo-choo!!! Gothic Inspirations Blog Train!!!
- Bewitched- PTU
- Fairy Whispers Extras!!!
- Dark Night of the Witch- PTU
- Dead of Night- FTU
- Autumn Leaves- PTU
- Booga Booga- PTU
- Spooked- New Kit!!
- Check Your ChiChis- FTU Collab
- Fall Days- PTU
- Spellbound- New Kit!!
- Farewell Summer- PTU
- I'm Not Emo- FTU Mini Kit
- Autumn Fox- FTU
- Fall In Color- FTU
- Choo-Choo!!! New Blog Train Freebie!
-
▼
September
(16)


